
To install a tile backsplash yourself, start by measuring your space accurately and planning your layout. Choose a tile pattern and grout color that matches your style, then gather your tools and materials. Use spacers for even grout lines and follow manufacturer instructions for mixing and applying grout. Take your time during installation and clean excess grout promptly for a professional finish. If you keep going, you’ll discover step-by-step tips to perfect your project.
Key Takeaways
- Measure the backsplash area accurately and plan your tile layout to prevent waste and ensure proper fit.
- Choose a tile pattern and grout color that complement your kitchen style and desired visual effect.
- Prepare the surface, apply tiles with spacers for consistent grout lines, and allow proper curing time.
- Mix and apply grout carefully, cleaning excess before it hardens for a professional finish.
- Take your time, follow installation tips, and enjoy customizing your kitchen with a DIY tile backsplash.
Thinking about adding a fresh look to your kitchen? Installing a tile backsplash is a fantastic way to do it, and the best part is, you can do it yourself. When starting this project, one of the first things to consider is how grout colors can influence the overall style. Choosing the right grout can make your tile patterns pop or blend seamlessly, depending on your preference. For a bold, modern look, opt for darker grout shades like charcoal or navy, which create sharp contrast against lighter tiles. If you want a more subtle, cohesive appearance, go with lighter grout shades such as white or beige, allowing the tile pattern to stand out without overwhelming the space. Your choice of grout color significantly impacts the visual effect and can tie together your entire kitchen aesthetic.
Choose grout colors that enhance your tile pattern, from bold contrast to subtle blends, to perfect your kitchen backsplash.
Next, think about the tile patterns you want to incorporate. There are countless options, from classic subway tiles arranged in a straightforward linear pattern to intricate herringbone or chevron designs. Your choice ultimately depends on your style and how much visual interest you want to add. Straight rows of subway tiles are simple and timeless, perfect if you prefer a clean, minimalist look. On the other hand, mixing up tile patterns can create a dynamic focal point. For example, a herringbone pattern introduces a sense of movement and sophistication that can transform your kitchen into a more stylish space. When choosing tile patterns, consider the size and shape of your tiles as well. Smaller mosaic tiles lend themselves well to intricate patterns, while larger tiles work better with straightforward layouts.
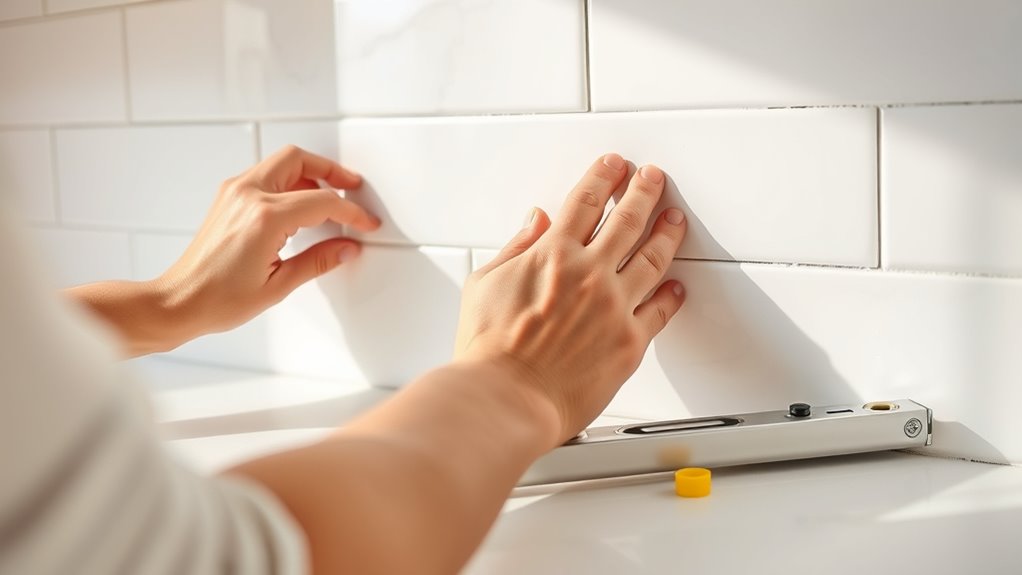
Before starting, measure your backsplash area carefully and plan your layout to avoid awkward cuts or wasted material. Lay out your tile pieces on a flat surface beforehand to visualize the final look and make adjustments as needed. When applying the tiles, use spacers to maintain consistent grout lines, which contributes to a polished finish. Mix the grout according to the manufacturer’s instructions, and choose your grout color thoughtfully to complement your tile pattern. Properly selecting grout colors can further enhance the overall design and ensure a cohesive look. Once the tiles are set and grout is applied, give everything ample time to dry. Clean off any excess grout with a damp sponge before it hardens to ensure a neat and professional appearance.
In the end, installing a tile backsplash yourself is a rewarding project that enhances your kitchen’s style. Focus on selecting the right grout colors and tile patterns to match your vision, and take your time during installation. With patience and attention to detail, you’ll create a beautiful, personalized space that you’ll enjoy every day.

Art3d 102-Piece Peel and Stick Wall Tile for Kitchen Backsplash, Bathroom, Fireplace, 3in. × 6in. Stick on Subway Tile, Glossy White
Easy DIY, Just Peel & stick, cut with tin snip, utility knives or hand saws, saving large amount…
As an affiliate, we earn on qualifying purchases.
As an affiliate, we earn on qualifying purchases.
Frequently Asked Questions
What Tools Are Essential for a DIY Tile Backsplash Project?
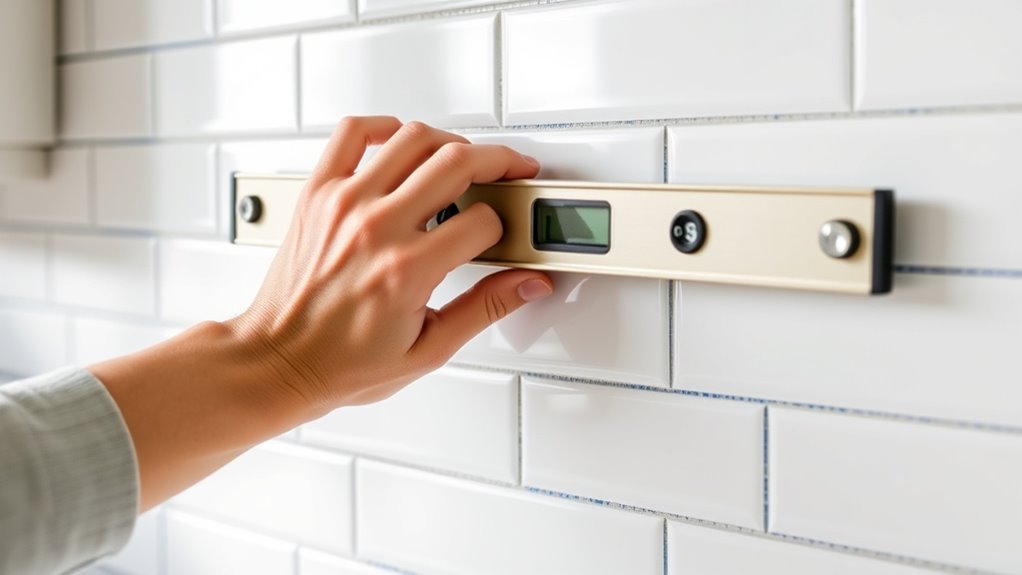
To tackle a tile backsplash project, you’ll need essential tools like a tile cutter or wet saw for precise cuts, a notched trowel to spread adhesive, and a level to guarantee proper tile layout. Don’t forget spacers for even grout lines and a rubber float for applying grout. Choose your grout color carefully to match or contrast with your tiles, giving your kitchen a polished look.
How Long Does It Typically Take to Complete?
You can expect the project duration to be around 1 to 3 days, depending on your experience level and the size of your backsplash area. Timing expectations vary, but if you stay organized and work efficiently, you’ll finish within this timeframe. Remember, taking your time for proper measurements, cutting, and grouting guarantees a professional-looking result. Rushing can lead to mistakes, so plan accordingly for a smooth completion.
Can I Install a Tile Backsplash Over Existing Tiles?
Yes, you can install a tile backsplash over existing tiles, but you should first carefully remove any loose or damaged tiles to guarantee a solid surface. Once you’ve done that, you’ll need to choose tile patterns that complement or contrast with your current design. Be prepared for some extra prep work—this step adds complexity but can give your kitchen a fresh look without the hassle of tearing out old tiles.
What Are Common Mistakes to Avoid During Installation?
You should avoid common mistakes like neglecting proper grout sealing, which can lead to water damage, and misaligning pattern lines, resulting in a sloppy look. Make certain you double-check your pattern alignment before fixing tiles and apply grout sealant thoroughly after installation. Rushing through the process or unevenly spreading adhesive can cause tiles to shift or crack, so take your time for a professional finish.
How Do I Maintain and Clean My New Tile Backsplash?
Did you know that proper grout maintenance can extend your backsplash’s lifespan by up to 30%? To keep your tiles looking fresh, clean with a mild detergent and warm water regularly. For stain removal, use a mixture of baking soda and water, gently scrubbing the area. Avoid harsh chemicals that can damage grout, and seal it annually to prevent dirt buildup and stains.

Honoson 500 Pieces Wide Tile Spacers Tiles Leveler Spacers Replaceable Levelers Wall Floor Cross for Ceramic Tile and Stone Installation(1/16 Inch)
Material and size: the tile spacer is made of sturdy and hard PVC plastic, which is solid and…
As an affiliate, we earn on qualifying purchases.
As an affiliate, we earn on qualifying purchases.
Conclusion
Now that you’ve installed your tile backsplash, you’ll enjoy your kitchen even more. Remember, Rome wasn’t built in a day, so take pride in your work and don’t rush the process. With patience and a steady hand, you’ve turned a simple project into a stunning upgrade. Keep your space clean and your tools organized, and you’ll have a beautiful backsplash that lasts. After all, a job well done is the best kind of success!
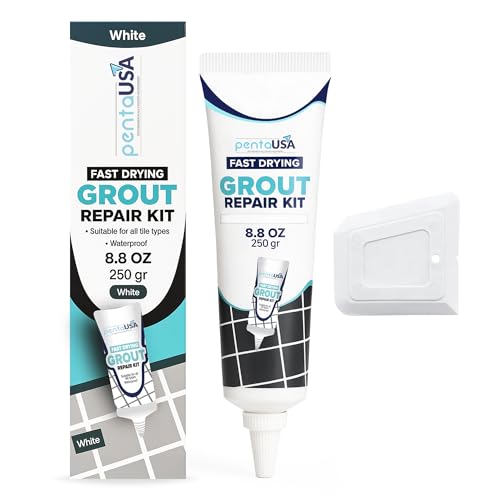
PentaUSA Tile Grout Repair Kit – White Premixed Acrylic Sanded Grout Filler for Bathroom, Shower, and Kitchen, Water-Resistant Tube with Applicator, Fills Cracks and Gaps, Fast Drying (8.8oz / 250g)
Acrylic Sanded Grout Filler That Cures Into Solid Grout – This premixed tile grout repair contains acrylic sanded…
As an affiliate, we earn on qualifying purchases.
As an affiliate, we earn on qualifying purchases.
Art3d 102-Piece Peel and Stick Wall Tile for Kitchen Backsplash, Bathroom, Fireplace, 3in. × 6in. Stick on Subway Tile, Glossy White
Easy DIY, Just Peel & stick, cut with tin snip, utility knives or hand saws, saving large amount…
As an affiliate, we earn on qualifying purchases.
As an affiliate, we earn on qualifying purchases.