
To paint like a pro, choose the right tools for each surface—use rollers for large areas and brushes for edges and details. Prepare your tools by cleaning and loading them properly to avoid mess and guarantee even coverage. Use smooth, steady strokes with your roller and controlled movements with your brush for sharp lines. Maintain your tools to keep them in top shape. Continue exploring these tips to master professional painting techniques effortlessly.
Key Takeaways
- Match your tools to the surface type and desired finish for optimal results.
- Properly load brushes and rollers to prevent drips and ensure an even coat.
- Use rollers for large, flat surfaces and brushes for edges, detailed areas, and corners.
- Clean and maintain your tools after each use to extend their lifespan and maintain performance.
- Practice steady, sweeping motions and consistent pressure for a smooth, professional finish.
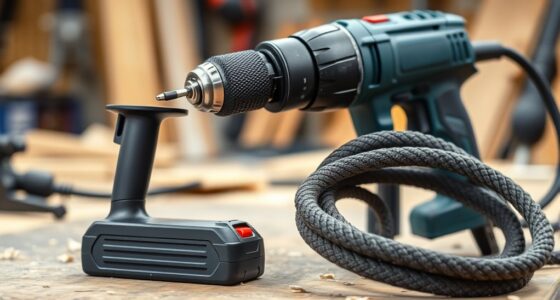
Selecting the Right Tools for Your Painting Project
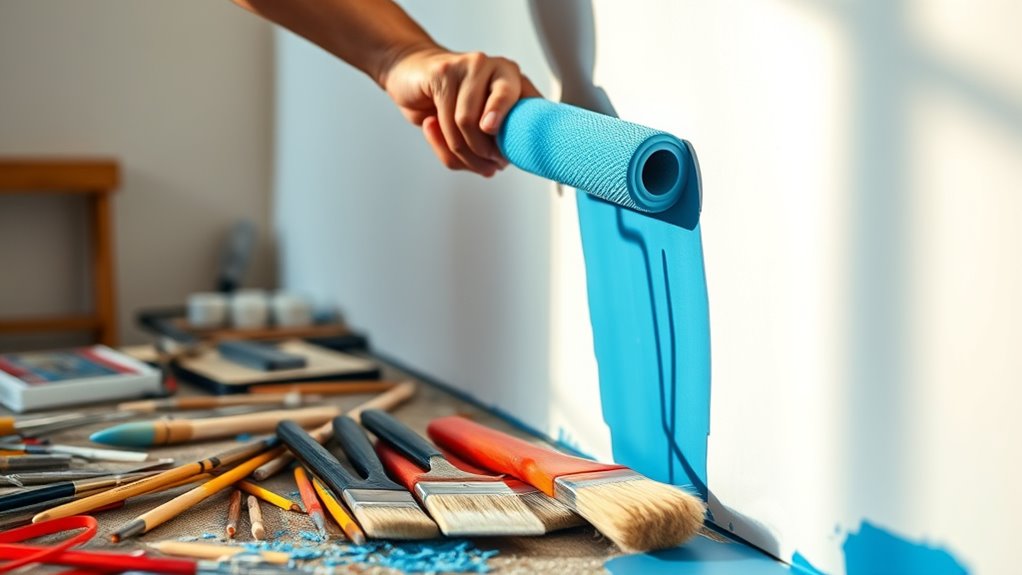
Choosing the right tools is essential for achieving a professional-looking paint job and making your project easier and more efficient. You want to select tools that match your surface type and paint finish. For large, flat surfaces like walls and ceilings, rollers are your best bet—they cover ground quickly and deliver even coats. If you’re working on detailed edges or small areas, brushes give you precise control. Consider the surface texture; nap rollers work well on textured walls, while smooth surfaces benefit from mohair or foam rollers. Using the right tools minimizes waste and mess, saving you time and effort. Properly choosing your equipment sets a strong foundation for a smooth, professional-looking finish, making your painting experience more satisfying and less stressful. Additionally, understanding tool maintenance and cleaning ensures your tools last longer and perform better over time. Paying attention to contrast ratio can help you assess how well your tools will handle different lighting conditions and achieve the desired visual effects. Incorporating outdoor-friendly tools can also be beneficial if you’re painting exterior surfaces, as they are designed to withstand weather elements and last longer. To further improve your results, consider selecting appropriate brush types that suit your specific project needs and paint types. Moreover, experimenting with techniques for achieving even coats can greatly enhance the quality of your finished work.
Preparing Your Rollers and Brushes for Optimal Performance
Before you start painting, make sure your rollers and brushes are properly cleaned and prepared. Use the correct cleaning techniques to remove old paint and debris, ensuring your tools perform smoothly. Also, load your rollers correctly to prevent drips and achieve even coverage from the first stroke. Incorporating proper tool maintenance practices, such as inspecting for damage and storing tools correctly, can extend their lifespan and maintain optimal performance. Regularly tool inspection helps identify wear and tear early, preventing mishaps during painting. Additionally, understanding air quality considerations can help you choose the right environment for painting and tool storage, ensuring better results and tool longevity. Proper technique selection tailored to your project can further enhance your results and reduce unnecessary tool stress. Maintaining a clean workspace and adequate ventilation can also improve drying times and overall finish quality.
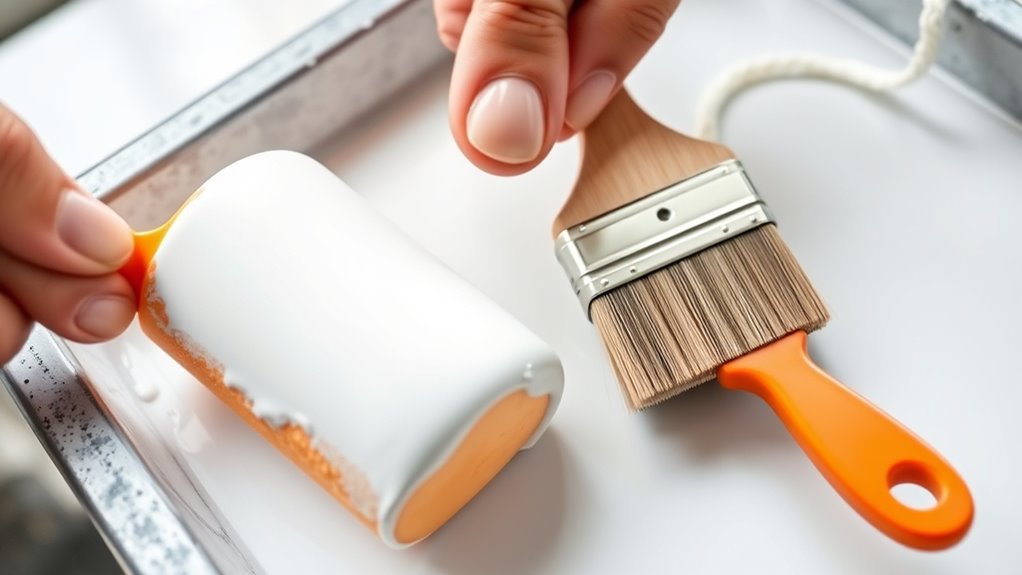
Proper Cleaning Techniques
Proper cleaning techniques are essential to keep your rollers and brushes in top condition for future use. To guarantee they perform well, clean them thoroughly after each job. Rinse brushes with warm water for latex paints or use solvent for oil-based paints. Spin or squeeze out excess paint before washing. For rollers, remove excess paint by rolling on a tray’s ridges, then rinse thoroughly. Store them in a clean, dry place to prevent mold and damage. Use the following table to guide your cleaning process:
| Step | Method | Tips |
|---|---|---|
| Remove Excess Paint | Roll on tray or squeeze | Avoid squeezing too hard |
| Rinse Thoroughly | Warm water or solvent | Use a brush comb for bristles |
| Spin/Dry | Spin in a roller spinner or squeeze out | Air dry in a ventilated area |
| Store Properly | Hang or upright in a dry space | Keep out of direct sunlight |
Additionally, maintaining your tools by cleaning them properly can extend their lifespan and ensure optimal performance.
Correct Loading Procedures
To achieve a smooth and even paint application, you need to load your rollers and brushes correctly. Start by dipping them lightly into the paint, covering about half of the roller or the bristle tips of the brush. Roll or wipe off excess paint on the tray’s ridged edge, ensuring you don’t overload. This prevents drips and uneven coverage. For rollers, dip just enough to saturate the nap without flooding it; for brushes, dip only the tip to avoid pooling. Always evenly distribute paint by rolling or brushing back and forth on the tray’s flat surface. Proper loading reduces mess, minimizes waste, and guarantees a more consistent finish. Remember, less is more—load gradually to maintain control and achieve professional results.
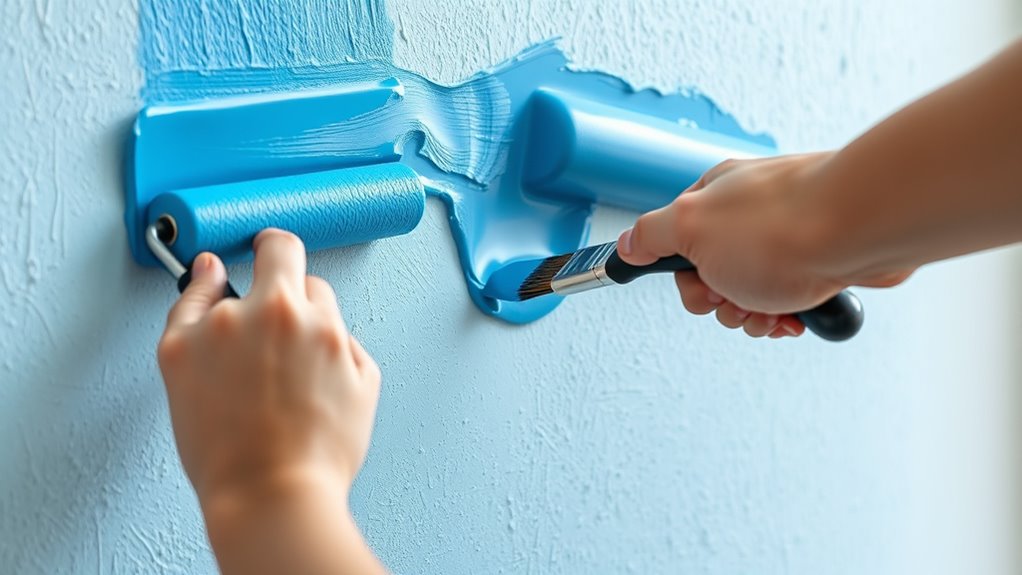
Mastering Roller Techniques for Smooth and Even Coverage
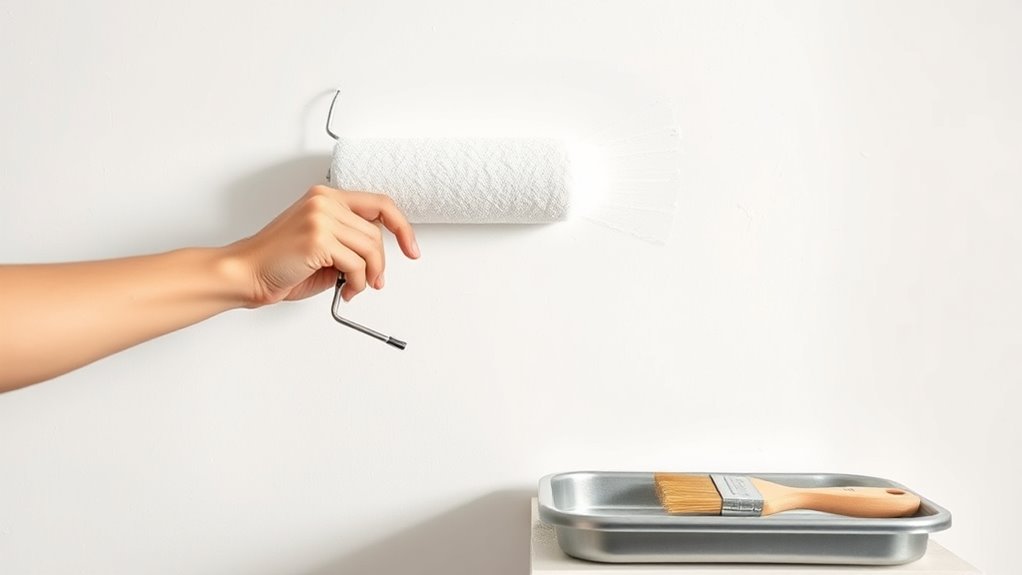
Achieving a smooth, even finish with a roller requires precise technique and attention to detail. First, load your roller evenly, then start with a “W” or “M” pattern, filling in gaps without lifting. Keep your strokes within a one-arm reach, about 24-32 inches wide, to maintain control. Use steady, sweeping motions, avoiding excessive pressure that causes streaks or paint buildup. To envision, imagine this: Support Breakfast options available in many local establishments to complement your painting day. Additionally, maintaining a consistent paint application technique helps prevent uneven texture and ensures a professional-looking result. Developing a technique that emphasizes even pressure and movement can help you achieve a more uniform finish. Practicing these methods will improve your painting skills over time.
Using Brushes Effectively for Precise Edges and Details
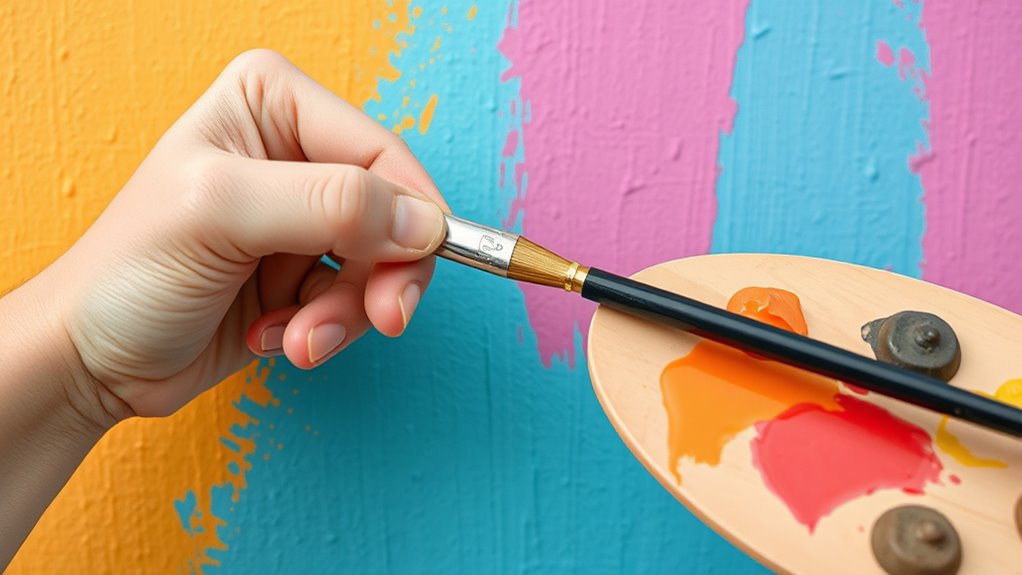
To achieve sharp edges and fine details, mastering cutting-in techniques is essential, and selecting the right brush size makes a big difference. You should choose brushes that match the project’s scale—smaller for tight spots and larger for broader areas—and keep them in top condition. Proper maintenance guarantees your brushes stay responsive and produce clean, precise lines every time. Additionally, understanding juice extraction techniques and how to prepare and use different tools can help you create a polished, professional look that lasts.
Cutting-in Techniques Mastery
Mastering cutting-in techniques with brushes is essential for creating clean, sharp edges and detailed finishes that rollers can’t easily achieve. To start, load your brush with just enough paint—avoid overloading to prevent drips. Hold the brush at a slight angle, using steady, controlled strokes along the edges. For crisp lines, work slowly and focus on maintaining consistent pressure. Use the tip of the brush for tight corners and intricate details, applying light, feathered strokes for precision. Keep a steady hand and don’t rush; practice helps develop smooth, even lines. If you make a mistake, lightly wipe or feather the edge to blend. Proper technique ensures neat boundaries between different colors or surfaces, giving your project a professional, polished look.
Optimal Brush Sizes Selection
Choosing the right brush sizes is essential for applying paint accurately and efficiently, especially when working on detailed areas or edges. Smaller brushes, like 1-inch or 2-inch, excel at cutting in along trim, corners, and intricate designs. Larger brushes, such as 3-inch or 4-inch, are perfect for broad strokes and filling in larger areas quickly. Here’s a visual guide:
| Brush Size | Ideal Use | Surface Area Coverage |
|---|---|---|
| 1 inch | Fine detailing, edges | Precision, tight corners |
| 2 inch | Edging, small trim | Moderate detail |
| 4 inch | Large surfaces, walls | Fast coverage |
Selecting the right size guarantees clean lines and minimizes touch-up work, saving you time and effort.
Maintaining Brush Performance
Regularly maintaining your brushes guarantees they stay in top condition for detailed work and precise edges. Clean brushes thoroughly after each use with water for water-based paints or solvent for oil-based paints. Remove excess paint by gently pressing against the side of the container or wiping on a rag. Reshape the bristles and store brushes upright or flat to prevent deformation. Periodically check for loose or frayed bristles and replace damaged brushes to ensure clean lines. Use brush cleaners or conditioning solutions to keep bristles soft and flexible, which improves control for fine details. Avoid leaving brushes soaking in water or solvent for extended periods, as this weakens the glue and damages bristles. Proper maintenance guarantees your brushes remain effective, precise, and ready for your next detailed project.
Maintenance Tips to Keep Your Painting Tools in Top Condition

Proper maintenance of your painting tools guarantees they stay in top condition and deliver professional results every time. Regularly cleaning your rollers and brushes prevents paint buildup, ensuring smooth application and prolonging their lifespan. After each use, rinse rollers thoroughly with water or solvent, depending on the paint type. Use a brush comb or wire brush to remove dried paint from bristles. Store tools properly, with brushes stored upright or flat, and rollers in a clean, dry place to prevent damage. Additionally, inspecting your tools regularly for signs of wear allows for timely repairs or replacement, maintaining optimal performance. Tool longevity can be significantly extended by following proper cleaning and storage practices, which help prevent damage from neglect. To further protect your tools, consider applying a protective tool coating that can help inhibit rust and make cleaning easier over time. Proper storage techniques also play a key role in preventing deformation, ensuring your tools retain their shape and effectiveness for future projects.
Comparing Rollers and Brushes: When to Use Each for Best Results

While rollers excel at quickly covering large, flat surfaces with a smooth finish, brushes are essential for detailed work and precise edges. Use brushes when painting corners, edges, or intricate areas where accuracy matters. They’re perfect for cutting in along ceilings, moldings, and tight spaces. Rollers, on the other hand, save time on big surfaces like walls and ceilings, providing even coverage with minimal effort. For textured surfaces or uneven walls, nap rollers deliver better results. Reserve brushes for touch-ups, small areas, or detailed work that requires control. Combining both tools ensures a professional look: rollers handle the bulk, and brushes take care of the details. Knowing when to switch between them helps you achieve smooth, accurate finishes efficiently.
Frequently Asked Questions
How Do I Prevent Roller Splatter During Painting?
To prevent roller splatter, start by loading your roller properly—dip it lightly and roll it on the tray to distribute paint evenly. Keep the roller only partially saturated and avoid overloading. Apply steady, even pressure and use smooth, controlled strokes, especially when rolling near edges. Maintain a consistent speed and avoid pressing too hard, which can cause excess paint to flick off and create splatter.
What’s the Ideal Drying Time Between Coats?
Waiting for the paint to dry is like giving your walls a breather—typically, you should wait 2 to 4 hours between coats. However, thicker coats or humid conditions can extend drying time, so check the manufacturer’s instructions. Make certain the surface feels dry to the touch and is no longer tacky before applying the next coat. Rushing this step can cause uneven finishes or peeling down the line.
How Can I Fix Roller or Brush Streaks?
To fix roller or brush streaks, start by lightly sanding the affected area with fine-grit paper to smooth out uneven spots. Then, feather out the edges with a clean brush or roller to blend the streaks into the surrounding paint. Make sure the paint is still workable, and apply a thin, even coat. Proper technique and patience will help you achieve a smooth, professional-looking finish.
What’s the Best Way to Store Tools After Painting?
After painting, you should clean your tools thoroughly to guarantee they last. Use water for latex paints and appropriate solvents for oil-based paints. Shake excess water or solvent out, then wipe tools with rags or paper towels. Store rollers and brushes in plastic bags or airtight containers to keep them moist and prevent drying out. Keep them in a cool, dry place, and avoid stacking heavy objects on top to maintain their shape.
How Do I Choose the Right Roller Nap Thickness?
To choose the right roller nap thickness, consider your surface texture. For smooth surfaces like drywall or cabinets, go for a ⅜-inch or ½-inch nap for a sleek finish. For semi-rough walls, select a ¾-inch nap, and for rough or textured surfaces, opt for 1-inch or more. Thicker naps hold more paint and provide better coverage on uneven surfaces, ensuring a smoother, more professional look.
Conclusion
Now that you’re armed with expert tips, your brushes and rollers become magic wands, transforming blank walls into vibrant works of art. With each stroke, you breathe life into your space, turning ordinary moments into masterpieces. Embrace the process with confidence, knowing your tools are your trusted companions. Before you know it, your home will sing with color and personality—proof that every great artist started with a simple brush and a fearless heart.