
To solder wires, start by gathering your tools: a soldering iron, rosin-core solder, wire strippers, and safety gear. Prepare your wires by stripping, twisting, and cleaning the ends, then apply flux and tin them to *guarantee* a good connection. Use a steady hand and proper technique to heat the joint and feed in solder. Once cooled, check your work and protect the connection with insulation. Keep going to learn more tips for perfect soldering.
Key Takeaways
- Use a clean, heated soldering iron and properly prepared, tinned wire ends for strong, reliable connections.
- Strip and twist stranded wires tightly before soldering to ensure stability and better solder flow.
- Apply flux to wire ends to prevent oxidation and improve solder adhesion during the process.
- Heat the joint evenly and feed solder into the opposite side of the iron tip for a neat, solid solder joint.
- Inspect and insulate the completed solder joint with heat shrink tubing or electrical tape for safety and durability.
Gathering the Right Tools and Materials
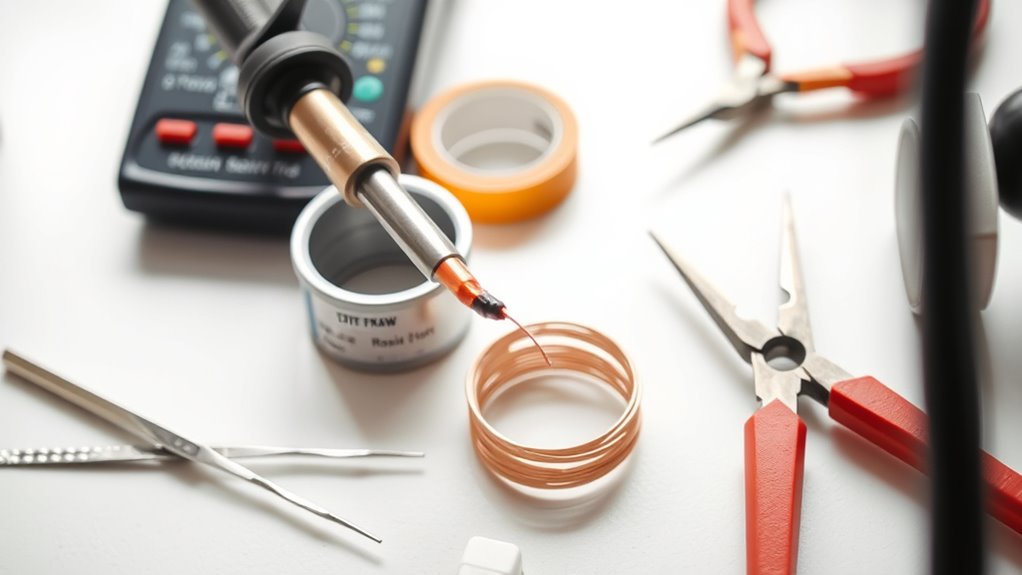
Have you gathered all the essential tools and materials before starting your soldering project? You’ll need a good-quality soldering iron with adjustable temperature control, ideally heated to around 350°C to 400°C. Grab rosin-core solder, either leaded or lead-free, for better flow, and consider additional flux if needed. Use wire strippers or automatic wire strippers to prepare your wires accurately. Helping hands or alligator clips will keep wires steady, giving you better control. Don’t forget a damp sponge or tip cleaner to maintain your soldering iron tip. Safety gear like goggles and gloves are vital to protect against splashes and burns. Proper solder joint quality is essential for ensuring strong, reliable connections. Understanding the importance of temperature control can help prevent damage to sensitive components and improve solder flow. Properly preparing your wires and tools can also reduce the risk of poor connections, ensuring a more successful soldering experience. Having these tools ready ensures a smooth soldering process, helping you produce strong, reliable connections. Additionally, knowing how to properly heat the soldering iron can make a significant difference in the quality of your work. Being aware of soldering safety practices is crucial to avoid accidents and ensure a safe working environment.
Preparing Wires for Soldering
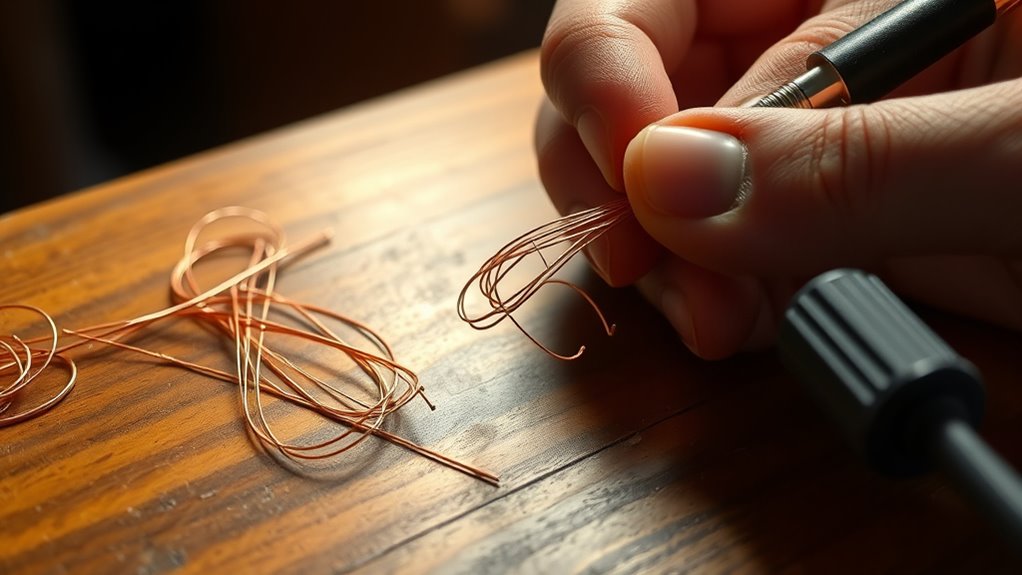
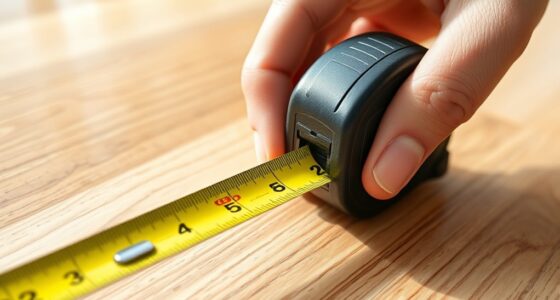
Start by carefully stripping about 1-1.5 cm of insulation from each wire to expose clean metal. Next, twist the strands tightly to form a solid core, which helps create a stronger connection. Finally, clean the exposed ends and optionally tin them with solder to make the soldering process smoother and more reliable. Incorporating energy-efficient cloud servers into your projects can also promote sustainability and security in your electronics work.
Strip Insulation Carefully
Properly stripping insulation from wires is essential for ensuring a good solder joint and reliable connection. Use wire strippers or automatic strippers to remove about 1-1.5 cm (0.5 inch) of insulation cleanly and evenly. Avoid nicking or damaging the copper strands, as this can weaken the connection. Make sure the exposed wire is smooth and free of any frayed strands or rough edges. This clean exposure allows for better solder flow and a stronger bond. Take your time to strip carefully, especially near delicate components, to prevent tearing or cutting through the wire. Proper stripping sets the foundation for a solid solder joint and helps prevent future connection issues. Using the right tools can make the process easier and more precise. Additionally, ensuring proper airflow around the unit during operation can help maintain the longevity and performance of your soldered connections. Being aware of soldering safety practices is also crucial to avoid accidents and ensure high-quality results. Incorporating knowledge of essential oils for various health concerns can also provide insights into maintaining overall well-being during long soldering sessions, ensuring you stay alert and comfortable. Understanding AI-powered virtual reality in e-learning can also provide insights into innovative training methods for soldering techniques.
Twist Wire Strands
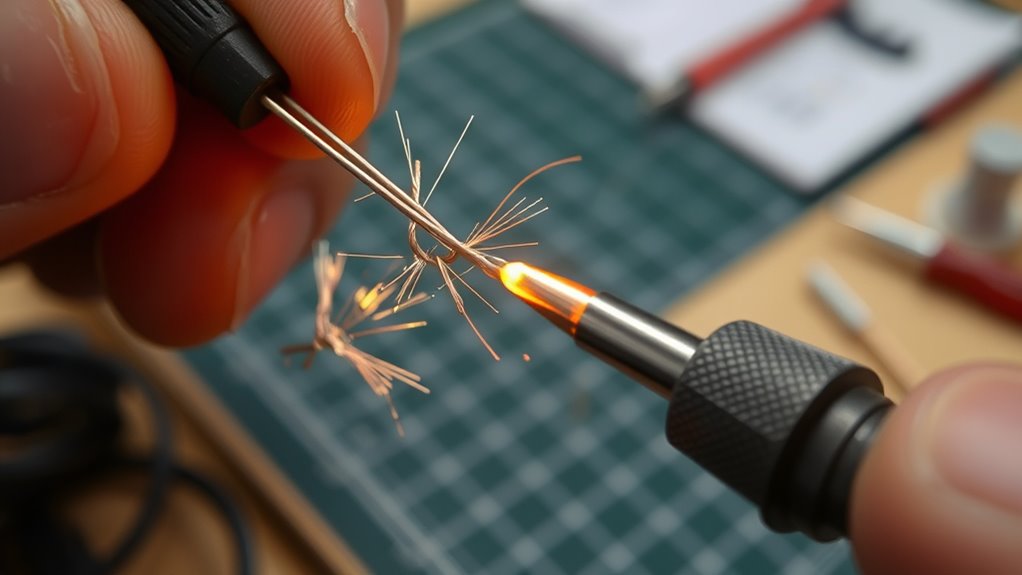
Twisting wire strands tightly before soldering guarantees a solid mechanical and electrical connection. When you twist the strands, you prevent loose wires from fraying or moving apart during soldering, which improves joint strength. To guarantee a reliable connection, focus on these key steps:
- Use pliers if needed to grip and twist the strands firmly.
- Twist the strands together in a clockwise direction until tight.
- Trim any excess or protruding strands after twisting to prevent shorts or insulation damage.
- Proper twisting ensures the wire strands are compact, making it easier for the solder to flow evenly and create a durable joint. Proper twisting is essential for both clarity and safety in your soldering project, especially considering the importance of piercing care and hygiene to prevent infection risks. Additionally, ensuring that the strands are tightly twisted reduces the risk of poor electrical contact, which can lead to unreliable connections and potential failures.
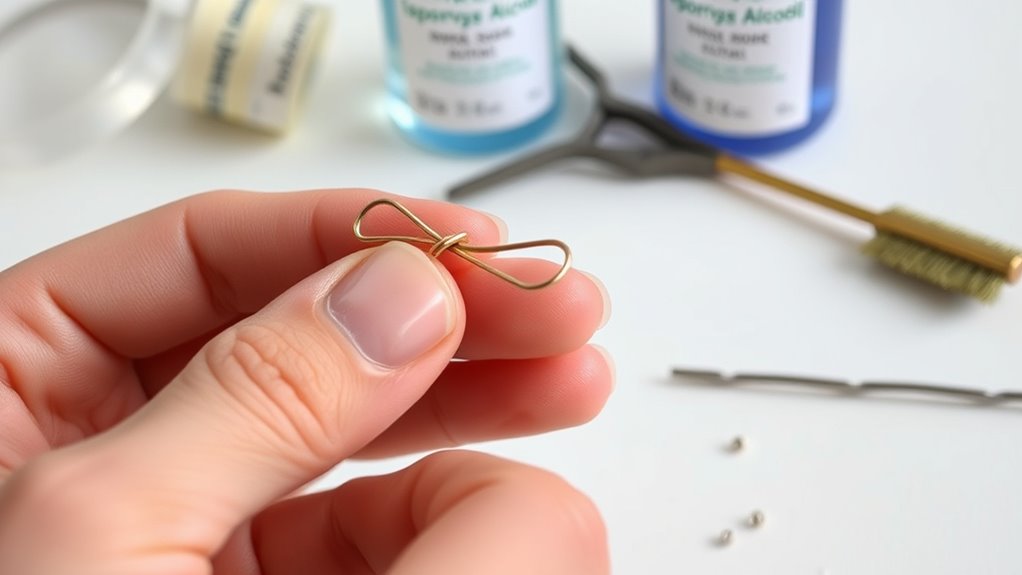
Clean and Tin Ends
Before soldering, it’s important to clean the exposed wire ends to guarantee a reliable connection. Dirt, oxidation, or corrosion can hinder solder flow and weaken the joint. To clean, use a damp sponge or a brass wire cleaner to remove debris and oxidation. Once clean, tin the wire by heating it with your soldering iron and applying a small amount of solder. This creates a thin, even coat of solder on the wire, making future connections easier and stronger. Proper preparation will also help ensure your solder joints are best gelato in Laguna Beach and long-lasting. Incorporating creative storytelling techniques into your process can also help you visualize and improve your soldering skills more effectively.
Twisting and Cleaning Wire Ends
To guarantee a strong and reliable solder joint, you need to twist the wire strands tightly together. This ensures good electrical contact and mechanical strength. First, hold the stripped wire ends and twist the strands clockwise until they form a uniform, solid core. Next, clean the exposed wire end to remove dirt, corrosion, or oxidation that could hinder solder flow. Use a wire brush or abrasive pad if needed. Additionally, ensuring the wire strands are properly twisted tightly helps create a more reliable solder joint. Inspect the twisted wire for loose strands and trim any protruding bits. This step prevents shorts and ensures a neat connection. Properly preparing wire ends by twisting and cleaning is essential for achieving high-quality solder joints. Incorporating proper wire handling techniques can further improve the quality of your soldering work. Remember these key points:
Twist, clean, and trim wires for a strong, reliable solder joint.
- Twist strands tightly for solid contact
- Clean wire ends thoroughly
- Trim excess or loose strands
Following these steps creates a clean, secure foundation for effective soldering. Properly preparing your wires by twisting and cleaning significantly improves the overall quality of your solder joints, especially for beginners learning soldering techniques.
Applying Flux and Tinning Wires
Applying flux to the wire joint helps remove oxidation and contaminants, guaranteeing a clean surface for solder to flow smoothly. Use a small brush or a flux pen to apply a thin, even layer of flux to the twisted or prepared wire ends. This step promotes better solder adhesion and prevents oxidation during heating. Once the flux is applied, you can tin the wires by heating them with your soldering iron and applying a small amount of solder. Spread the solder evenly over the exposed wire strands, creating a shiny, smooth coating. Tinning makes the wires easier to work with later and ensures a strong, reliable connection. After tinning, trim any excess solder or protruding strands to maintain a clean, safe joint. Understanding affiliate disclosure policies helps you stay transparent about product recommendations and potential financial relationships.
Soldering the Wire Joints
To solder wire joints effectively, start by preparing and twisting the wires tightly together. Then, apply flux properly to clean the joint and guarantee good solder flow. Finally, heat the joint evenly and feed solder carefully to create a strong, reliable connection.
Prepare and Twist Wires
Preparing and twisting wires correctly is a crucial step in ensuring a strong soldered joint. Proper preparation makes soldering easier and results in a reliable connection. Here are three key steps to follow:
- Strip about 1-1.5 cm of insulation from each wire using wire strippers for a clean, precise cut.
- Twist stranded wire tightly into a single core to prevent loose strands, which can weaken the joint.
- Clean the exposed ends with a wire brush or alcohol to remove dirt, oxidation, or corrosion for ideal electrical contact.
These steps ensure good conductivity and mechanical stability. Twisting the wires tightly and cleaning them thoroughly set the foundation for a successful solder joint. Proper preparation reduces the risk of weak or cold solder connections later.
Apply Flux Properly
Before soldering the wire joint, make sure to apply a small amount of flux to the exposed wire ends and the twisted connection. Flux helps clean the metal surfaces and improves solder flow, resulting in a stronger, more reliable joint. Use a flux pen, brush, or a small dab from a flux container to evenly coat the area. Avoid overapplying; a thin layer is enough. The flux will sizzle slightly when heated, indicating it’s working. Proper flux application reduces oxidation and ensures the solder bonds well to the wire. It also helps prevent cold solder joints, which are weak and unreliable. Once the flux is applied, you’re ready to heat the joint with your soldering iron and add solder for a solid connection.
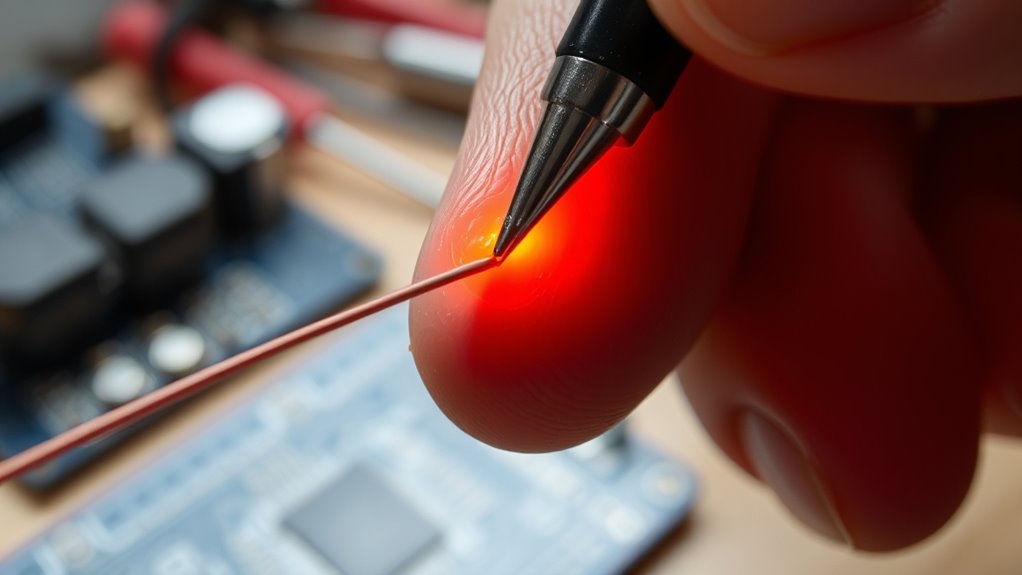
Heat and Solder Carefully
When soldering the wire joints, you should heat the joint evenly and carefully to guarantee a strong, reliable connection. Proper heating ensures the solder melts uniformly, creating a solid bond. To do this effectively:
- Place the soldering iron tip directly on the joint, applying steady pressure.
- Keep the iron in contact until the joint heats up—usually a few seconds.
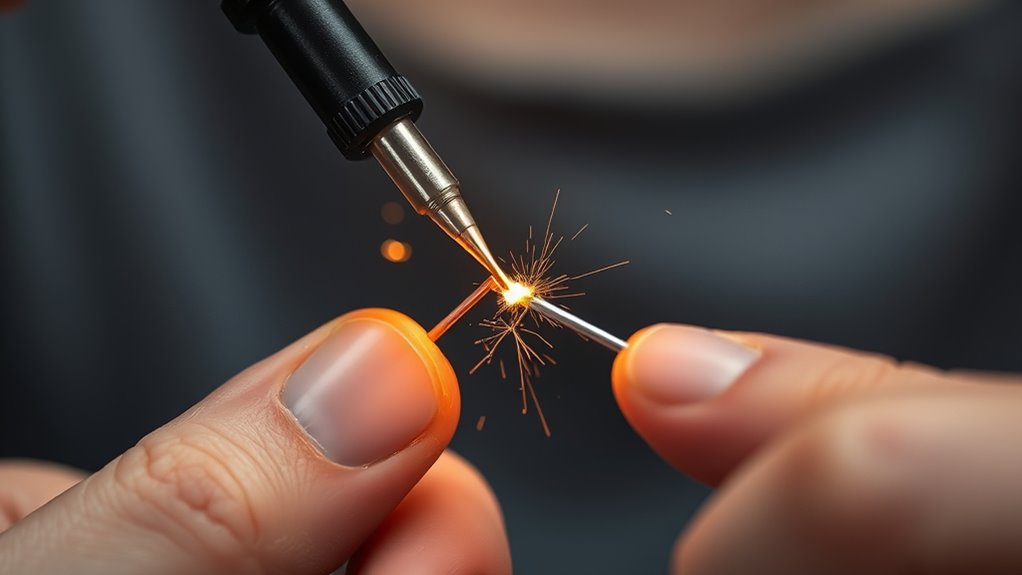
- Feed solder into the joint at the opposite side of the iron tip, letting it wick through the strands.
Avoid overheating, which can damage insulation or components, and don’t move the joint until the solder cools and solidifies. This careful approach results in a clean, strong, and electrically sound connection.
Ensuring Safety and Proper Technique
Ensuring safety and proper technique during soldering is essential to prevent accidents and achieve reliable joints. Always wear safety goggles and heat-resistant gloves to protect yourself from molten solder splashes and burns. Work in a well-ventilated area or use a fume extractor to avoid inhaling fumes, especially if using lead-based solder. Keep the soldering iron in a secure stand when not in use to prevent accidental burns or fires. Avoid touching the hot tip or freshly soldered joints until cooled. Maintain a tidy workspace free of flammable materials. Use all tools properly: twist wires tightly before soldering, apply flux for better flow, and avoid overheating. Practicing steady hand movements and following safety protocols ensures both your safety and the quality of your soldered connections.
Finishing the Soldered Wires and Final Checks

Once you’ve completed the soldering process, it’s essential to properly finish and inspect your work to guarantee reliability and safety. First, trim any excess solder or stray wire strands to prevent shorts or damage. Second, slide heat shrink tubing or electrical tape over the joint for insulation and protection. Third, perform a final check: gently tug on the wires to ensure a secure connection, and visually inspect for cold joints, gaps, or missed coverage. Confirm there’s no exposed wire that could cause shorts. Use a multimeter to test continuity if needed. Proper finishing and thorough checks guarantee your soldered wires are safe, durable, and ready for use. Remember, a solid finish is key to long-lasting, reliable connections.
Frequently Asked Questions
Can I Solder Wires Without Stripping Insulation?
You generally shouldn’t solder wires without stripping insulation because the solder needs direct contact with the metal strands to create a solid connection. Leaving insulation on can prevent proper bonding, leading to weak joints or poor conductivity. If you attempt to solder over insulation, it won’t melt properly and can cause shorts or unreliable connections. Always strip about 1-1.5 cm of insulation for effective, strong solder joints.
What Type of Solder Is Best for Wire Connections?
The best solder for wire connections is rosin-core solder, like 60/40 tin-lead or lead-free options. Think of it as the secret sauce that guarantees smooth flow and strong bonds. You want a solder with flux inside because it cleans and promotes better adhesion. Using quality solder prevents weak joints and corrosion, making your connections reliable. Always choose solder suited for electronics to keep your work solid and long-lasting.
How Do I Prevent Cold Solder Joints?
To prevent cold solder joints, make certain you heat the wires and joint thoroughly before applying solder, so it melts evenly. Don’t move the wires until the solder cools and solidifies, which takes a few seconds. Apply the right amount of solder—enough to cover the connection but not excess. Keep your soldering iron clean and at the correct temperature, and always work in a steady, controlled manner for strong, reliable joints.
How Long Should I Wait for Solder Joints to Cool?
Think of cooling your solder joint like letting a cake cool—rushing causes cracks. You should wait about 1 to 2 seconds after removing the soldering iron for the joint to cool and solidify. During this time, avoid moving the wires, as shifting can cause weak or cold joints. Patience guarantees a strong, reliable connection that lasts—like a well-baked cake.
Is It Necessary to Use Flux if Solder Has Flux Core?
No, you don’t need to add extra flux if your solder has a flux core. The flux inside the solder helps clean and prepare the metal surfaces, ensuring smooth and strong joints. However, if you notice oxidation or difficult solder flow, applying additional flux can improve the process. Just make sure to use the right type of flux and solder, and always work in a well-ventilated area for safety.
Conclusion
Now that you’ve learned how to solder wires, remember that practice makes perfect. Keep your tools clean, stay patient, and don’t rush the process. With time, your skills will improve, and your joints will become stronger. As the saying goes, “A stitch in time saves nine”—taking your time now guarantees a reliable connection later. Keep experimenting and refining your technique, and you’ll become confident in your soldering abilities.