
To refresh your bathroom or kitchen grout, start by thoroughly cleaning and removing dirt, mold, and old grout using a grout cleaner or a baking soda-vinegar mix. Next, carefully apply new grout into your tiled gaps with a rubber float, pressing it firmly and wiping away excess with a damp sponge. Allow the grout to cure for 24-48 hours before sealing it to protect against stains. For detailed step-by-step tips, keep exploring further.
Key Takeaways
- Thoroughly clean and remove old grout, dirt, and mold using grout cleaner or baking soda and vinegar mixtures.
- Carefully apply new grout into the lines with a rubber float, ensuring complete filling.
- Allow the grout to cure for 24-48 hours before cleaning excess residue from the tiles.
- Seal the regrouted areas with a quality tile sealer to protect against moisture and stains.
- Maintain the refreshed grout regularly with gentle cleaning solutions to preserve its appearance and longevity.
Regrouting tiles is a straightforward way to refresh your space and restore its appearance. Over time, grout lines can become stained, cracked, or moldy, detracting from the overall look of your bathroom or kitchen. Replacing old grout with fresh material can make your tiles look new again. Before you start, it’s important to focus on thorough grout cleaning. Removing built-up dirt, soap scum, and mold ensures that the new grout adheres properly and looks clean. Use a grout cleaner or a mixture of baking soda and vinegar to scrub the lines carefully. A stiff brush or a grout removal tool can help you eliminate stubborn stains and loose grout. Once the grout lines are clean and dry, you can proceed with regrouting.
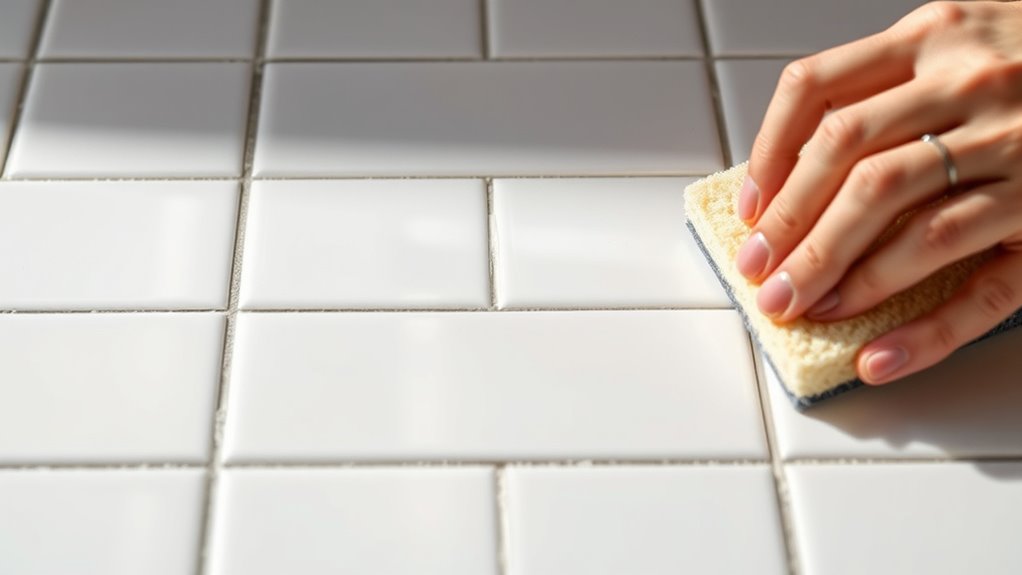
Applying new grout involves pressing it into the lines with a rubber float or a similar tool, making sure to fill every gap completely. After spreading the grout, it’s essential to wipe away the excess from the tile surface promptly with a damp sponge. This prevents haze from forming and keeps your tiles looking polished. Allow the grout to cure for the time specified by the manufacturer, typically 24 to 48 hours. Once it’s set, you’ll need to do a final cleaning to remove any remaining grout residue from the tile surface. This step ensures a smooth, professional finish. Proper curing and cleaning are crucial for a durable and aesthetically pleasing result.
To maintain your newly regrouted tiles and keep them looking their best, consider applying a quality tile sealer. Tile sealing protects the grout from moisture, stains, and discoloration, extending its lifespan and reducing future cleaning efforts. Sealing is especially important in moisture-prone areas like bathrooms and kitchens. Regular grout cleaning is also crucial for preserving your tile’s appearance. Use gentle cleaning solutions and avoid harsh chemicals that could damage the grout or tiles. A consistent cleaning routine prevents mold growth and keeps your space fresh.
Regrouting is not just about aesthetics; it’s about safeguarding your investment in your home. Proper grout cleaning before regrouting ensures the best results, while sealing afterward preserves your work and minimizes future maintenance. When you take these steps, you’ll enjoy a cleaner, more inviting space that looks like new. Whether you’re tackling a small patch or redoing an entire wall, these simple measures can transform your bathroom or kitchen into a brighter, more appealing area. Remember that understanding kitchen science & materials, like how grout interacts with different surfaces, can help you choose the best products for your project.
Frequently Asked Questions
How Long Does Regrouting Typically Take?
Regrouting usually takes about 2 to 4 hours, depending on the size of your area and the process duration. You’ll want to allocate enough time for removing old grout, cleaning, and applying new grout. Smaller spaces can be completed faster, while larger, more intricate areas may take longer. Keep in mind that drying time for the grout also influences the overall timing estimates, so plan accordingly to ensure the best results.
Can Regrouting Be Done on Sealed Tiles?
Yes, you can regrout sealed tiles, but it requires careful planning. You should remove the existing grout without damaging the sealant, which helps prevent moisture infiltration. After regrouting, reseal the tiles to maintain their protection. Regular grout maintenance and proper tile sealing ensure your bathroom or kitchen stays fresh and waterproof, making regrouting a practical option even on sealed tiles when done correctly.
Is Regrouting Suitable for Outdoor Tiles?
Think of your outdoor tiles as brave explorers facing the elements; regrouting can be appropriate if they’re sturdy enough. You need to make certain the grout has good outdoor durability and weather resistance, resisting rain, sun, and temperature swings. If you choose the right materials and apply correctly, regrouting can refresh your outdoor space, making it resilient and attractive. Otherwise, it might be best to consult a professional for long-lasting results.
What Are Signs That Grout Needs Regrouting?
You’ll notice grout needs regrouting when the color matching has faded, revealing uneven or discolored lines. Mold removal becomes difficult, and you see black or green spots. Cracks or crumbling grout also indicate it’s time for a refresh. If your grout is stained, loose, or visibly damaged, regrouting can restore your tiles’ appearance and prevent further issues, making your space look clean and well-maintained.
How Often Should Grout Be Regrouted?
Imagine your grout color fading like a sunset, signaling it’s time to regrout. You should regrout every 1 to 2 years, depending on wear and moisture. Use regrouting tools to carefully remove old grout and apply fresh, matching the original color. Regular upkeep keeps your tiles looking vibrant and prevents water damage, ensuring your bathroom or kitchen stays beautiful and functional over time.
Conclusion
Now that you know how to regrout your tiles, imagine the transformation waiting just beneath the surface. Will you take the plunge and reveal a bathroom or kitchen that feels brand new? Don’t let dirty, stained grout hold you back any longer—your refresh is within reach. The only thing left is to decide: are you ready to see the stunning difference a little effort can make? The choice is yours—what will you discover?