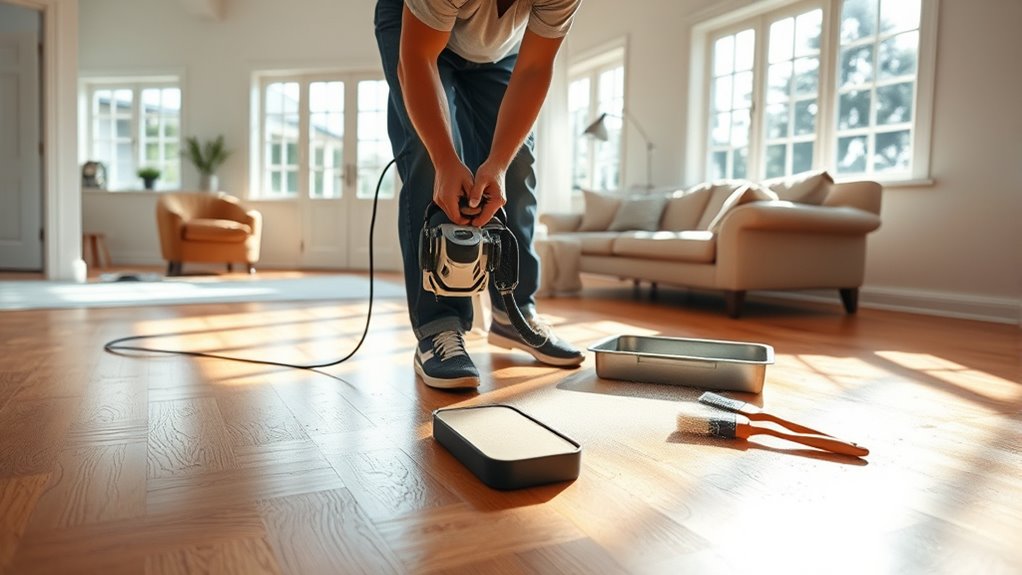
Refinishing your hardwood floors yourself involves proper sanding, staining, and finishing. Start by removing the old finish with coarse and finer grit sanders, moving with the grain for a smooth surface. Clean thoroughly before applying stain with a brush or cloth, wiping off excess for an even look. Finish with a protective topcoat, lightly sanding between coats. If you’re enthusiastic to transform your floors like a pro, continue exploring for detailed tips and techniques.
Key Takeaways
- Properly sand the floor starting with coarse grit and progressing to finer grits, following the wood grain for a smooth surface.
- Wear safety gear like dust masks and eye protection, and thoroughly clean debris before applying stain.
- Choose the right stain to match your decor, applying evenly with a brush or cloth, and wipe off excess for consistent color.
- Use appropriate sanding equipment such as orbital or pole sanders for large areas and detail sanders for edges.
- Apply multiple coats of stain and finish with light sanding between coats for a durable, professional-looking result.
Refinishing hardwood floors is a practical way to restore their beauty and extend their lifespan. When you decide to give your floors a fresh look, the first step is understanding how to properly sand and refinish them. One of the key elements in this process is choosing the right floor stain to enhance the natural wood grain and match your decor. The stain allows you to customize the appearance, whether you prefer a rich, dark hue or a lighter, more natural finish. Before applying the stain, you’ll need to prepare the surface thoroughly, which involves sanding the floor to remove old finish, scratches, and imperfections.
Refinishing hardwood floors restores beauty and extends lifespan through careful sanding and stain application.
Using effective sanding equipment is vital for achieving a smooth, even surface. You should start with a coarse grit sander to strip away the old finish and any damaged wood. Then, gradually move to finer grits to refine the surface. A pole sander or orbital sander works well for larger areas, while detail sanders can help reach tight corners and edges. Make sure to keep the sander moving in the direction of the wood grain to avoid gouges or uneven spots. Always wear a dust mask and eye protection, because sanding creates a lot of dust that can be hazardous if inhaled. Proper sanding techniques are essential for a professional-looking finish.
Once you’ve sanded the floor thoroughly, vacuum or sweep away all debris before moving on to staining. Applying the floor stain is straightforward, but you want to do it carefully to guarantee an even coat. Use a brush or a lint-free cloth to spread the stain uniformly across the surface. Wipe off any excess to prevent blotches and uneven coloring. Depending on the desired depth of color, you might need to apply multiple coats, allowing each one to dry completely before adding the next. Proper sanding beforehand helps the stain penetrate evenly, resulting in a professional-looking finish.
After staining, you’ll need to finish with a protective topcoat, such as polyurethane, to seal in the color and provide durability. Sand lightly with fine grit paper between coats for a smooth, flawless finish. This entire process requires patience and attention to detail, but it’s highly rewarding when your floors look renewed. By choosing the right sanding equipment and carefully applying your floor stain, you can achieve a beautiful, long-lasting result that breathes new life into your home’s hardwood floors.
Frequently Asked Questions
How Do I Choose the Right Finish for My Hardwood Floors?
To choose the right finish, consider your flooring color and the level of finish durability you need. If your floors are lighter, a clear polyurethane enhances natural beauty, while darker floors might benefit from a matte or satin finish for a softer look. For high-traffic areas, opt for a durable finish like polyurethane or epoxy to protect your floors long-term. Balance your style preferences with the durability that fits your lifestyle.
Can I Refinish Only Specific Sections of My Hardwood Floors?
Yes, you can refinish only specific sections of your hardwood floors. For spot repair or partial sanding, carefully sand the damaged areas to blend with the existing finish. Use a buffer or hand sanding for precision, and apply a matching stain and sealant to guarantee a seamless look. Just make sure to feather the edges of your work to avoid noticeable shifts between the refinished and original sections.
What Safety Precautions Should I Take During Sanding and Refinishing?
You should wear personal protective equipment like a dust mask, goggles, and ear protection to stay safe during sanding and refinishing. Use dust control methods such as plastic sheeting and a vacuum attachment to minimize airborne dust. Guarantee proper ventilation by opening windows and using fans. Keep the workspace clean, and follow all safety instructions on your equipment. These precautions help protect your lungs, eyes, and overall health.
How Long Does the Entire Refinishing Process Typically Take?
Picture your project timeline as a carefully choreographed dance, flowing smoothly from start to finish. Typically, refinishing takes about 3 to 7 days, allowing for sanding, staining, and sealing. You’ll need to account for drying time, which varies from 24 to 72 hours depending on your products. Rushing this process could lead to a less durable finish, so patience guarantees a stunning, long-lasting result.
Are There Eco-Friendly or Low-Voc Finishing Options Available?
Yes, you can choose eco-friendly finishes and low VOC options for your hardwood floors. These finishes emit fewer fumes and are safer for your indoor air quality. Look for products labeled as low VOC or eco-friendly, often made with natural oils or water-based formulas. They provide a beautiful finish while minimizing environmental impact and health risks, making your DIY refinishing project both stylish and sustainable.
Conclusion
Refinishing your hardwood floors is a rewarding DIY project that can transform your space. With over 80% of homeowners preferring hardwood for its durability and beauty, taking this on yourself saves money and adds personal pride. Remember, proper sanding and finishing make all the difference. So, roll up your sleeves, follow these steps, and enjoy the stunning, renewed look of your floors—your home’s true heart will shine brighter than ever.