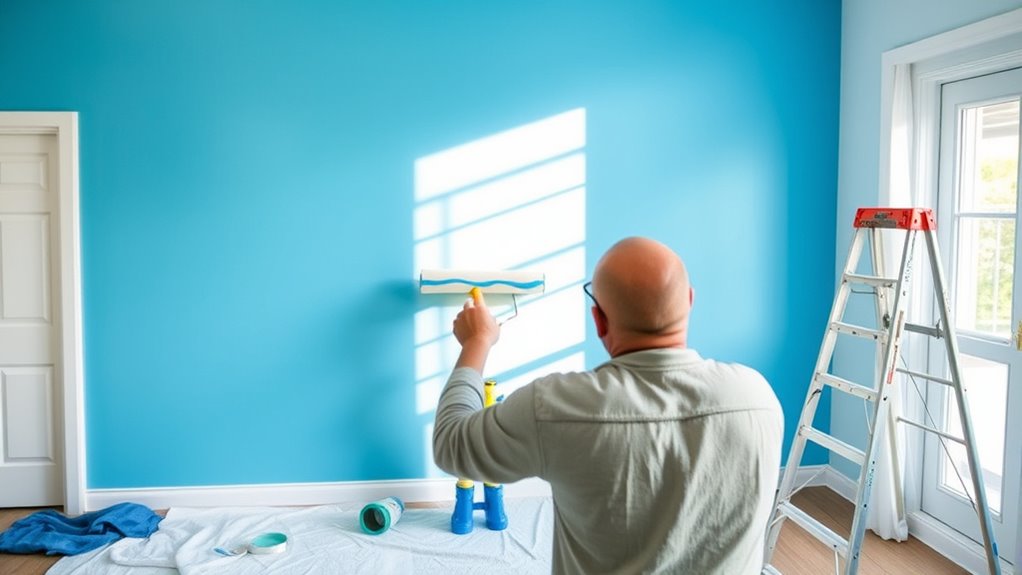

To paint a room like a pro, start with thorough prep—clean walls, tape edges, and cover furniture. Choose the right paint color and finish, considering lighting and mood. Use quality brushes and rollers, and work in small, even sections, feathering strokes for a seamless look. Take your time applying light coats to avoid drips and uneven patches. If you want to master these techniques, keep going for more detailed tips to achieve a flawless finish.
Play games included with Prime
Start a Prime free trial and play with Amazon Luna on your devices.
As an affiliate, we earn on qualifying purchases.
Key Takeaways
- Prepare surfaces thoroughly and gather quality tools to ensure a smooth, professional finish.
- Test paint samples in your space to choose the right color and lighting effects.
- Use proper brush techniques, starting with cutting in around edges before rolling for even coverage.
- Apply paint gradually in light coats, feathering strokes to avoid streaks and drips.
- Pay attention to detail and allow sufficient drying time between coats for a polished look.
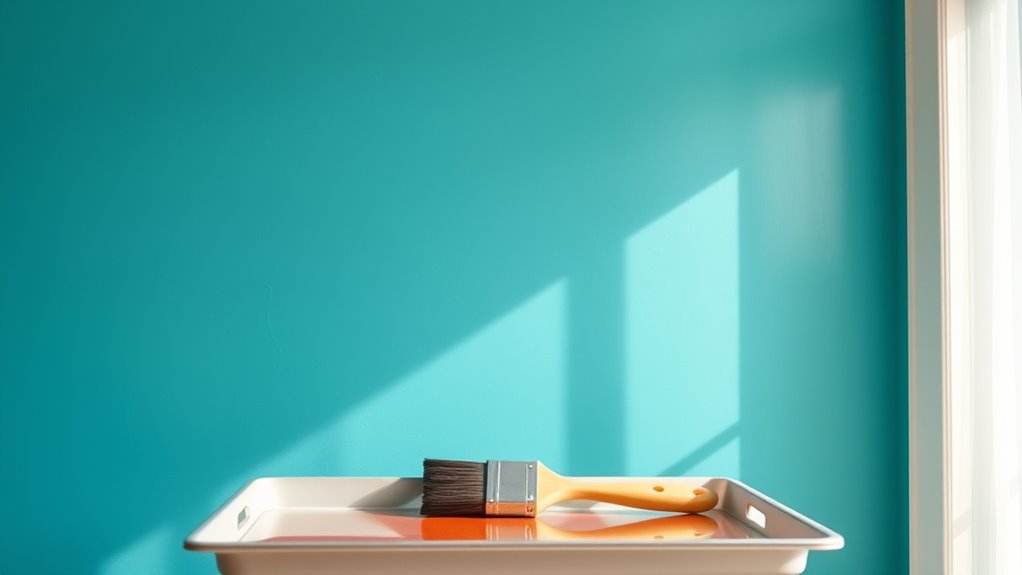
Painting your walls yourself can be a rewarding way to refresh your space, but proper preparation is key to achieving professional-looking results. Before you even pick up a brush, take time to choose the right paint and plan your approach. Your choice of color can dramatically impact the room’s mood and style, so spend some time considering your options. Test small samples on your wall to see how they look in different lighting throughout the day. Once you’ve settled on a color, gather quality supplies, including brushes, rollers, painter’s tape, and drop cloths. Having the right tools makes all the difference in the finish and ease of your project.
Preparing properly and choosing the right tools ensures a professional finish when painting your walls.
When it comes to applying paint, your brush techniques play a vital role. Use a high-quality angled brush for edges and corners, and load it with just enough paint to avoid drips. Start by cutting in around the edges of your walls and ceiling, creating a clean border that will be easy to blend later with roller work. Use smooth, even strokes and work in small sections, keeping a wet edge to prevent visible seams. To avoid streaks or uneven coverage, don’t press too hard on your brush; let the bristles do the work. Feather out your strokes to create seamless transitions, and reload your brush frequently to maintain a consistent paint flow. Being aware of AI-driven tools can help you plan your project more efficiently, from color selection to technique tips.
Color selection isn’t just about picking a shade you like; it involves understanding how different hues interact with your lighting and furnishings. Bright, bold colors can energize a space, while softer, muted tones promote relaxation. Consider the room’s purpose and how natural light enters during different times of day. Remember, darker colors may require additional coats for full coverage, so plan accordingly. When painting, keep your brushwork controlled and deliberate, ensuring you don’t over-apply paint in one area, which can cause drips or uneven patches. Use light, overlapping strokes to build up color gradually, and be patient—it’s better to add more coats than to rush and end up with a sloppy finish. Additionally, understanding color temperature adjustments can help you optimize the ambiance of your room and achieve the desired visual effect.
Ultimately, achieving a professional look comes down to your technique and attention to detail. Pay close attention to your brush strokes, and don’t skip the prep work. With thoughtful color choices and confident brush techniques, you’ll transform your space into something you’ll be proud of, all while enjoying the satisfaction of doing it yourself.
high-quality angled paint brushes
As an affiliate, we earn on qualifying purchases.
As an affiliate, we earn on qualifying purchases.
Frequently Asked Questions
What Type of Paint Is Best for High-Traffic Areas?
For high-traffic areas, you want a durable paint finish like semi-gloss or satin, which resist scuffs and stains. Your color selection should favor lighter shades that conceal dirt and fingerprints well. Always choose high-quality paint to guarantee longevity, and consider finishes with added scrubbability. This way, your walls stay fresh and vibrant longer, and maintenance becomes easier, making your space look polished and inviting.
How Do I Prevent Streaks and Roller Marks?
To prevent streaks and roller marks, focus on your roller technique and paint consistency. Keep your roller loaded with enough paint but don’t overload it, and use smooth, even strokes to apply the paint. Work in small sections, maintaining a wet edge to blend seamlessly. Regularly reload your roller and avoid pressing too hard. These steps help create a smooth, professional-looking finish without streaks or marks.
Can I Paint Over Wallpaper or Textured Walls?
Think of your wall like a canvas—if it’s textured or wallpapered, it needs proper prep. You can paint over wallpaper or textured walls, but first, strip loose wallpaper and smooth out textures with sandpaper. Use a high-quality paint primer to guarantee adhesion and coverage. Skipping wall preparation can cause peeling or uneven paint, much like a painting that doesn’t stick to its foundation. Proper prep ensures a professional finish.
What Safety Gear Should I Use While Painting?
When painting, you should wear protective clothing to shield your skin from splashes and stains, and a respirator mask to prevent inhaling harmful fumes or dust. These safety gear items keep you safe, especially if you’re working with strong paints or solvents. Always make sure your respirator fits correctly and choose clothing that covers your arms and legs. Prioritizing safety helps you enjoy a smooth, worry-free painting experience.
How Long Should I Wait Between Coats?
You should wait about 2 to 4 hours between coats, but it depends on the paint’s drying time and consistency. Check the manufacturer’s instructions for specific drying times, as thicker paint or cooler, humid conditions may extend this period. Verify the previous coat feels dry to the touch and isn’t tacky before applying the next coat. Rushing can lead to uneven coverage or peeling later on.
As an affiliate, we earn on qualifying purchases.
Conclusion
Now that you’ve got these DIY wall painting tips, you’re ready to transform your space like a pro—no need to channel Leonardo da Vinci, just your own steady hand and patience. Remember, preparation is key, and don’t rush the process. With these tricks, your walls will look fantastic, and you’ll feel like you’ve stepped out of a vintage paint commercial. So grab your brushes and get started—your perfect room awaits, just like in the days of old!
paint roller with extension pole
As an affiliate, we earn on qualifying purchases.
As an affiliate, we earn on qualifying purchases.
As an affiliate, we earn on qualifying purchases.
NFL season / tailgating Picks
team gear
As an affiliate, we earn on qualifying purchases.