To flush your water heater, first turn off the power or gas and attach a garden hose to the drain valve at the bottom of the tank. Open the valve and let the water and sediment drain into a bucket or outside drain. After the tank empties, close the valve, refill it with cold water, and turn the power or gas back on. Running hot water from a nearby faucet helps clear air pockets. Keep going for more tips to guarantee your heater stays in top shape.
Key Takeaways
- Turn off power or gas and attach a hose to the drain valve to safely drain the tank.
- Open the drain valve and allow sediment and water to flow out into a drain or bucket.
- Flush the tank with cold water by opening the cold water supply valve to remove remaining sediment.
- Close the drain valve, disconnect the hose, and refill the tank with cold water.
- Turn the power or gas back on and run hot water from a nearby faucet to clear air pockets.
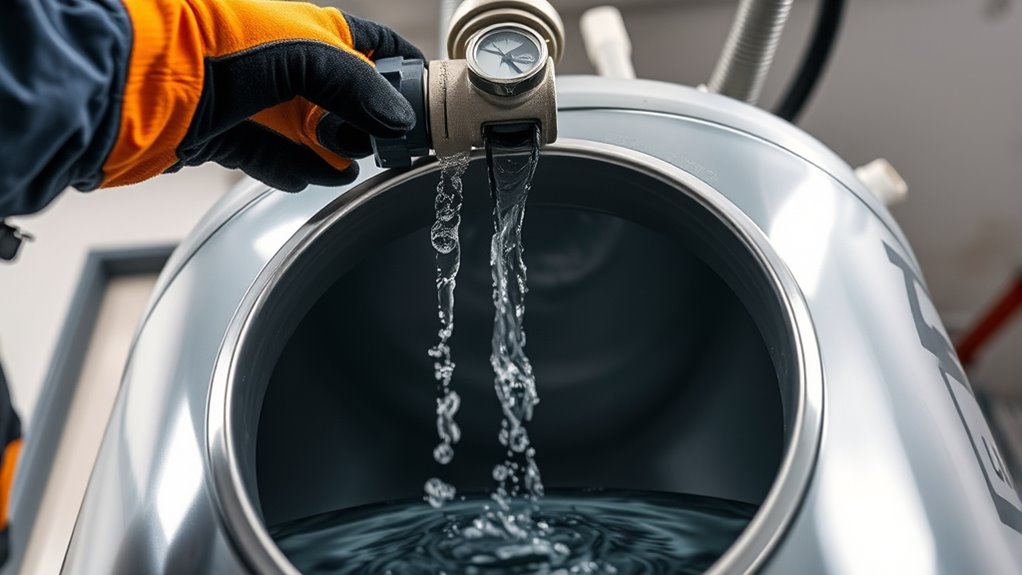
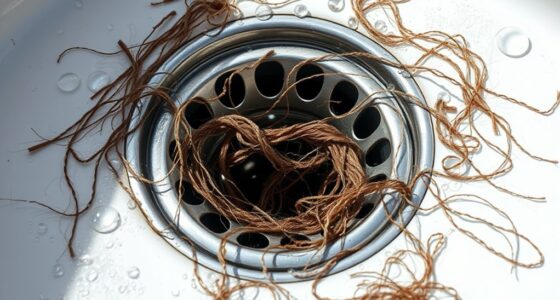
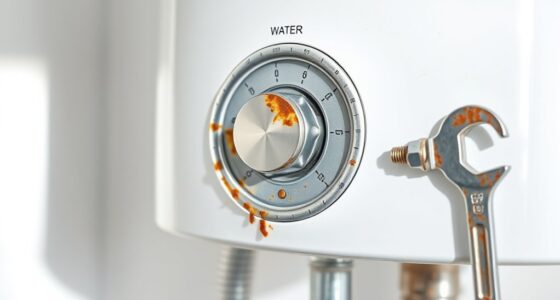
Regular water heater maintenance is crucial to guarantee it runs efficiently and lasts longer. One of the most common issues you’ll face is sediment buildup, which can insulate the heating elements and reduce overall efficiency. Over time, minerals from your water settle at the bottom of the tank, creating a layer of sediment that hampers heat transfer and causes your heater to work harder. To prevent this, you should periodically flush your water heater tank. Flushing involves draining the tank completely to remove accumulated sediment, which improves performance and extends the life of your unit. Before starting, turn off the power supply or gas to ensure safety. Attach a hose to the drain valve at the bottom of the tank and direct it to a drain or bucket. Open the drain valve and allow the water to flow out slowly, flushing out sediment as you go. Once the tank is empty, close the drain valve, remove the hose, and refill the tank with cold water. Turning the power or gas back on afterward lets the heater resume normal operation. Proper maintenance also includes inspecting the tank’s components, such as valves and fittings, to ensure there are no leaks or corrosion issues. Another critical aspect of water heater maintenance is checking the anode rod. This component acts as a sacrificial metal that attracts corrosive elements, preventing them from damaging the tank’s interior. Over time, the anode rod corrodes and needs replacement to protect your water heater from rust and leaks. To replace it, first turn off the power or gas and drain a few gallons of water to reduce pressure. Locate the anode rod, typically accessible through a removable cap on the top of the tank. Use a socket wrench to remove the rod carefully, inspecting it for significant corrosion or deterioration. If it’s heavily corroded or reduced to less than half its original size, it’s time for an anode rod replacement. Installing a new rod is straightforward: insert it into the opening, tighten it securely, and ensure there’s a proper seal. Refill the tank with water, turn the power or gas back on, and run hot water from a faucet nearby to clear any air pockets and confirm everything’s working smoothly.
Frequently Asked Questions
How Often Should I Flush My Water Heater?
You should flush your water heater at least once a year to prevent sediment buildup, which can diminish efficiency and damage the tank. Regular flushing helps extend the tank lifespan by removing mineral deposits that settle at the bottom. If you notice reduced hot water or strange noises, it’s a sign to flush it sooner. Consistent maintenance keeps your water heater running smoothly and prolongs its overall durability.
Can I Flush My Water Heater Myself?
Absolutely, you can flush your water heater yourself if you’re comfortable with basic plumbing. Think of it as giving your appliance a much-needed bath to clear out tank sediment that can clog and reduce water quality. Just turn off the power, attach a hose, and drain the tank. With patience, you’ll improve water quality and extend your water heater’s lifespan, saving you money and trouble down the road.
What Tools Are Needed for Flushing a Water Heater?
You’ll need a few basic tools for the flushing process. Grab adjustable pliers to disconnect hoses, a garden hose to drain the tank, and a screwdriver if you need to remove panels. Also, have a bucket or container ready for sediment. Turn off the power and water supply first, then follow the flushing process step-by-step. These tools make it easier and safer to maintain your water heater yourself.
How Do I Know if My Water Heater Needs Flushing?
When your water heater starts showing signs of sediment buildup, it’s a clear red flag that it’s time to flush. You might notice rusty or discolored water, reduced hot water flow, or a decline in energy efficiency. If your heater’s taking longer to warm water or your bills spike unexpectedly, don’t ignore it — these are clues that sediment is clouding the waters and affecting performance.
Are There Any Risks of Skipping Water Heater Flushing?
Skipping water heater flushing can lead to water quality concerns and mineral buildup risks. Over time, sediment and minerals accumulate, reducing efficiency and possibly damaging the tank. This buildup can cause inconsistent water temperature, strange odors, or rust-colored water. Regular flushing prevents these issues, ensuring your water heater runs smoothly and extends its lifespan. So, neglecting this maintenance step may result in costly repairs and compromised water quality.
Conclusion
Regularly flushing your water heater extends its lifespan and keeps it running efficiently. Did you know that sediment buildup can reduce your heater’s efficiency by up to 30%? By taking just a few minutes to flush your tank every year, you not only save energy but also prevent costly repairs down the line. So, stay proactive with maintenance and enjoy warm water whenever you need it—your wallet and comfort will thank you!