
To lay pavers for a DIY backyard path or patio, start by measuring and marking your area accurately, then excavate the soil to the proper depth. Spread a gravel base and compact it well, ensuring a slight slope for drainage. Next, lay a layer of sand, level it with a screed, and place your pavers in your chosen pattern. Fill the joints with sand and compact again. For more detailed steps and tips, continue exploring each stage carefully.
Key Takeaways
- Measure and mark the area accurately, ensuring proper slope for drainage before excavating.
- Excavate soil and spread a gravel base, then compact thoroughly for stability.
- Lay a level sand bedding layer using screed guides, avoiding disturbance before paver placement.
- Place pavers in your chosen pattern, then fill and compact joints with sand or polymeric material.
- Finish by inspecting the surface, ensuring proper drainage, and adding landscaping elements for aesthetics.

QLT By MARSHALLTOWN Brick Tongs, Soft Handle, Paver Claw for Lifting, Masonry, SBT49
NOTE: Cannot be used for individual pavers. Product is adjustable between 16 1/2 and 27 3/8 Inches, allowing…
As an affiliate, we earn on qualifying purchases.
As an affiliate, we earn on qualifying purchases.
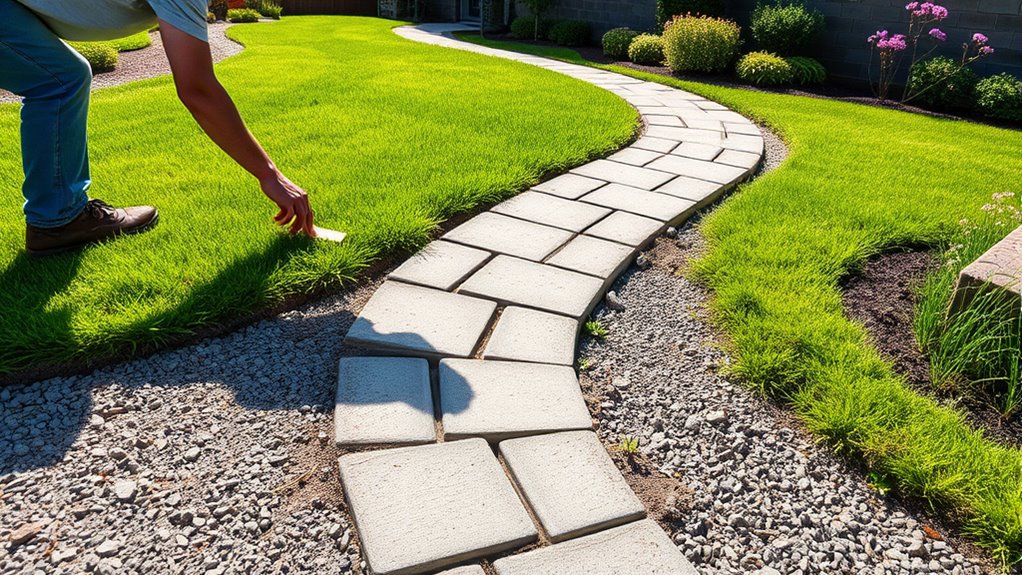
Planning and Layout Preparation
Planning and layout preparation are essential steps before laying pavers to guarantee your project turns out as intended. Begin by measuring and marking the area with landscape marking paint or stakes and string for accuracy. Ensure your layout is square by using the 3-4-5 triangle method or a speed square to keep corners right-angled. Plan for a consistent slope of at least 1/8 inch per foot to promote proper drainage away from structures. Decide on a paver pattern, such as herringbone or running bond, beforehand to maintain a cohesive design. Consider how you’ll handle edges, especially if curves or irregular shapes are involved, and gather necessary tools like a saw or cutters in advance. Proper planning saves time and helps achieve a professional-looking result. Additionally, understanding the types of essential oils that support your health can enhance your overall well-being during and after your project. Incorporating simple organization techniques can also help you keep your workspace tidy and efficient throughout the project. Familiarity with paver materials can further inform your choices and ensure durability and aesthetic appeal. Conducting a site assessment to identify potential challenges will help you adapt your plan accordingly and avoid costly mistakes. Moreover, consulting local building codes ensures your project complies with regulations and safety standards.
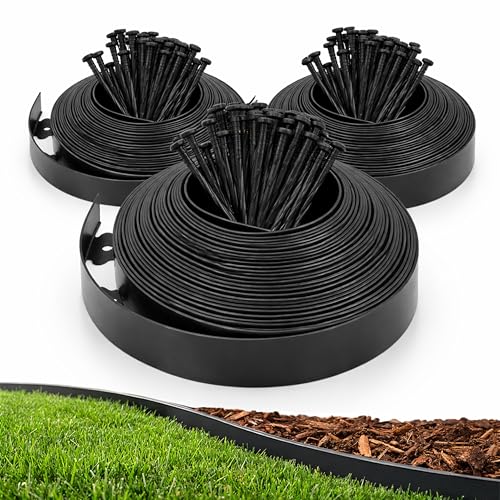
Gardzen 1.5" x 100' Landscape Edging Kit, Garden Edging Coil Comes with 120 Pcs Spikes, No Dig Lawn Border
Dimension – Each landscape edging height is 1.5 inch and 33 ft length. Comes with 3 pack. The…
As an affiliate, we earn on qualifying purchases.
As an affiliate, we earn on qualifying purchases.
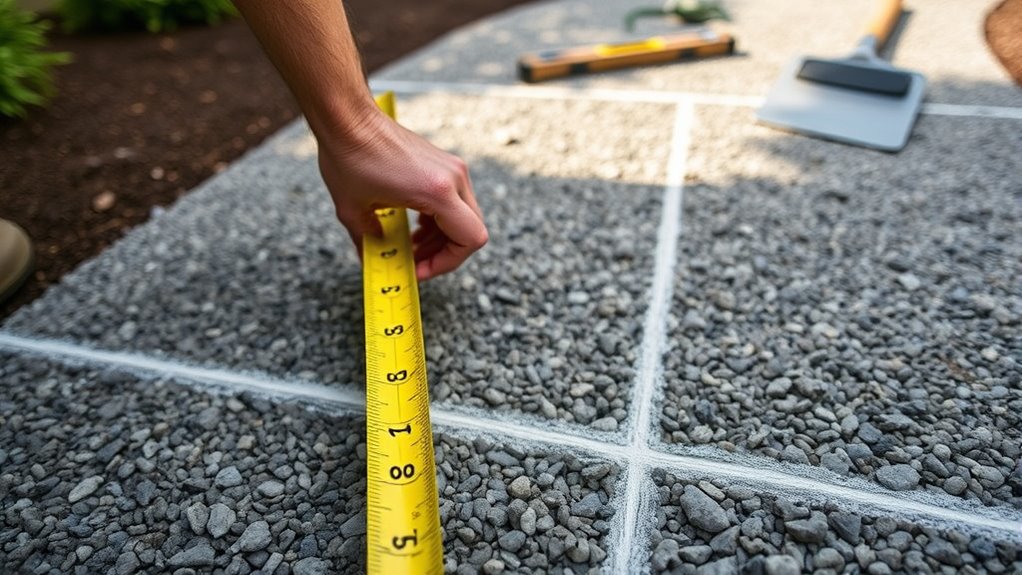
Excavation and Base Layer Formation
Before laying the pavers, you need to excavate the soil to create a stable foundation. Use a shovel or pick to remove sod, roots, and debris to a depth of 6-8 inches for paths and patios. For heavy loads like driveways, go deeper—up to 10-12 inches. Spread a 4-6 inch layer of gravel or crushed stone evenly across the excavated area. Compact the gravel thoroughly using a plate compactor, making multiple passes to guarantee stability and levelness. Maintain a gentle slope—about 1/8 inch per foot—to promote proper drainage away from structures. Proper excavation and a solid base are essential for preventing shifting, settling, or cracking of your pavers over time. Be sure to check base layer formation to ensure your foundation meets the necessary standards for durability. Incorporating compaction techniques during base layer preparation will further enhance the stability of your installation. Using a properly prepared sub-base will help prevent future issues such as uneven settling or damage. Additionally, verifying the sub-base quality can prevent moisture retention that might lead to instability. Once complete, you can proceed confidently, knowing your sub-base is prepared for long-lasting installation.

56035-047 Compactor Paver Pad Kit Compatible with 212cc 56035T/56035TM 18" Plate Compactors, Polyurethane Paving Pad with Mounting Hardware, Protects Pavers and Bricks
【COMPATIBILITY】 Compatible with WEN 56035T/M 212cc/7hp Plate Compactors. Replaces OEM Part #56035-047.
As an affiliate, we earn on qualifying purchases.
As an affiliate, we earn on qualifying purchases.
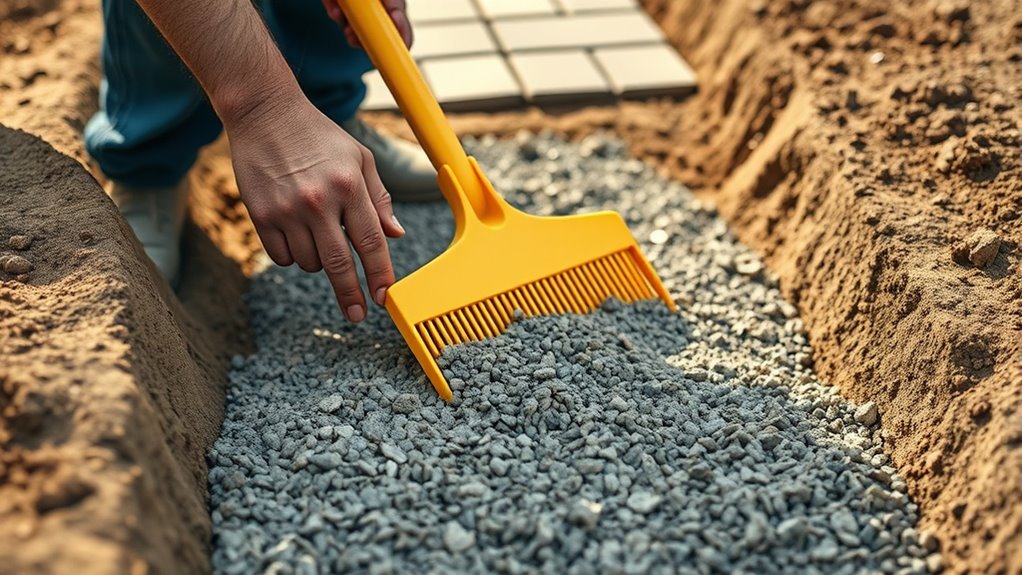
Installing the Sand Bedding and Laying Pavers
Once the base layer is properly compacted and slope has been verified, you can begin installing the sand bedding. Spread a 1-inch layer of coarse sand evenly over the gravel, ensuring a smooth, level surface. Use guide pipes (like 3/4 inch PVC) placed across the area and a screed board (such as a 2×4) to level the sand. Drag the screed along the pipes, filling in low spots for an even surface. Remove the guide pipes and fill any gaps with additional sand, then re-screed if needed. Avoid walking on or disturbing the sand before laying pavers. This creates a stable, uniform bedding that supports the pavers and helps maintain proper drainage and pattern alignment. Proper sub-base preparation ensures long-lasting stability for your paver installation. Additionally, taking care to level the sand thoroughly will prevent future shifting or uneven surfaces in your pathway or patio. Achieving a smooth, even surface is essential for a professional-looking finish and durability. Utilizing a properly compacted base will further enhance the longevity of your project. For best results, consider adding edge restraints to keep the pavers securely in place over time.

NAKLEO Vilar Tile Reusable Plastic Stencil – 10x10cm / 3.9” x 3.9” – Spanish Moorish Star – Moroccan Geometric – Paver Block Concrete Floor Wall Painting Template Wood
STENCILS IMITATING TILES: Give existing tiles or pavers a new look, or create a pattern that imitates tiles…
As an affiliate, we earn on qualifying purchases.
As an affiliate, we earn on qualifying purchases.
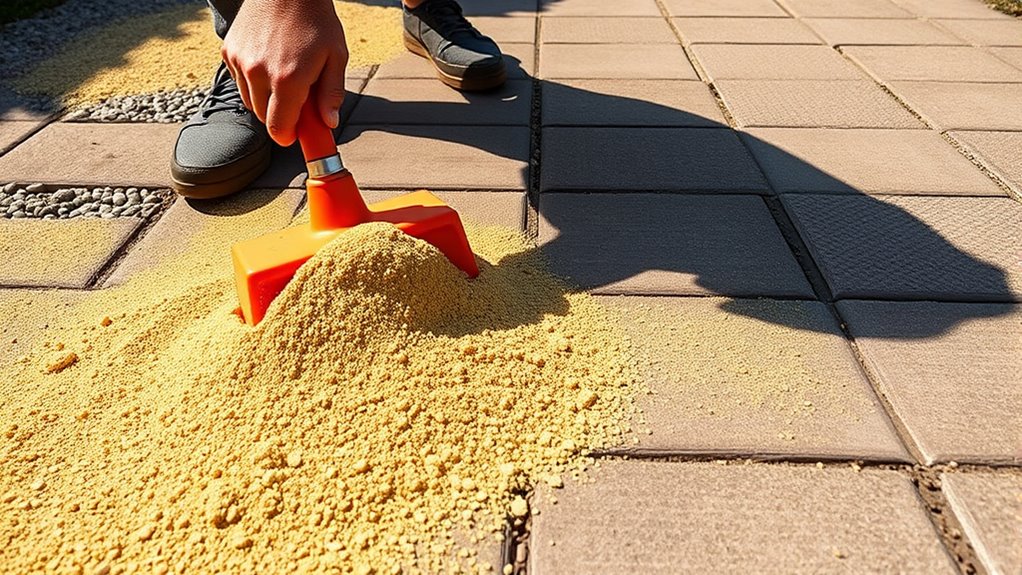
Filling Joints and Compacting the Surface
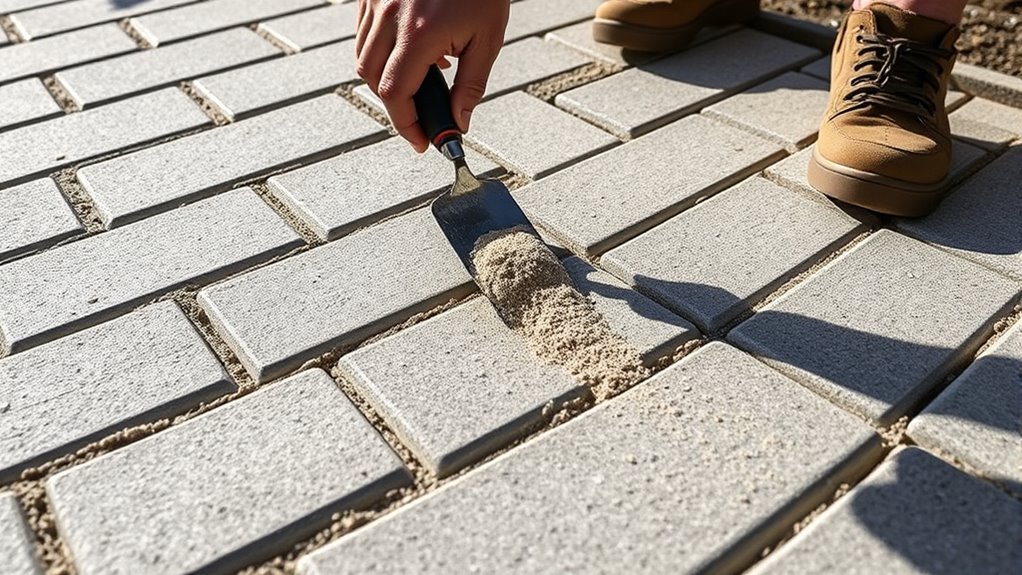
How do you guarantee your paver surface stays stable and looks professional? The key is properly filling the joints and compacting the surface. After laying the pavers, spread fine, dry jointing sand or polymeric sand over the entire area. Use a broom to sweep the sand into every joint, ensuring no gaps are left unfilled. Once the joints are filled, run a plate compactor over the surface to vibrate the sand deep into the joints, locking the pavers in place. Repeating the process of adding sand, sweeping, and compacting until the joints are densely filled and stable will create a more uniform surface. This process ensures your pavers are secure, level, and resistant to shifting over time. Proper surface stability can also be achieved by periodically inspecting and re-compacting the joints as needed. Additionally, using the correct type of joint material helps maintain long-term stability and appearance. Regular maintenance and sound engineering principles are essential for lasting results. Incorporating quality materials and following proper installation techniques will further enhance the durability of your paver surface.
Final Touches and Ongoing Maintenance
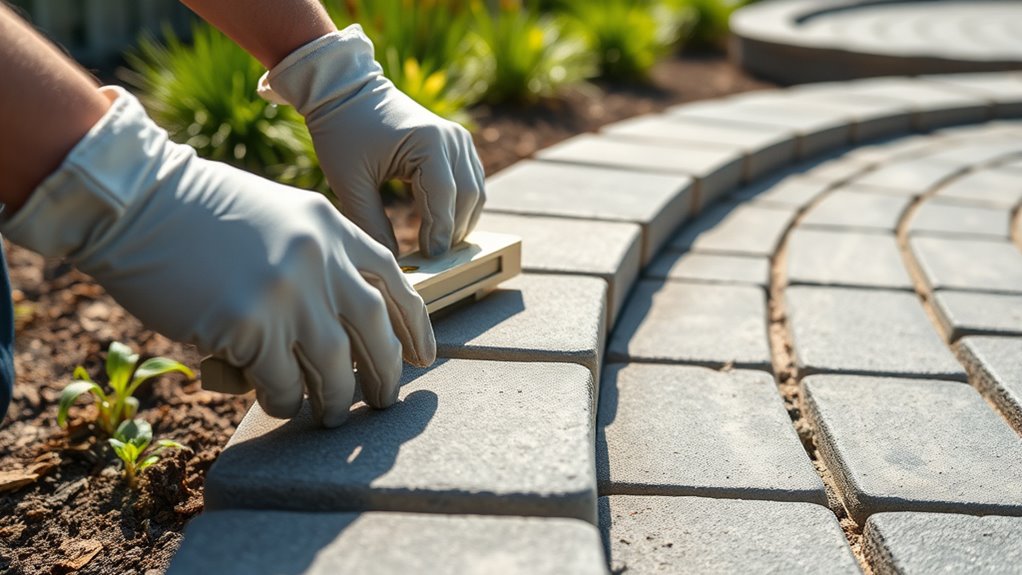
After completing your paver installation, adding final touches enhances both the appearance and durability of your project. Lightly mist the surface with water to set polymeric joints, strengthening the bond. Check the slope and adjust grading if drainage isn’t ideal. Landscaping elements like mulch or plants along edges improve aesthetics and integrate the area into your yard. Regularly inspect for movement, settling, or weeds, and refill joints as needed to maintain stability. Avoid heavy loads until the base and joints fully settle, preventing damage. Understanding the importance of proper drainage and grading can help prevent future issues.
Frequently Asked Questions
How Do I Choose the Best Paver Pattern for My Project?
You choose the best paver pattern by considering your style preferences and the look you want to achieve. If you prefer a classic look, go with running bond. For a more intricate design, try herringbone or basketweave. Think about the size and shape of your pavers, as well as the pattern’s complexity, to match your skill level. Visualize different options, and select one that complements your landscape and personal taste.
What Tools Are Essential for Cutting Irregularly Shaped Pavers?
You’ll need a circular saw with a concrete blade to cut irregularly shaped pavers. A wet saw can make cleaner cuts and reduce dust, especially for thicker pavers. For detailed or curved cuts, a angle grinder with a diamond blade works well. Always wear safety gear like goggles and gloves. Keep a measuring tape and a pencil handy to mark your cuts precisely before starting.
How Can I Ensure Proper Drainage After Installation?
Wondering how you can make sure water drains properly? You should plan for a consistent slope of at least 1/8 inch per foot during your layout. make certain your base layers—gravel and sand—are properly compacted and sloped to direct water away from structures. Regularly check the surface after installation, and make adjustments if necessary. Proper grading and drainage are key to preventing pooling and protecting your new paver area.
What Are the Signs of a Stable and Durable Paver Base?
You’ll recognize a stable and durable paver base when it feels firm and level underfoot, with no noticeable shifting or sinking. The gravel should be well-compacted, providing solid support that prevents settling over time. Look for proper slope and consistent thickness, ensuring water drains away. If the base resists movement after pressing or walking on it, and water doesn’t pool, you’ve achieved a strong foundation that will last.
How Often Should I Reseal or Maintain My Paved Surface?
Think of your paved surface as a well-loved book that needs occasional care. You should reseal or maintain it every 2 to 3 years to keep it looking fresh and protected from the elements. Regularly sweep away debris and check for loose or cracked pavers. If you notice weeds or stains, address them promptly. Consistent maintenance helps your surface stay beautiful and in top shape, like a treasured keepsake.
Conclusion
Now that you’ve laid your pavers, take pride in your work and enjoy your new path or patio. Keep it clean, keep it level, and keep it maintained. Regularly check for weeds, re-compact as needed, and add joint filler when necessary. With these simple steps, you’ll protect your investment, enhance your outdoor space, and create a beautiful, durable surface that stands the test of time. Your effort today will reward you with years of enjoyment tomorrow.