
To substitute a doorknob or deadbolt yourself, start by gathering the necessary tools like screwdrivers and a new lock set. Remove the old hardware by unscrewing it carefully, noting how it’s installed for easy reference. Next, follow the manufacturer’s instructions to install the new lock, paying attention to proper alignment and securing it firmly. Regular testing and maintenance ensure smooth operation, and exploring these steps further will help you master the process confidently.
Key Takeaways
- Remove the old doorknob or deadbolt by unscrewing interior screws and carefully taking out the hardware.
- Measure the backset and check hardware compatibility before installing the new lock.
- Follow the manufacturer’s instructions to insert and secure the new latch or deadbolt, ensuring proper alignment.
- Reinforce the strike plate and tighten screws firmly for increased security.
- Test the lock multiple times, lubricate moving parts, and inspect periodically for smooth operation.

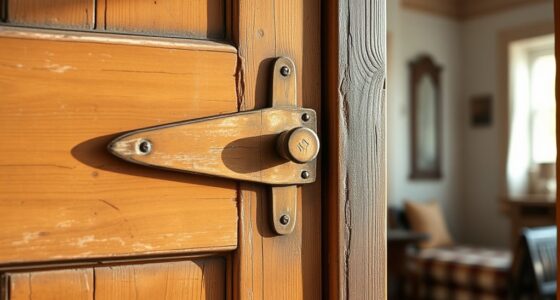
Replacing a doorknob or deadbolt lock is a straightforward task that can enhance your home’s security and update its appearance. When you decide to do this yourself, you not only save money but also gain a better understanding of your home’s security features. Before starting, it’s helpful to review some basic security tips to ensure your new lock provides the protection you need. Proper lock maintenance is key to keeping your locks functioning smoothly over time, so consider this an opportunity to inspect your current hardware and identify any issues like rust or loose components.
Replacing locks boosts security, updates your home, and saves money—regular maintenance ensures smooth, reliable operation.
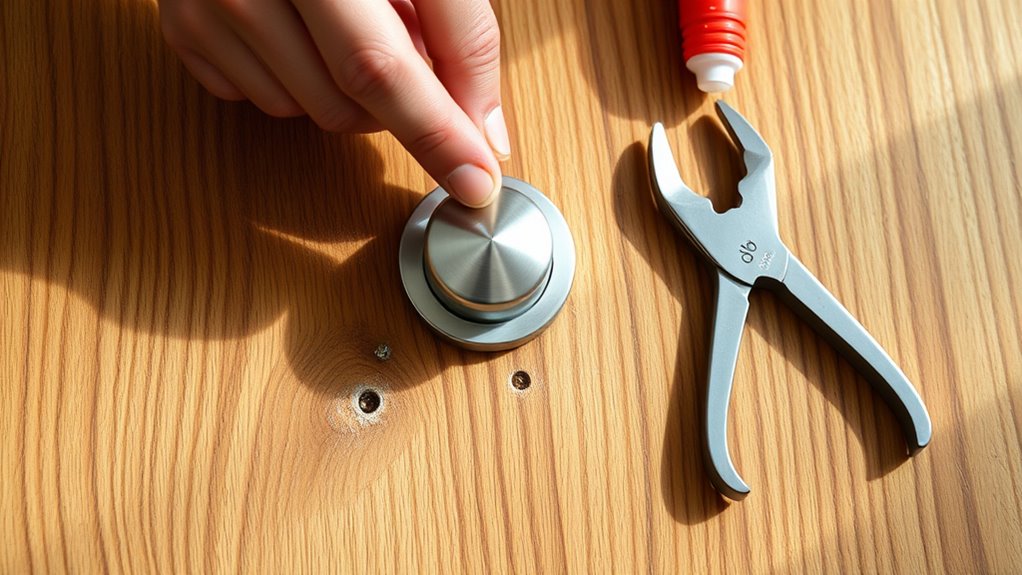
Begin by gathering the necessary tools: a screwdriver (usually Phillips or flat-head), a new lock set, and possibly a chisel if adjustments are needed. First, remove the existing doorknob or deadbolt by unscrewing the screws on the interior side. Keep these screws in a safe place—losing them can complicate the installation process. Once the hardware is separated, carefully take out the latch mechanism or deadbolt, noting how it’s installed. This step helps you understand your lock’s internal structure and ensures compatibility with the new hardware. Understanding the importance of high-quality hardware can improve your lock’s longevity and security.
Next, prepare the new lock by reading the manufacturer’s instructions. Most locks are designed to fit standard door preparations, but double-check measurements like backset (the distance from the edge of the door to the center of the lock hole). Insert the latch or deadbolt into the door, aligning it properly with the holes. Secure it with screws, tightening them firmly but without over-tightening, which can damage the hardware or strip the screws. During this process, consider security tips such as ensuring the strike plate is reinforced and properly aligned—this improves the lock’s resistance to forced entry.
After installing the lock, test it several times to confirm it operates smoothly. If you notice any sticking or difficulty turning the key, double-check the alignment of the strike plate and latch. Regular lock maintenance is essential for security; lubricate moving parts with a graphite or silicone-based lubricant to keep the mechanism functioning quietly and reliably. Additionally, periodically inspect the lock for signs of wear or rust, and replace it if necessary. Updating your locks periodically, especially after moving into a new home or losing a key, enhances your security.
Frequently Asked Questions
Can I Replace a Doorknob Without Removing the Door?
Yes, you can replace a doorknob without removing the door. You’ll need to adjust the door frame slightly to guarantee proper latch alignment and make sure the new knob fits smoothly. Remove the existing knob, then install the new one by aligning the latch with the strike plate. No need to take out the door, just focus on proper door frame adjustments and latch positioning for a secure fit.
What Tools Are Necessary for Lock Replacement?
Imagine you’re installing a new lock, feeling confident as you start. For lock installation, you’ll need a screwdriver, typically Phillips or flat-head, a tape measure, and possibly a Allen wrench or hex key. Your tool list should include these essentials to guarantee smooth lock replacement. Having the right tools makes the process easier, helping you securely fit your new doorknob or deadbolt without hassle.
How Do I Troubleshoot if the New Lock Doesn’t Fit?
If the new lock doesn’t fit, start troubleshooting by checking the lock fit within the door’s hole and latch alignment. Make certain the deadbolt or knob is the correct size for your door and that the strike plate is properly positioned. Tighten all screws securely, and verify the lock’s dimensions match your door specifications. Adjust or file down misaligned parts as needed, and consult troubleshooting tips to identify and fix fitting issues quickly.
Is It Necessary to Re-Key the Lock After Installation?
You don’t always need to rekey the lock after installation, but it’s a smart move for a security upgrade. If you want to guarantee only you have access, consider lock rekeying, which changes the internal pins so old keys no longer work. This step adds peace of mind, especially if you’re unsure who might have a copy of the previous key, making your home more secure without replacing the entire lock.
How Long Does the Entire Replacement Process Typically Take?
Replacing a lock is like planting a seed—you want it done efficiently and right. The whole lock installation, from door prep to securing the new lock, usually takes about 30 minutes to an hour. If your door’s ready and you have all tools, it’s a quick project. Just make certain you follow each step carefully, and you’ll have a fresh, secure lock in no time, feeling confident in your DIY skills.
Conclusion
Replacing a doorknob or deadbolt lock is like giving your door a fresh coat of armor—you’ll feel more secure and in control. With a few simple tools and some patience, you can master this task yourself, saving time and money. Think of it as opening your home’s potential for safety and convenience. Once you’ve done it, you’ll have gained a new level of confidence, knowing you can handle small repairs like a true DIY hero.