
To remove old wallpaper without damaging your walls, start by gently scoring the surface to help the solutions penetrate. Use a spray bottle or sponge with warm water mixed with mild soap or a commercial stripper, and let it sit for a few minutes to loosen the adhesive. For stubborn areas, a wallpaper steamer can help soften the glue without harming your drywall. Patience and careful tool use are key—keep going, and you’ll discover more tips to perfect your wall prep.
Key Takeaways
- Score the wallpaper gently to allow better penetration of stripping solutions without tearing the wall.
- Apply warm water or commercial removers evenly, letting them sit to loosen adhesive before removal.
- Use a wallpaper steamer carefully to soften resistant coverings, avoiding excessive pressure that could damage drywall.
- Remove residual adhesive thoroughly with damp sponges and ensure the wall is completely dry before repainting or re-wallpapering.
- Finish with sanding and priming to create a smooth, clean surface that protects walls and ensures a flawless finish.
Are you ready to give your walls a fresh start? Removing old wallpaper can feel intimidating, but with the right approach, you can do it efficiently without damaging your walls. The first step involves understanding primer techniques, which are vital for preparing your surface before applying new paint or wallpaper. Primer techniques help seal the wall, making it easier to strip away the wallpaper and preventing damage to the drywall or plaster beneath. Before you start, gather your wallpaper removal tools—these typically include a scoring tool, spray bottle or sponge for applying stripping solutions, putty knives, and possibly a steamer if the wallpaper is stubborn.
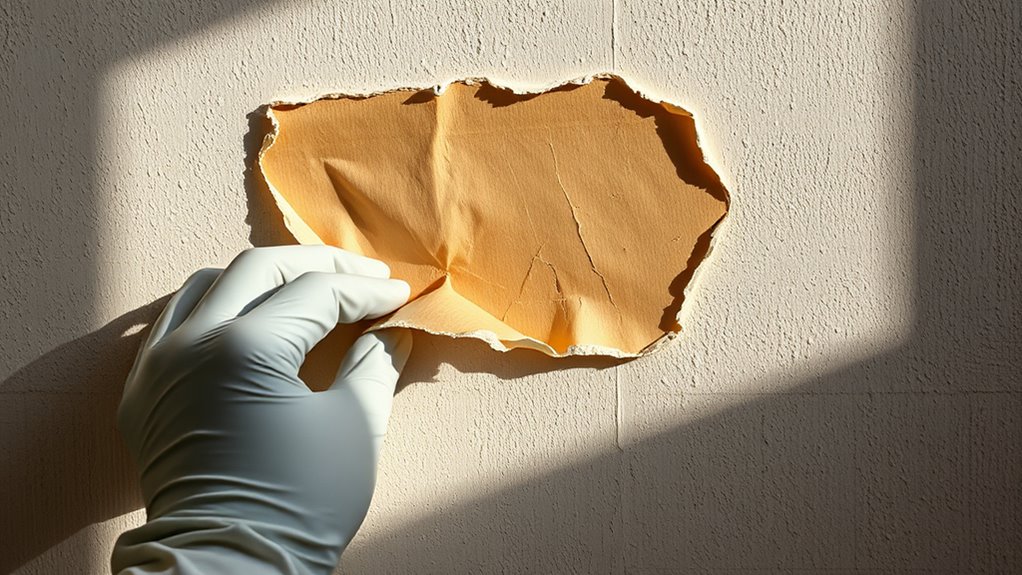
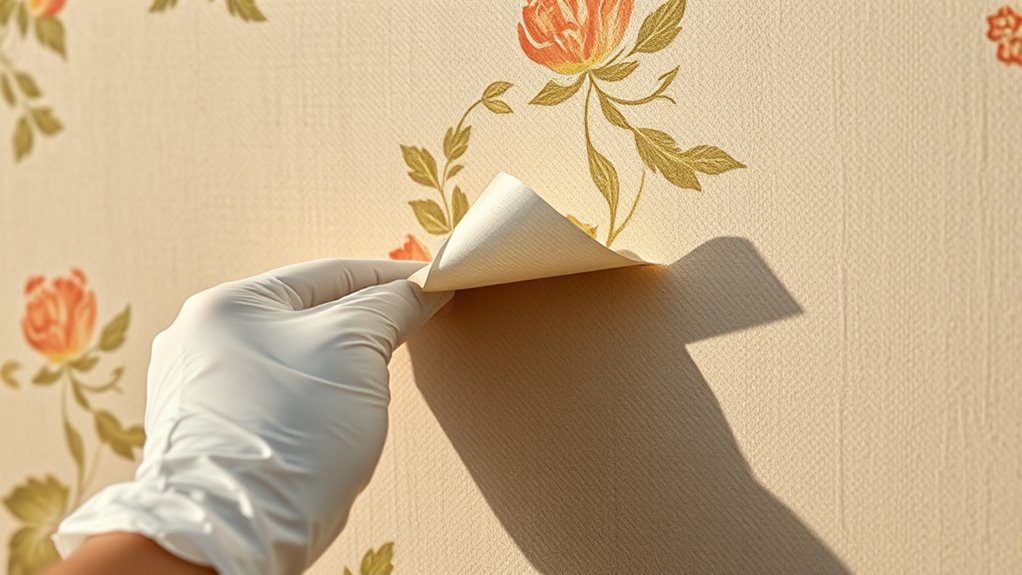
Begin by inspecting the wallpaper to see if it’s vinyl, paper, or a combination. Vinyl wallpapers tend to be more resistant to moisture, so you’ll need to use specific wallpaper removal tools designed for tougher coverings. Start by scoring the wallpaper gently with a scoring tool; this creates tiny holes that allow your stripping solutions to penetrate more effectively. Be careful not to press too hard, as you don’t want to puncture or damage the wall surface. Once scored, apply a wallpaper stripper or a mixture of warm water and a few drops of dish soap to the wall using a spray bottle or sponge. Let it sit for several minutes—this is where primer techniques come into play—allowing the solution to loosen the adhesive and make removal easier.
Inspect the wallpaper type and gently score to aid stripping solutions.
If the wallpaper resists, don’t hesitate to bring out a wallpaper steamer. Carefully hold the steamer against the wall, and once the adhesive softens, use your putty knives to gently lift the edges. When using wallpaper removal tools, always work slowly and methodically, moving from one section to another, to avoid tearing the drywall or damaging the surface underneath. If you encounter stubborn patches, reapply the stripping solution and wait a few more minutes before trying again. Patience is key to preserving your walls’ integrity.
Once the wallpaper is completely removed, clean the walls thoroughly to remove any remaining adhesive residue. This step is vital because leftover adhesive can cause issues with new paint or wallpaper. Using a damp sponge or cloth, wipe down the surface, and then allow it to dry completely. If necessary, sand any rough patches and apply a primer to create a smooth, clean surface for your next project. Properly executed primer techniques ensure your walls are well-prepared, making the final finish look flawless. Additionally, choosing the right wall preparation methods can significantly impact the longevity and appearance of your new wall covering. With the right tools, patience, and care, you’ll remove old wallpaper without damaging your walls, setting a perfect foundation for your new wall treatment.
Frequently Asked Questions
Can I Remove Wallpaper Without Any Water or Chemicals?
Yes, you can remove wallpaper without using water or chemicals by trying DIY techniques like scoring the wallpaper lightly with a utility knife and gently peeling it away. Eco-friendly options include using natural solutions like vinegar and water or steam to loosen the adhesive. Be patient and work slowly to avoid damaging your walls. These methods are effective, safe, and environmentally friendly, making wallpaper removal easier without harsh chemicals.
How Long Does the Wallpaper Removal Process Typically Take?
The wallpaper removal process usually takes a few hours to a day, depending on the wall’s condition and wallpaper type. Timing considerations include allowing enough time for soaking and gentle scraping, while preparation tips involve gathering tools and protecting surfaces beforehand. You can speed things up by working steadily and staying patient, ensuring you don’t rush and risk damaging your walls, ultimately making the project smoother and more efficient.
Is It Safe to Use a Steamer on Textured or Vinyl Wallpaper?
Yes, wallpaper steaming is generally safe for textured or vinyl wallpaper, but you should proceed with caution. Use a steamer on a low to medium setting, and keep it moving to avoid soaking the wall or damaging the wall texture. Test a small, inconspicuous area first to make sure it doesn’t cause any harm. Steaming helps loosen the adhesive without scraping or damaging your textured or vinyl wallpaper.
What Tools Are Essential for Removing Stubborn Wallpaper?
To remove stubborn wallpaper, you need essential DIY tools like a utility knife, putty knife, and spray bottle for applying solutions. For tougher jobs, professional equipment such as wallpaper steamers or removal machines can make the process easier. Use a sturdy scraper to lift the edges, and a sponge or damp cloth to help loosen the adhesive. These tools guarantee efficient removal without damaging your walls.
How Do I Prevent Wall Damage After Removing Wallpaper?
Think of your wall as a delicate canvas waiting to be preserved. To prevent damage after removing wallpaper, you should focus on proper wall preparation and gentle wall repair. Carefully patch any holes or gouges, sand rough spots, and clean the surface thoroughly. This way, you guarantee your walls stay pristine, ready for a fresh coat of paint or new wallpaper, and avoid unnecessary damage that could ruin your project.
Conclusion
Remember, Rome wasn’t built in a day, and removing wallpaper takes patience too. Take your time, follow the steps carefully, and don’t rush the process. With a little perseverance, you’ll be surprised at how smoothly it goes—and your walls will thank you. Keep at it, stay gentle, and soon enough, you’ll have a fresh, clean surface ready for your next decorating adventure. Patience is key; good things come to those who wait!