
To create a shiplap or wood panel accent wall, start by measuring your space accurately and choosing a style that complements your room. Select authentic wood or veneer panels, and plan whether to install horizontally, vertically, or diagonally. Use proper tools like a level and spacers for a clean look. Enhance the effect with natural or artificial lighting, and incorporate decor that balances your furniture. Keep going to discover more tips for a stunning, personalized accent wall.
Key Takeaways
- Measure and plan the wall size to determine the number and placement of shiplap or wood panels.
- Choose suitable wood or veneer, considering style, budget, and installation orientation (horizontal, vertical, diagonal).
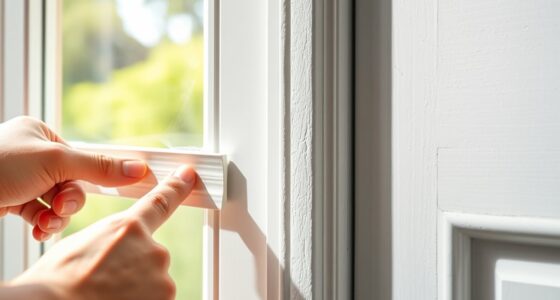
- Prepare the wall by cleaning, leveling, and marking a straight line as a guide for panel alignment.
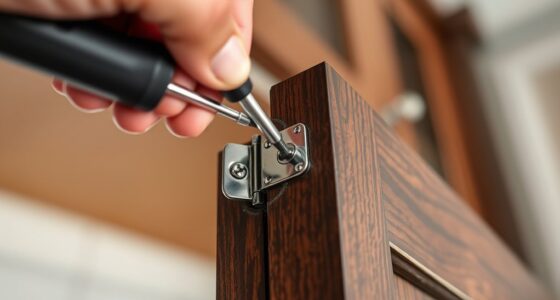
- Use spacers, level, and adhesive or nails to ensure even, secure installation of each panel.
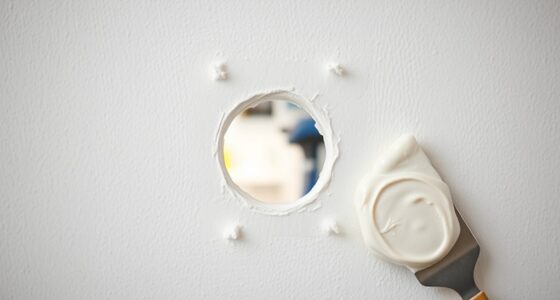
- Finish with caulking, paint or stain as desired, and add lighting or decor to highlight the new feature.

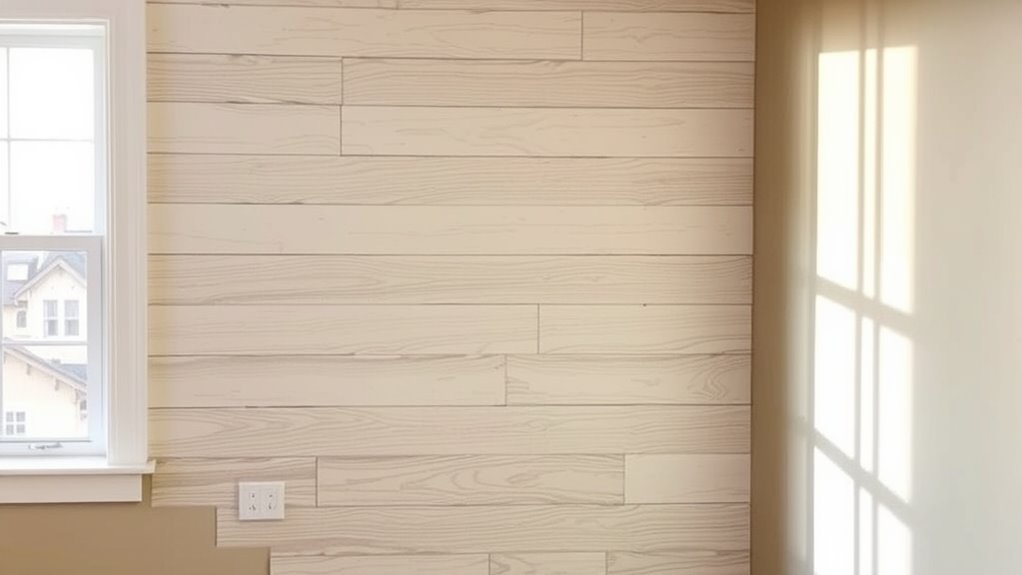
Creating a DIY accent wall is an easy way to transform any room and add personality to your space. When you decide to install a shiplap or wood panel wall, it’s essential to plan how it will integrate with your existing furniture arrangement and lighting ideas. These elements will influence the overall look and feel, ensuring your new feature complements the room rather than overwhelms it. Before you start, consider how your furniture is arranged—whether it’s centered around a fireplace, TV, or a focal point—and think about how the accent wall will enhance that setup. For example, if your furniture is aligned to one side, you might want the accent wall to serve as a backdrop, anchoring the space and drawing the eye.
Lighting ideas are equally important. Proper lighting can highlight the texture and warmth of your wood panel wall, making it stand out even more. Natural light streaming through windows can showcase the grain and color of your wood, so think about the placement of curtains or blinds to maximize this effect. If your room lacks sufficient natural light, adding wall sconces, track lighting, or even a statement pendant can create a warm glow that accentuates the wall’s character. You want your lighting to enhance the wood’s natural beauty without casting harsh shadows or making the room feel dull. Additionally, ventilation considerations can influence how well your space maintains comfort and air quality, especially if you are working with materials that require proper airflow.
When creating your shiplap or wood panel accent wall, start by choosing the right type of wood or veneer that fits your style and budget. Measure the wall carefully to determine how many panels you’ll need, and consider whether you want a horizontal, vertical, or diagonal installation. Using a level and spacer tools will help you achieve a clean, uniform look. As you work, keep in mind how the finished wall will interact with your furniture. For instance, if you’re placing a sofa or bed against the wall, ensure the panels don’t overpower the space but instead provide a balanced backdrop.
Once the panels are installed, think about accessories and decor that complement the new feature. Mirrors, artwork, or shelves can add depth and interest without cluttering the wall. With the right furniture arrangement and lighting ideas, your DIY accent wall will become the focal point of your room, adding warmth, texture, and personality. It’s a cost-effective way to refresh your space, giving it a custom look that reflects your style and creativity.
Frequently Asked Questions
What Tools Are Essential for Installing a Shiplap Wall?
You’ll need essential tools like power tools and a measuring tape to install a shiplap wall. Power tools, such as a nail gun or drill, make attaching the planks faster and easier, while a measuring tape guarantees precise measurements for even spacing. A level helps keep everything straight, and a pencil marks your guidelines. These tools streamline the process, giving you a professional-looking finish with less effort.
How Do I Choose the Best Wood Type for My Accent Wall?
When choosing the best wood type for your accent wall, consider the wood grain and finish to match your style. Opt for softwoods like pine or cedar for a rustic look, or hardwoods like oak or walnut for a sleek finish. Think about durability and maintenance—lighter finishes hide imperfections, while darker stains add richness. Select a wood that complements your space and personal taste, ensuring it enhances your overall decor.
Can I Install a Shiplap Wall Without Professional Help?
Yes, you can install a shiplap wall without professional help. Follow DIY tips like measuring carefully, using the right tools, and following step-by-step instructions. Always prioritize safety precautions, such as wearing goggles and gloves, and working in a well-ventilated area. Take your time, double-check measurements, and don’t rush. With patience and careful planning, you can create a beautiful shiplap accent wall on your own.
How Do I Prepare the Wall Surface Before Installation?
Sure, prepping the wall is a breeze—just your typical fun. Start with surface cleaning; wipe away dust and grease, because who wants dirt under their beautiful shiplap? Then, apply primer to guarantee paint or stain adheres perfectly. Skipping these steps? Well, that’s like trying to build a sandcastle on concrete. So, clean, prime, and get ready for a flawless, professional-looking accent wall you’ll love.
What Are Maintenance Tips for a Wood Panel Accent Wall?
To maintain your wood panel accent wall, regularly dust it with a soft cloth and clean it with a damp cloth using mild soap if needed. Apply wood treatment periodically to protect against moisture and wear. Avoid harsh chemicals or abrasive cleaners, as they can damage the finish. Keep the room’s humidity balanced, and promptly wipe up spills to preserve your wall’s beauty and ensure its longevity.
Conclusion
So, there you have it—your own DIY accent wall, all set to impress (or at least confuse) your guests. Who knew that a few planks and some nails could transform a plain space into a stunning focal point? Just remember, perfection isn’t the goal—charming imperfection is. Now, sit back, admire your handiwork, and enjoy the irony of how a simple wall can make a huge statement. Happy decorating—you’ve officially earned your DIY badge!