
Three-way switches let you control one light from two locations by connecting them with traveler wires. To install or fix them, turn off the power, identify the common and traveler terminals, and follow a wiring diagram carefully. Make sure all connections are tight and correct to avoid flickering or failure. If you keep these steps in mind, you’ll be able to troubleshoot or set up your switches confidently; more tips are just ahead.
Key Takeaways
- Understand the wiring setup: connect the common terminal to power/load and link switches with traveler wires.
- Always turn off power at the breaker and verify with a voltage tester before working.
- Follow wiring diagrams carefully to ensure correct connections and safe operation.
- Troubleshoot issues by checking for loose or damaged wires, and ensure traveler wires are correctly connected.
- When replacing switches, connect the new switch’s common terminal properly and test the circuit before restoring power.

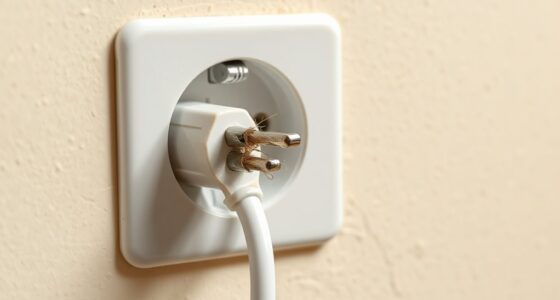
A three-way switch is a handy electrical device that lets you control a single light from two different locations. Whether you’re installing a new lighting setup or fixing an existing one, understanding how these switches work is vital. To get started, you should familiarize yourself with wiring diagrams, which provide visual guidance on how to connect the switches correctly. These diagrams show the common wire, traveler wires, and the switch terminals, making it easier to visualize the wiring process. When installing, always turn off the power at the breaker to prevent shock, and use a voltage tester to verify the circuit is dead before working on it.
A three-way switch allows control of a single light from two locations, requiring proper wiring and safety precautions.
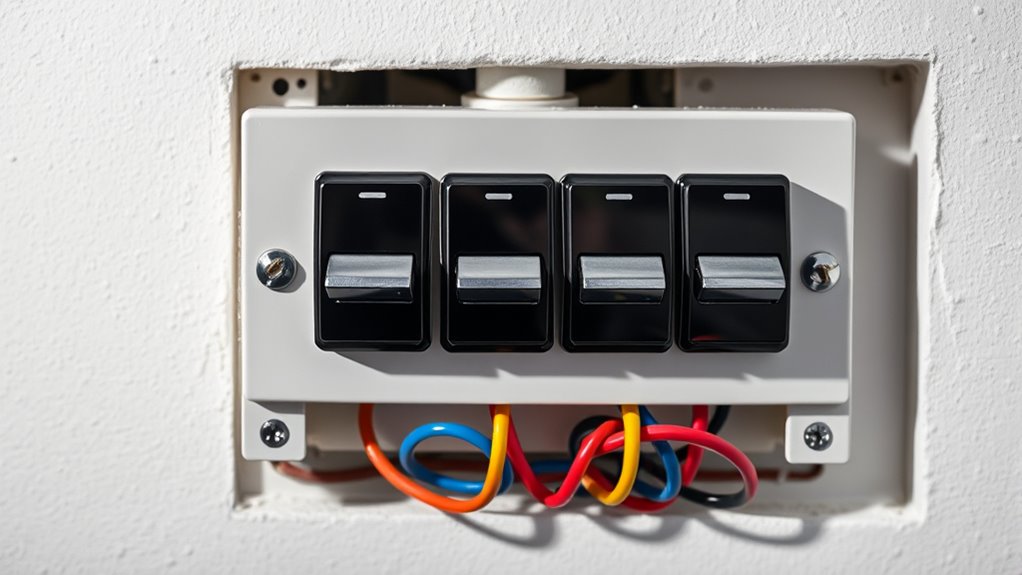
When wiring a three-way switch, you’ll connect the common terminal on each switch to the power source and the load (light fixture), while the traveler terminals link the two switches together with traveler wires. These traveler wires allow the switches to communicate with each other, enabling the light to turn on or off from either location. Keep in mind that proper wire routing is vital; secure connections prevent loose wires, which can lead to flickering or failure. If you’re unsure about wiring diagrams, consult them closely before starting, as incorrect wiring can cause malfunction or electrical hazards. An understanding of the electrical circuit components involved can help prevent common installation mistakes.
Troubleshooting tips come in handy when your three-way switch setup isn’t working as expected. If the light doesn’t turn on from either switch, check the wiring connections—especially the traveler wires and the common terminal. Loose or miswired travelers are common culprits. If the light flickers or only works from one switch, inspect the switches themselves; they might be faulty or worn out. Sometimes, reversing traveler wires can fix the problem, but always verify with your wiring diagram first. Additionally, look for signs of damaged wiring or loose connections behind the switch plates, as these issues can disrupt the circuit.
Replacing a faulty switch involves turning off the power, removing the switch plate, disconnecting the wires, and installing a new switch in the same configuration. When wiring the new switch, ensure the common terminal connects to the correct wire as per your wiring diagram. Testing the circuit after installation confirms everything functions properly. If you encounter persistent issues despite troubleshooting, consider calling a licensed electrician. Proper installation and maintenance of three-way switches guarantee safe, reliable operation, allowing you to control your lighting conveniently from two locations without hassle.
Frequently Asked Questions
Can Three-Way Switches Be Used for Outdoor Lighting?
Yes, you can use three-way switches for outdoor lighting, but you need outdoor wiring and weatherproof switches. Make sure the switches are rated for exterior use to withstand weather conditions. Properly seal all connections and use weatherproof boxes to prevent moisture from causing damage or shorts. Installing outdoor-rated switches and wiring keeps your outdoor lighting safe, functional, and durable, even in harsh weather.
What Tools Are Necessary for Installing Three-Way Switches?
To install three-way switches, you’ll need a voltage tester, screwdriver, wire strippers, and a drill if mounting holes are needed. Make sure the wire gauge matches the switch compatibility, typically 14 or 12 gauge for residential wiring. Use the voltage tester to turn off power, then carefully connect the traveler wires and common terminal. Having these tools handy guarantees a safe, smooth installation process.
How Do I Troubleshoot a Three-Way Switch That’s Not Working?
When your three-way switch isn’t working, start switch troubleshooting by turning off the power and inspecting the electrical wiring connections for loose or damaged wires. Use a voltage tester to check if the switch is receiving power and properly controlling the lights. If wiring looks good, replace the switch to see if that resolves the issue. Always verify safety and double-check all connections before restoring power.
Are There Different Types of Three-Way Switches?
Imagine you’re in a vintage arcade, and yes, there are different types of three-way switches. They vary mainly in switch configurations and wiring diagrams. You’ll find standard, illuminated, and decorator styles, each designed for specific setups. Understanding these differences assists you in selecting the right switch for your wiring diagram. So, whether you’re upgrading or troubleshooting, knowing the switch types ensures your electrical project stays smooth and safe.
What Safety Precautions Should I Take Before Installation?
Before installing a three-way switch, prioritize electrical safety by turning off the power at the circuit breaker. Wear personal protective equipment like insulated gloves and safety goggles to prevent shocks or injuries. Use a voltage tester to confirm power is off before touching any wires. Avoid working alone, and make certain you have proper tools. Taking these precautions helps protect you from potential hazards during installation or repair.
Conclusion
Now that you know how three-way switches work and how to install or fix them, you’re practically a wiring wizard! Imagine never fumbling in the dark again or feeling powerless when you can confidently control your lights from anywhere in your home. With this knowledge, you’re unstoppable — like a superhero of home improvement! So go ahead, conquer those switches, transform your space, and turn every flick of the switch into a moment of triumph!