
If your lamp isn’t working, it’s likely the socket is faulty. Turn off the power and unplug the lamp to stay safe. Remove the old socket using a screwdriver, and disconnect the wiring carefully. Install a new socket, making sure the wires are securely attached and correct. Once reassembled, test the lamp with the right bulb. For step-by-step guidance to fix your lamp quickly and safely, keep following the tips.
Key Takeaways
- Turn off power and unplug the lamp before inspecting or replacing the socket to ensure safety.
- Remove the old socket carefully, noting wiring connections, and disconnect it from the lamp base.
- Install the new socket securely, matching wiring connections correctly to avoid electrical faults.
- Check the bulb type and ensure it is compatible and properly screwed in for the lamp to light.
- Test the lamp after replacement with a working bulb and outlet to confirm the repair was successful.
Have you ever wondered why your lamp suddenly stops working? It can be frustrating, especially if you’re sure you’ve replaced the bulb recently. Often, the problem isn’t the bulb itself but the socket or other power issues. Before rushing to buy a new lamp, it’s helpful to understand how different bulb types and power issues could be causing the malfunction.
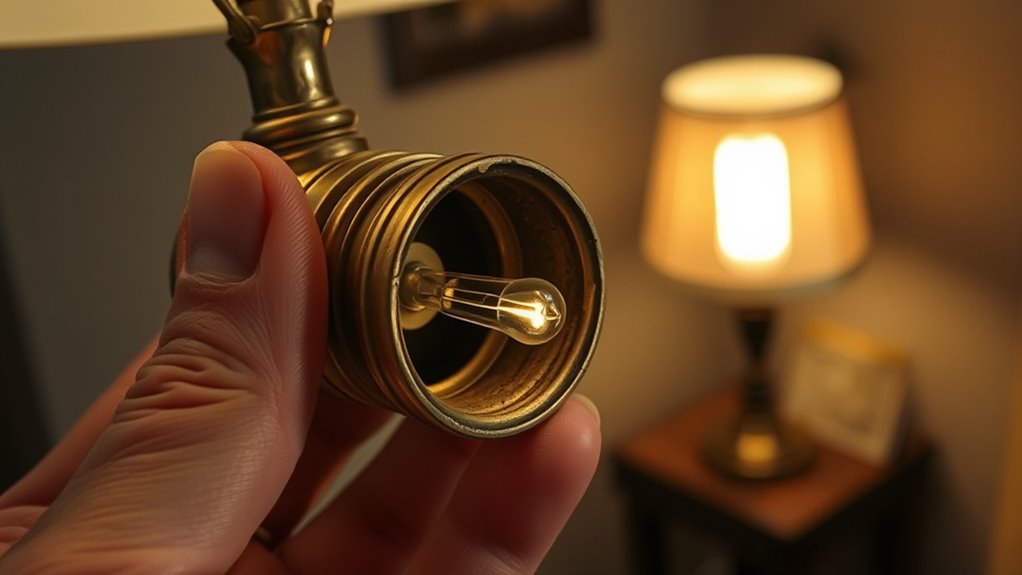
First, consider the bulb types you’re using. Different bulbs have different bases and voltage requirements. For example, incandescent bulbs typically have an Edison screw base, while LED and CFL bulbs might use pin bases or other connectors. If your bulb isn’t fitting properly or isn’t compatible with the socket, it won’t light up, giving the impression that the lamp is broken. Sometimes, a loose connection or a damaged socket can prevent electrical contact, making it seem like the bulb or power source is at fault. Checking whether the bulb is the right type and ensuring it’s properly screwed in can often resolve simple issues. However, if the bulb is compatible and still doesn’t work, the problem might lie deeper in the socket or wiring.
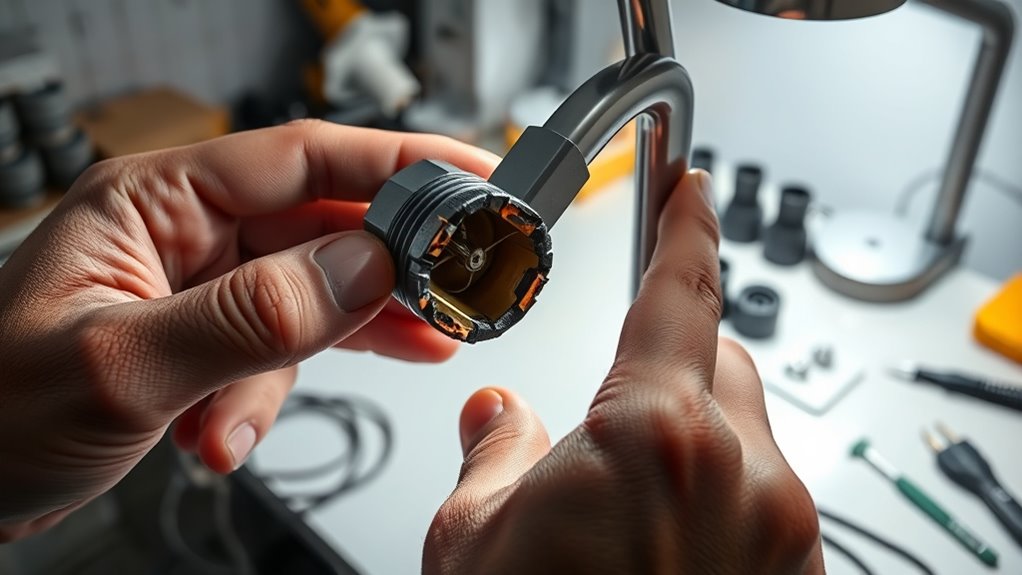
Power issues are another common culprit. If your lamp isn’t turning on, it might not be receiving power at all. It could be due to a blown fuse, a tripped circuit breaker, or a loose plug or outlet connection. Before disassembling the lamp, test the outlet with another device to confirm it’s working. If the outlet is fine, but the lamp isn’t, the socket itself could be faulty. Worn-out or damaged sockets often have loose or corroded components that interrupt the flow of electricity, preventing the lamp from lighting. Inspect the socket for signs of wear, such as discoloration, corrosion, or cracks. If you notice any of these, replacing the socket becomes necessary. Additionally, understanding the role of contrast ratio can help in assessing if the socket’s performance is affecting overall lighting quality.
Replacing a faulty lamp socket is straightforward but requires caution. Turn off the power before working on the lamp to avoid electric shock. Use a screwdriver to remove the socket from the lamp base or fixture carefully. Disconnect the wiring from the old socket, making note of how it’s connected, so you can replicate the setup with the new one. When installing the new socket, ensure the wiring is secure and correctly attached, following the manufacturer’s instructions. Once everything is connected, screw the socket back into place, plug in the lamp, and test it with the appropriate bulb type. If it still doesn’t work, double-check your wiring or consider consulting an electrician.

UL Listed E26 Light Socket, Threaded Lamp Socket Replacement with ON/Off Switch Medium Base Lamp Parts with Lamp Shade Ring Ring for Table lamp, Floor lamp, Light Fixture, Black 1-Pack
Premium Material:The outer of light socket is made of high quality phenolic material with aluminum socket interior which…
As an affiliate, we earn on qualifying purchases.
As an affiliate, we earn on qualifying purchases.
Frequently Asked Questions
Can I Replace a Lamp Socket Myself Without Electrical Experience?
Yes, you can replace a lamp socket yourself if you follow DIY lighting guidelines and prioritize electrical safety. Turn off the power, unplug the lamp, and use insulated tools to avoid shocks. Carefully remove the faulty socket and install the new one, ensuring all connections are secure. If you’re unsure or uncomfortable at any point, it’s best to consult an electrician. Always prioritize safety to prevent accidents.
What Safety Precautions Should I Take Before Replacing a Socket?
Think of electrical safety like preparing for a voyage—you need the right tools and precautions. Before replacing a socket, disconnect the power, wear insulated gloves, and use insulated tools. Confirm the lamp is unplugged and the circuit is off at the breaker. Double-check your tools for proper insulation and keep your workspace dry. Taking these safety steps helps prevent shocks and ensures a smooth, safe replacement process.
How Do I Identify a Faulty Socket Versus Wiring Issues?
You can identify a faulty socket by performing wiring diagnostics and socket inspection. First, unplug the lamp and check for visible damage like corrosion or cracks. Use a multimeter to test the socket for continuity; if there’s no reading, it’s likely faulty. Also, inspect the wiring connections—loose or frayed wires can mimic socket issues. If everything looks good but the lamp still won’t work, the socket probably needs replacing.
Are There Different Types of Lamp Sockets for Specific Bulbs?
Think of lamp sockets like keys to a lock—each designed for specific bulbs. Yes, there are different types, such as screw-in, bayonet, or bi-pin sockets, tailored for various bulb compatibility. The socket materials also matter, with some made from ceramic or plastic, influencing durability and heat resistance. Always verify your bulb type and socket specifications before replacing; matching them guarantees your lamp works smoothly and safely.
How Long Does It Typically Take to Replace a Lamp Socket?
Replacing a lamp socket typically takes about 15 to 30 minutes, depending on your experience with electrical repair tools. During lamp socket troubleshooting, you’ll need basic tools like screwdrivers and pliers. First, turn off power and unplug the lamp. Carefully remove the old socket, then connect the new one, making sure all wiring is secure. Take your time to avoid mistakes and ensure the lamp works safely afterward.
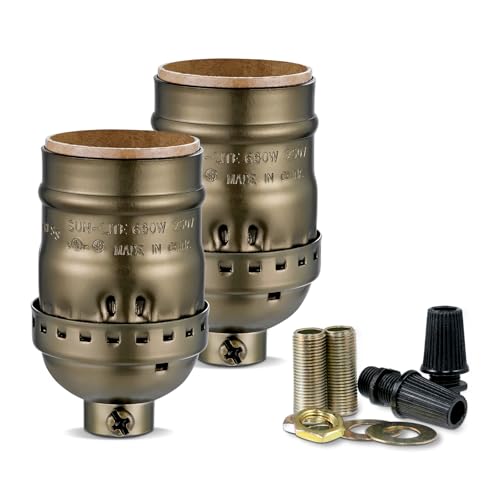
Keyless Lamp Socket, E26 Standard Medium Screw Vintage Light Socket, Edison Lamp Socket Holder Replacement, No Switch, UL Listed (2, Antique Brass)
UL LISTED STANDARD LIGHT SOCKET -Standard U.S. lamp socket in vintage design, without an on and off switch,…
As an affiliate, we earn on qualifying purchases.
As an affiliate, we earn on qualifying purchases.
Conclusion
When your lamp’s socket falters, it’s like losing a beacon in your space. Replacing it restores not just the light, but hope and clarity to your surroundings. Think of the socket as the heart of your lamp—when it beats again, your room warms with renewed life. Don’t fear the flicker of challenge; with a simple fix, you’ll reignite your environment’s glow and keep the darkness at bay. Your light is just a repair away.
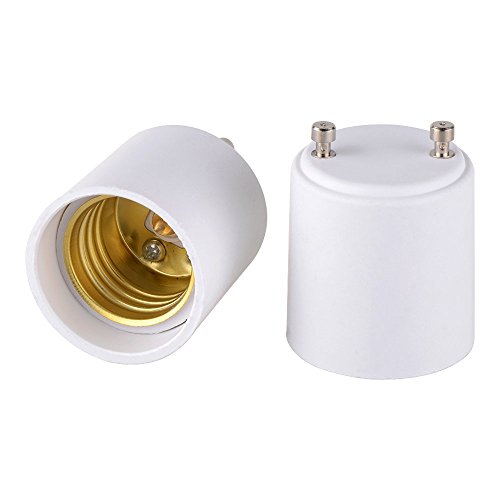
Onite GU24 to E27 E26 Adapter for LED Bulb, GU24 to Medium Base Converts Your Pin Base Fixture to Standard Screw-in Lamp Socket 2 Pack
【Solve Your GU24 Socket Problem】 Recently bought a lamp only to find it has a GU24 pin base…
As an affiliate, we earn on qualifying purchases.
As an affiliate, we earn on qualifying purchases.

Lamp Rewire Kit,Make a Lamp or Repair Kit,3-Way Lamp Socket with Matching Cord Lamp Harp Set,Lamp Wiring Kit for Table Floor Lamp,Essential Hardware for DIY Lamp Design or Repair (Antique Brass, 1)
EXTRA LONG 12 FOOT CORD & QUALITY HARDWARE SET Included – A 12ft Electric Cord with polarized plug…
As an affiliate, we earn on qualifying purchases.
As an affiliate, we earn on qualifying purchases.