
To upgrade your shower head in just a few minutes, turn off the water supply or verify the shower isn’t in use. Remove the old shower head by turning it counterclockwise, then clean the threads and wrap plumber’s tape around them in a clockwise direction. Screw on the new shower head by hand, tighten it snugly without overtightening, and turn the water back on to check for leaks. For detailed tips, keep following along.
Key Takeaways
- Turn off water and remove the existing shower head carefully, cleaning the threads and applying plumber’s tape.
- Wrap plumber’s tape clockwise around the shower arm threads for a watertight seal.
- Screw the new shower head onto the shower arm by hand, ensuring proper alignment and snug fit.
- Turn on water slightly to check for leaks, tightening connections or adding tape if needed.
- Fully open the water, test spray settings, and adjust for optimal performance.
Installing a new shower head is a straightforward task that can improve your bathroom’s comfort and style. Whether you’re aiming to boost water pressure or just want a different shower experience, changing your shower head is a quick upgrade. The variety of shower head types available—such as rainfall, handheld, or high-pressure models—means you can select one that best suits your preferences and water needs. Before you start, gather your tools: an adjustable wrench, plumber’s tape, and a cloth or rag to protect the finish.
First, turn off the water supply or at least ensure the shower is not in use. Remove the existing shower head by turning it counterclockwise. If it’s stubborn, grip it with the adjustable wrench, but wrap the cloth around the fitting first to prevent scratches. Once removed, check the threads for any mineral buildup or debris. Clean the threads with a cloth and apply a few wraps of plumber’s tape in a clockwise direction. This tape helps create a watertight seal and prevents leaks once you install the new head.
Turn off water, remove old shower head, clean threads, and apply plumber’s tape before installing the new head.
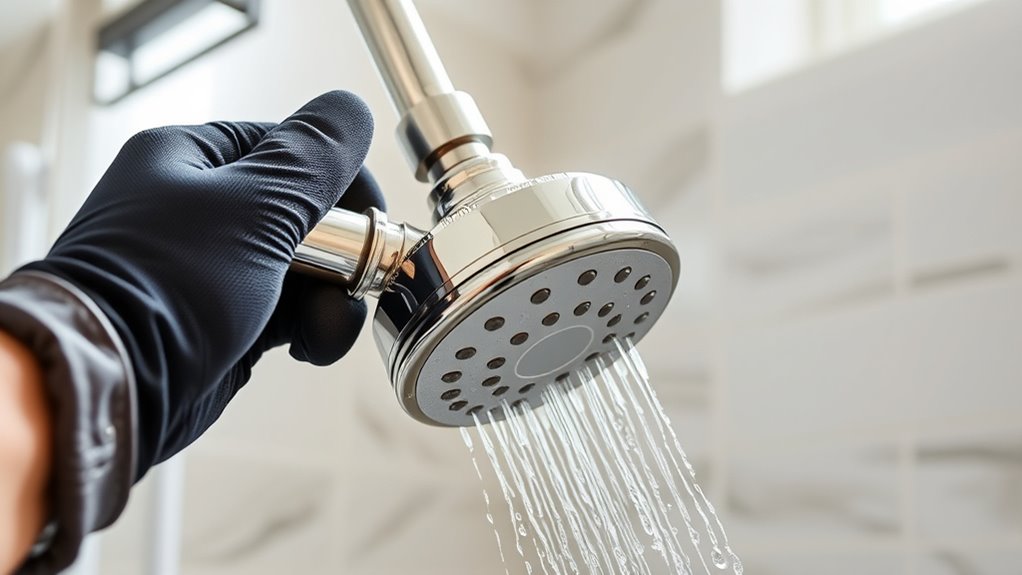
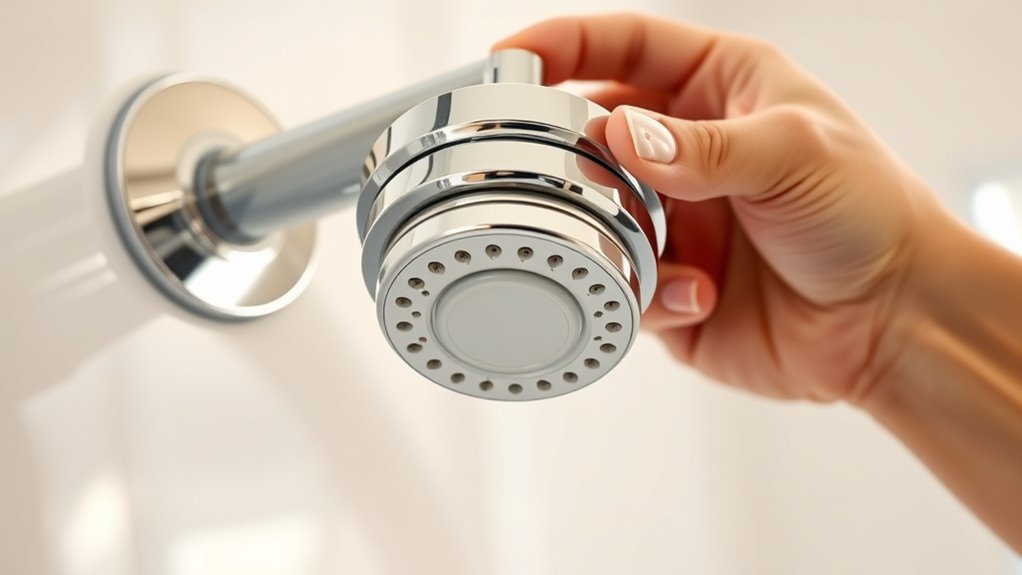
Next, screw the new shower head onto the shower arm by hand, turning clockwise. Make sure it’s snug but avoid overtightening, which can damage the fitting or cause leaks. If you’re installing a shower head with adjustable settings or different spray patterns, familiarize yourself with its features before tightening fully. Once in place, turn on the water supply slightly to check for leaks. If you see drips, tighten the connection just a bit more or add a little more plumber’s tape.
When choosing a shower head, consider the type that suits your water pressure and desired experience. For instance, if you have low water pressure, a high-pressure shower head can maximize water flow, giving you a more satisfying shower. Conversely, if you want a gentle, rainfall-like experience, opt for a wide, flatter head designed to mimic natural rain. Handheld models offer flexibility and ease of cleaning, making them ideal for rinsing or cleaning the shower itself. Reliable water flow is also an important factor when selecting a shower head to ensure consistent performance.
Finally, test your new shower head by turning the water back on fully and adjusting the settings. Check all around the connection for leaks and tighten as needed. Enjoy your upgraded shower that’s not only functional but also tailored to your preferences. In just a few minutes, you’ve improved your bathroom’s comfort, saved water, or enhanced your shower experience—all with a simple, DIY upgrade.
Frequently Asked Questions
Can I Install a Shower Head Without Turning off the Water Supply?
You can install a shower head without turning off the water supply if you carefully protect the area around the shower arm. Keep a cloth or bucket handy to catch any drips. Unscrew the old shower head from the shower arm, then attach the new one. Be cautious of residual water in the shower arm, and have a towel ready to wipe up any splashes. This way, you avoid shutting off the water supply entirely.
What Tools Are Needed for Installing a New Shower Head?
You’ll need just a few tools for shower head installation—an adjustable wrench, plumber’s tape, and a cloth or rag. The wrench tightens fittings securely, while plumber’s tape guarantees no leaks. The cloth protects your fixtures during the process. With these tools, you can master shower head installation quickly, transforming your shower experience in minutes. No complicated tools or expert skills required—just your hands and these essentials to elevate your bathroom!
How Do I Prevent Leaks After Installation?
To prevent leaks after installing your shower head, start by applying a sealant around the threaded connection before screwing it on. make certain you tighten it securely but don’t overtighten, which can cause damage. You can also use plumber’s tape for extra leak prevention. After installation, run the water and check for drips. If leaks appear, reapply the sealant or tape and tighten the connection slightly more.
Is It Necessary to Use Plumber’s Tape?
The proof is in the pudding—you should definitely use plumber’s tape to prevent leaks. It’s a simple step that creates a watertight seal around the shower head threads. Applying plumber’s tape properly helps avoid pesky leaks and guarantees your installation holds up over time. Without it, even a slight misfit can cause drips. So, don’t skip this step if you want a leak-free shower experience.
Can I Install a Shower Head if the Pipe Is Corroded?
You can install a shower head with a corroded pipe, but it’s not ideal. Corrosion repair might be needed first, as corrosion can cause leaks or poor water flow. If the pipe is severely corroded, consider pipe replacement to guarantee a secure, long-lasting connection. Addressing corrosion before installing a new shower head guarantees your upgrade works smoothly and prevents future water damage or plumbing issues.
Conclusion
Installing a new shower head is quick and easy, even if you’re not a DIY expert. Don’t worry about messing up—just follow the steps, and you’ll enjoy a refreshed shower in minutes. Remember, upgrading isn’t about perfection; it’s about improving your daily routine. So go ahead, give it a try—you’ll be surprised how simple it is to enhance your shower experience and make every morning a little better.