
To stop your sweaty toilet tank, start by wrapping it with foam or fiberglass insulation to keep the surface warm. Adding a vapor barrier like plastic sheeting underneath can block moisture contact. Improve ventilation by running exhaust fans during and after showers, and keep the bathroom temperature steady. Combining insulation, vapor barriers, and proper airflow can considerably reduce condensation—if you want to learn more effective strategies, keep exploring these solutions.
Key Takeaways
- Insulate the toilet tank with foam or fiberglass sleeves to maintain consistent temperature and reduce surface cooling.
- Apply a vapor barrier, like plastic sheeting, around the tank to block moisture contact.
- Ensure proper bathroom ventilation with exhaust fans to remove excess humidity and prevent condensation.
- Maintain stable indoor temperatures to minimize temperature fluctuations that cause condensation.
- Combine insulation, vapor barriers, and ventilation for the most effective moisture control.
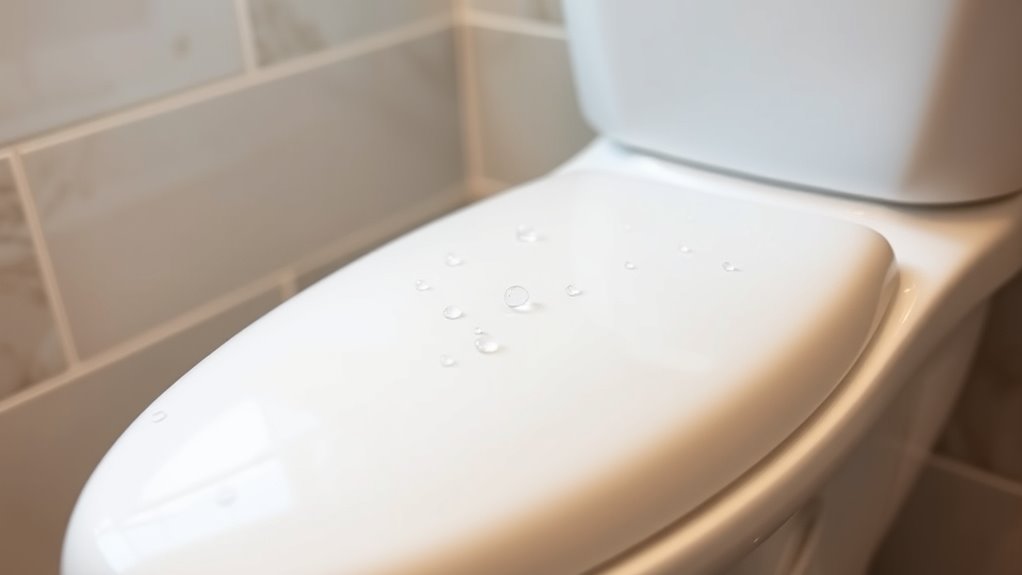
A sweaty toilet tank can be more than just an annoyance; it can lead to water damage and mold growth if left unaddressed. When your toilet tank sweats, it releases moisture onto the surrounding surfaces, creating a damp environment that promotes mold and possibly causes damage to your flooring or cabinetry. The key to stopping this condensation is to prevent the warm, moist air from contacting the cold surface of the tank. One effective way to do this is by improving your tank insulation. Installing tank insulation involves wrapping the exterior of your toilet tank with foam or fiberglass insulation sleeves. This insulation helps maintain a more consistent temperature on the tank’s surface, reducing the temperature difference that causes condensation. When the tank stays warmer, there’s less likelihood of moisture forming on its surface.
Another vital step is to utilize vapor barriers. These are materials like plastic sheeting or specialized vapor barrier fabrics that you can place around or beneath the toilet tank. By creating a barrier between the tank and the surrounding environment, vapor barriers prevent moisture from reaching the tank surface in the first place. Proper placement of vapor barriers is essential; they should be installed under the tank, covering the base and surrounding area, to block moisture from seeping into the floor or cabinetry. Combining vapor barriers with tank insulation provides a double layer of protection, effectively reducing the chances of condensation.
You should also check your bathroom’s ventilation. Good airflow helps carry away excess humidity, which is a major contributor to tank sweating. If your bathroom lacks an exhaust fan or if the existing fan isn’t effective, consider installing or upgrading it. Running the fan during and after showers helps keep humidity levels down, making the insulation and vapor barriers more effective. Additionally, adjusting your thermostat to maintain a steady, moderate temperature can help prevent drastic temperature fluctuations that trigger condensation. Improving home ventilation can significantly reduce humidity levels and prevent condensation on your toilet tank.

Loniko Smart Toilet with Bidet Built In, Heated Seat & Dual Auto Flush, Foot Sensor, Tankless Modern Elongated Electric Toilet with Warm Water Wash, Air Dryer, LED Display & 1000g MaP Flush, 1.28 GPF
🧻 [Powerful & Water-Saving Dual Flush System] This one piece smart toilet with bidet built in uses an...
As an affiliate, we earn on qualifying purchases.
Frequently Asked Questions
Can Adding Insulation Damage My Toilet Tank?
Adding tank insulation generally won’t damage your toilet tank if you choose the right material and guarantee proper installation. Use compatible insulation materials like foam or fiberglass designed for plumbing, and avoid harsh chemicals or adhesives that could harm the porcelain or tank components. Properly insulating your tank helps prevent condensation without risking damage, as long as you follow manufacturer guidelines and select materials suited for your toilet’s material compatibility.
Is It Safe to Use Chemical Dehumidifiers Near the Toilet?
You shouldn’t throw caution to the wind when it comes to chemical dehumidifiers near your toilet. While they can help reduce moisture, safety concerns exist, especially if you have pets or children. These devices emit chemicals that could be harmful if ingested or inhaled in high concentrations. Always follow manufacturer instructions, make certain proper ventilation, and keep the dehumidifier away from water sources to avoid any mishaps.
How Often Should I Check for Condensation Issues?
You should check for condensation issues weekly to maintain good air quality and control humidity levels. Regular inspections help you spot moisture buildup early, preventing mold and water damage. Keep an eye on the tank and surrounding area, especially during humid or temperature-changing weather. By staying proactive, you guarantee your bathroom stays dry and comfortable, reducing the risk of excess humidity impacting your home’s air quality over time.
Will Lowering the Water Level Help Reduce Sweating?
Lowering the water level can help reduce sweating because it decreases the amount of water in your tank, which cuts down on surface area and temperature differences that cause condensation. To improve condensation prevention, try adjusting the water level carefully, ensuring it’s below the overflow tube. This simple water level adjustment can make a noticeable difference, helping keep your toilet tank dry and preventing moisture buildup.
Are There Eco-Friendly Options for Condensation Control?
Yes, there are eco-friendly solutions and natural remedies you can try to control condensation on your toilet tank. You might consider using insulating materials like cork or recycled foam around the tank to prevent sweating. Additionally, placing natural desiccants such as silica gel packs nearby can absorb excess moisture. These options are safe for the environment, cost-effective, and don’t involve chemicals, making them ideal for eco-conscious households.

WOODBRIDGE Smart Toilet with 1000g MaP Flush Score, Foam Shield, Moving Dryer, Blackout Flush, ADA Comfort Height, Auto Open & Close, Heated Seat, B0930S
✅ 1000g MaP Flush Performance: With a powerful 1000g MaP score and a built-in tank, it ensures strong,...
As an affiliate, we earn on qualifying purchases.
Conclusion
So there you have it—your sweaty toilet tank’s new nemesis. No more water droplets turning your bathroom into a slip-and-slide, and no more pretending it’s a science experiment. Just a few simple fixes, and your tank will stay dry, happy, and perhaps even proud. Because honestly, who needs a mini waterfall every time you flush? Take these tips, banish condensation, and enjoy a bathroom that’s dry, calm, and free of unnecessary aquatic surprises.

HOROW T38 Artistic Smart Toilet, Bidet Toilet with Powerful Flush, Auto Open/Close Lid, Instant Warm Water, Elongated Heated Seat, Dryer, Night Light, Deodorization
For Low Water Pressure: Smart toilet built-in water tank and pump bring efficient and powerful flushing performance. The...
As an affiliate, we earn on qualifying purchases.

Smart Toilet with Warm Water Sprayer and Dryer, One Piece Bidet Toilet with Auto Dual Flush Foot Sensor Operation,Heated Seat Smart with Built In Fahrenheit LED Display
4-Level Heated Seat & Multi-Mode Warm Water Bidet - Adjustable seat/water temp with LED display, 3 personalized cleaning...
As an affiliate, we earn on qualifying purchases.