
To replace your bathroom vanity and sink, start by turning off the water supply and disconnecting the plumbing. Remove the old vanity carefully, then measure your space for the new one. Secure the new vanity to the wall, ensuring it’s level, and connect the drain and supply lines tightly. Turn the water back on and check for leaks. For detailed steps and tips, see how you can do it yourself efficiently.
Key Takeaways
- Turn off water supply, disconnect plumbing, and remove the old vanity securely.
- Measure space and select a new vanity that fits your bathroom’s style and size.
- Prepare the new vanity by aligning plumbing holes and securing it to the wall.
- Connect the drain pipe and supply lines, ensuring all fittings are tight and leak-free.
- Turn on water, check for leaks, and verify the vanity and sink are level and stable.
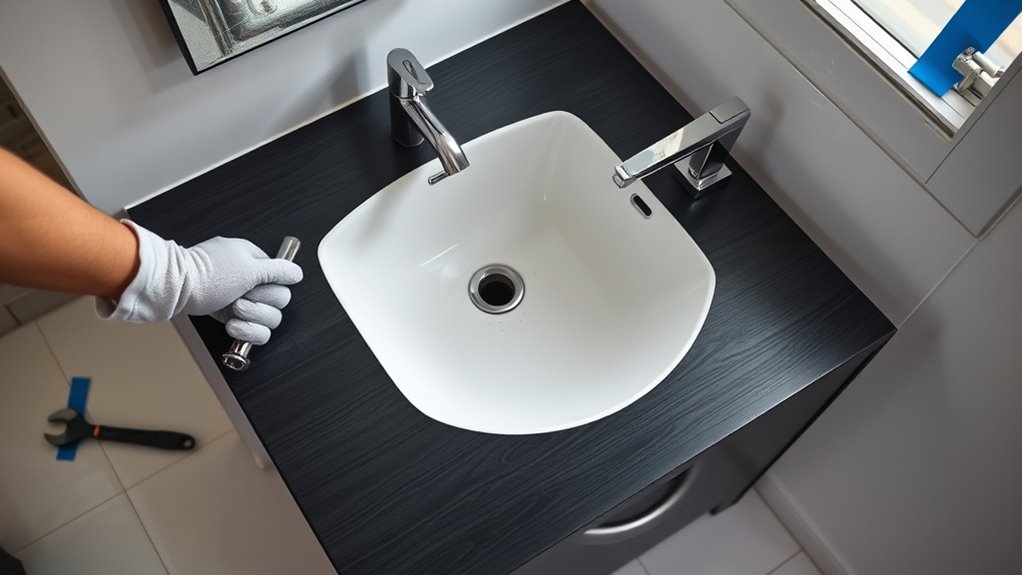
Replacing a bathroom vanity and sink can refresh your space and improve functionality, but it’s important to plan carefully before starting. First, you need to turn off the water supply to avoid any leaks or water damage. Locate the shutoff valves under the sink and turn them clockwise to stop the flow. Then, disconnect the plumbing connections, including the supply lines and drain pipe. Keep a bucket handy to catch any residual water. Once the plumbing is disconnected, you can remove the old vanity. Depending on how it’s installed, you might need a screwdriver or drill to unscrew it from the wall, and you should check for any adhesive or fasteners securing it in place.
Turning off water and disconnecting plumbing are essential steps before replacing a bathroom vanity.
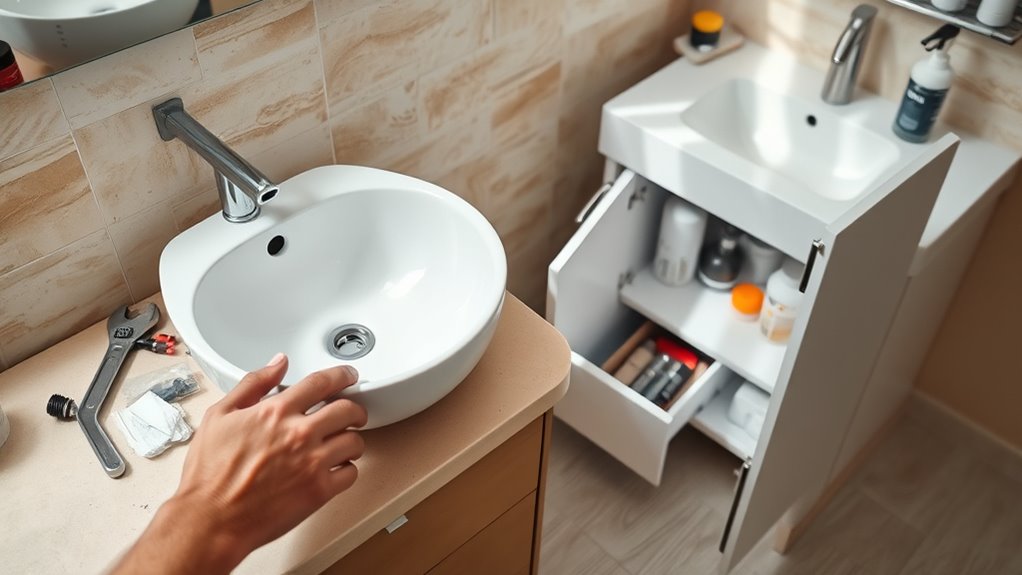
When selecting a new vanity, consider the vanity materials. Options range from solid wood and plywood to MDF and particleboard, each with different durability and price points. Solid wood tends to be more durable and offers a high-end look but can be heavier and more expensive. Plywood and MDF are lighter and more budget-friendly, but they may not last as long if exposed to moisture. Measure your space carefully to ensure the new vanity fits properly, especially if you’re replacing a larger or smaller unit. Also, think about the style and color to match your bathroom decor.
Furthermore, choosing a vanity with the right material composition can influence its resistance to moisture and longevity, especially in a bathroom environment. Before installing the new vanity, double-check the plumbing connections. Make sure the holes for the faucet and drain align properly with the vanity’s cutouts. If your new vanity has a different configuration, you might need to modify or drill new holes. When installing, secure the vanity to the wall using appropriate anchors and screws, ensuring it’s level and stable. Connect the drain pipe first, then attach the supply lines, and tighten all fittings securely to prevent leaks. Once everything’s connected, turn the water supply back on and check for leaks. Run water through the faucet and inspect all connections to confirm everything is sealed properly.
Throughout the process, take your time to avoid damaging the new vanity or causing leaks. Proper planning, choosing the right vanity materials, and meticulous plumbing connections are key to a successful DIY project. With patience and attention to detail, you can replace your bathroom vanity and sink effectively, giving your bathroom a fresh new look and improved functionality.

Snappy Trap Universal Flexible P Trap Bathroom Sink Drain Pipe Plumbing Kit for Home Improvement, No Leaks, Easy No Tool Installation, 9-13 Inch Flex Hose & 16 Inch Product Length (DK-105 Silver)
【UNIVERSAL BATHROOM SINK DRAIN KIT】This flexible p trap bathroom sink pipe replacement drain kit adapts to 1 ¼…
As an affiliate, we earn on qualifying purchases.
As an affiliate, we earn on qualifying purchases.
Frequently Asked Questions
How Do I Disconnect the Plumbing Safely?
To disconnect the plumbing safely, first turn off the water supply valves to prevent leaks. Place a bucket or towel under the pipes to catch any residual water. Use a wrench to loosen the slip nuts gently, avoiding sudden force that could cause damage or leaks. guarantee plumbing safety by working carefully and checking for leaks before removing the vanity, preventing future issues and ensuring a smooth replacement process.
What Tools Are Essential for This Project?
Think of your tools like a toolbox orchestra ready to perform. You’ll need a wrench and channel locks for plumbing safety, ensuring you can disconnect pipes securely. A tape measure is crucial for vanity measurements, helping you choose the right fit. A screwdriver, utility knife, and level also come in handy. These essentials keep your project on track, making installation smoother and safer, just like a well-conducted symphony.
How Do I Measure for a New Vanity?
To measure for a new vanity, start by noting the current vanity’s dimensions, including width, depth, and height. Use a tape measure for accuracy, applying measuring techniques like measuring from wall to edge for width, wall to front for depth, and floor to countertop for height. Make sure to record these vanity dimensions precisely, allowing some clearance for installation, so your new vanity fits perfectly without issues.
Can I Install a Vanity Over Existing Tiles?
Sure, you can install a vanity over existing tiles—if you’re okay with potential tile removal later. Just make certain the tiles are flat and stable enough to support the new vanity. You’ll need to secure the vanity properly for stability, which might involve adding shims or leveling. Ironically, skipping tile removal can save time now, but it might cause issues down the line with vanity stability or future tile repairs.
How Long Does the Entire Replacement Process Take?
The entire replacement process usually takes 4 to 8 hours, depending on your skill level and the project’s complexity. You should consider cost and material options, as these influence both time and budget. For example, choosing a pre-assembled vanity can speed things up but may cost more. If you’re meticulous and prepared, you can save time and money, making the project smoother and more efficient.
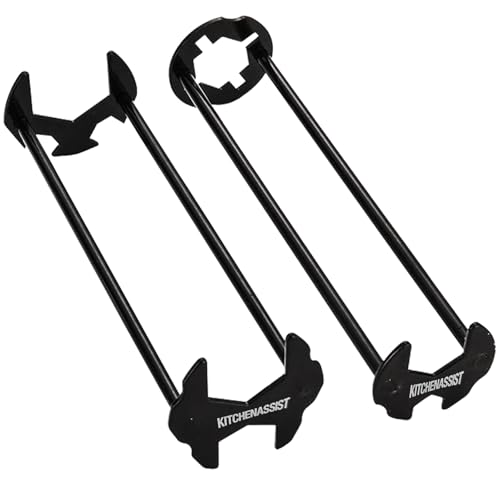
2pcs Basin Wrench Multifunctional Sink Wrench 7 Sizes Faucet Tool Four-jaw Hex Spanner Universal Plumbers Tool for Tight Spaces Kitchen Bathroom Home
【WHAT WILL YOU GET】 The packaging includes 2 multi-functional sink wrenches in size of 7.87 * 2 inches….
As an affiliate, we earn on qualifying purchases.
As an affiliate, we earn on qualifying purchases.
Conclusion
Replacing your bathroom vanity and sink is a doable project that saves money and gives your space a fresh look. Just take your time, follow the steps carefully, and don’t rush the process. Interestingly, some experts believe that engaging in DIY home improvements can also boost your confidence and problem-solving skills over time. So, while it might seem intimidating at first, trust in your abilities—you’re capable of creating a bathroom that looks professionally done.

IRONCK 30" Bathroom Vanity, Wall Mounted Bathroom Vanities with 1 Drawer and 1 Tip-Out Drawer, Modern Floating Bathroom Storage Cabinet with Undermount Ceramic Sink, Easy Assembly, White
Minimalist & Classic Design: Crafted from quality engineered wood to withstand humid environments, this vanity features a white…
As an affiliate, we earn on qualifying purchases.
As an affiliate, we earn on qualifying purchases.

EZ-FLO Pop-Up Lavatory Sink Drain Assembly, Brass Body with Chrome-Plated Finish, 22-Gauge Tailpiece, 10901
BATHROOM SINK DRAIN: Pop-up lavatory drain assembly with chrome-plated finish for a polished look
As an affiliate, we earn on qualifying purchases.
As an affiliate, we earn on qualifying purchases.