To set up a low-cost drip irrigation system, start by planning your garden into zones based on plant needs. Choose durable mainline and distribution tubing, then install emitters at the right locations near plant roots for efficient watering. Connect all components with secure fittings, using stakes and clamps to hold everything in place. Keep your system maintained, and you’ll save water and time. Follow along as you’ll discover more tips for building an effective, budget-friendly garden watering setup.
Key Takeaways
- Plan your garden layout by dividing it into zones with similar watering needs to optimize system efficiency.
- Select affordable 1/2-inch mainline tubing and compatible 1/4-inch distribution lines for easy installation.
- Use inexpensive emitters with appropriate flow rates, placing them near plant roots for even watering.
- Connect components with UV-resistant fittings and secure tubing with stakes to prevent leaks and displacements.
- Regularly observe and adjust emitter placement and flow to ensure water conservation and healthy plant growth.

MIXC 200Ft 1/4" Drip Irrigation System,2026-Upgrade Garden Irrigation Kit with 32pcs Adjustable Copper Nozzles,Automatic Atomizing Watering System for Outdoor Plants,Raised Bed,Yard,Potted Plant,Lawn
【Universal 1/4 Inch Size Set】- Designed for US market compatibility, 200ft MIXC new drip irrigation system set uses…
As an affiliate, we earn on qualifying purchases.
As an affiliate, we earn on qualifying purchases.
Understanding the Essential Components of a Drip System
Understanding the essential components of a drip system is key to setting up an efficient watering solution for your garden. First, a timer automates water delivery, letting you schedule watering times and durations. Next, a backflow preventer stops water from flowing backward into your main line, protecting your water supply. A filter is vital for catching tiny particles that could clog emitters, and it should be installed before the pressure regulator. The pressure regulator reduces household water pressure to the ideal 20-30 PSI, ensuring even water flow. Tubing adapters connect the head assembly to mainline tubing, which comes in 1/2-inch or 3/4-inch sizes. These components work together to create a reliable, low-maintenance system that delivers water precisely where your plants need it. Additionally, understanding pressure regulation helps optimize water flow and prevents damage to your system components. Incorporating the proper system design can further improve water efficiency and coverage throughout your garden. Proper system maintenance also ensures longevity and consistent performance of your drip irrigation setup. When selecting Suprem fabric for any parts or coverages, its durability and resistance to wear can contribute to a longer-lasting system.

Outdoor Garden Hose Faucet Timers, Programmable Water Sprinkler Timer with Rain Delay/Manual/Automatic Drip Irrigation and Lawn Watering System for Yard, 1 Outlet
【Easy to Program】Rotate the dial and press the buttons to set clock, how often (watering frequency), how long…
As an affiliate, we earn on qualifying purchases.
As an affiliate, we earn on qualifying purchases.
Planning Your Garden Layout and Watering Zones

To create an efficient drip irrigation system, start by mapping out your garden and dividing it into distinct watering zones based on plant types, sun exposure, and soil conditions. This ensures each area receives appropriate water without waste. Consider these key steps:
- Identify plant groupings with similar watering needs to streamline zones.
- Assess sun exposure to adjust watering frequency for shaded versus sunny spots.
- Measure the length and width of each zone for accurate tubing and emitter placement.
- Plan the layout to minimize tubing runs and ensure even water distribution across all zones.
- Incorporate support options like adjustable emitters or filters to optimize water delivery and maintain system longevity support breakfast.
- Understanding the family photoshoot fails common pitfalls can help you troubleshoot and improve your system’s efficiency over time.

Drip Irrigation Emitters with Adjustable 360 Degree Water Flow Drippers Sprayer for 1/4 inch Tubing, Garden Drippers Sprayer Perfect for House Garden Watering System. (25pcs-Blue 360 Degree Sprayer)
You Will Get Set of 25 Drip Emitters for 1/4" Drip Irrigation Tubing, featuring Adjustable 360 Degree Water…
As an affiliate, we earn on qualifying purchases.
As an affiliate, we earn on qualifying purchases.
Choosing the Right Mainline and Distribution Tubing
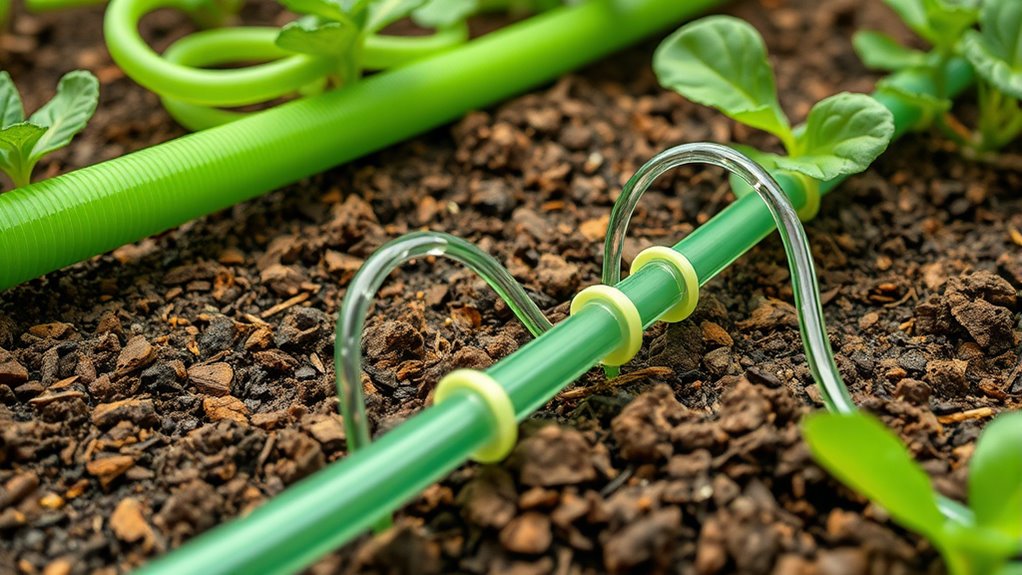
Selecting the appropriate mainline and distribution tubing is key to building an efficient drip irrigation system. For most gardens, a 1/2-inch mainline tubing offers the right balance of durability and flexibility, handling flow rates from 2 to 30 PSI. If you have a larger area, consider 3/4-inch tubing for increased capacity. Distribution tubing, typically 1/4-inch in diameter, branches off the mainline to deliver water directly to plants. Measure your garden carefully to determine how much tubing you’ll need, as rolls usually come in 250-foot lengths. Proper sizing guarantees even water flow and reduces pressure loss. Choose high-quality, flexible polyethylene tubing for longevity and ease of installation. Matching the tubing size to your water pressure and garden layout is essential for a reliable, low-maintenance system. Understanding pressure requirements ensures your system functions efficiently without leaks or pressure issues. Additionally, selecting the right connectors and fittings is crucial for maintaining a leak-free setup and easy adjustments. Using appropriate fittings also helps prevent pressure loss, which can compromise watering uniformity across your garden, especially when considering astrological compatibility that influences how effectively your system operates under different conditions.
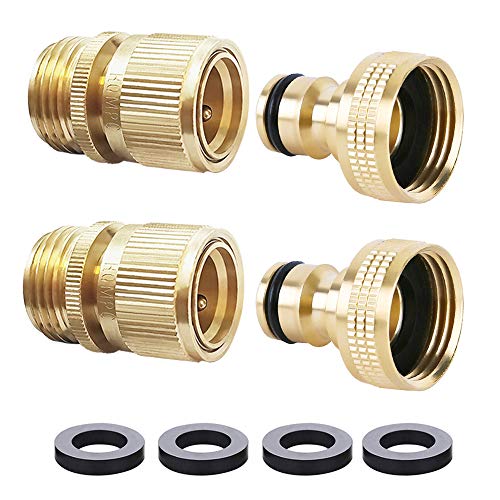
HQMPC Garden Hose Quick Connect Solid Brass Quick Connector Garden Hose Fitting Water Hose Connectors 3/4 inch GHT (2SETS)
★【Standard 3/4 Inch GHT Garden Hose Quick Connect】-This garden hose quick connect sets including 2 brass female connectors…
As an affiliate, we earn on qualifying purchases.
As an affiliate, we earn on qualifying purchases.
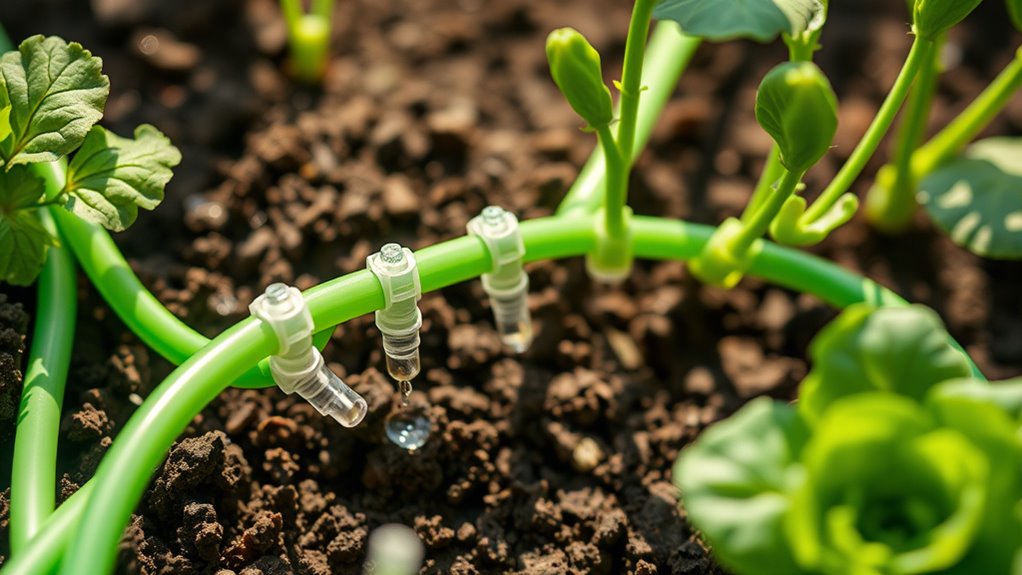
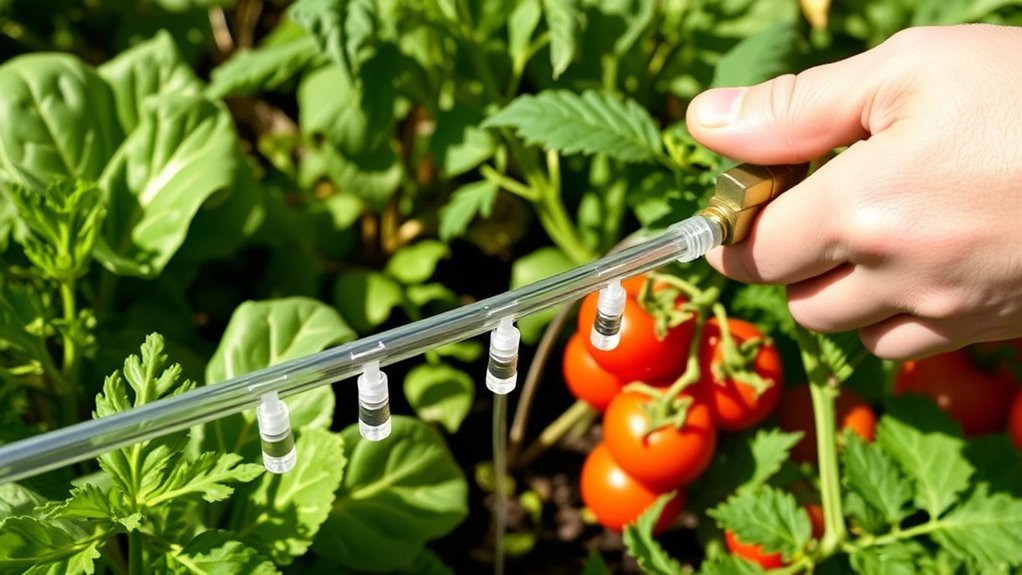
Selecting and Installing Emitters for Precise Watering
When selecting emitters, you need to take into account their flow rates to match your plants’ watering needs. Proper placement ensures each plant gets the right amount of water without waste or runoff. By focusing on these points, you’ll create an efficient system that delivers precise and consistent watering. Regular feedback from observing your garden’s response can help you fine-tune emitter placement and flow rates for optimal results. Additionally, understanding the importance of water conservation can help you design a more sustainable irrigation setup that minimizes waste. Incorporating knowledge of Free Floating systems can also help you optimize your setup for flexibility and ease of maintenance. Recognizing the reliance on cloud services used by irrigation controllers can help you plan for potential outages and ensure your system remains operational during disruptions. Considering smart technology options can further enhance your system’s efficiency and adaptability.
Emitter Flow Rates
Have you ever wondered how to guarantee your garden receives just the right amount of water? Emitter flow rates are key. Choosing the correct rate ensures plants get consistent moisture without waste or runoff. To select the right emitters, consider:
- The water needs of your plants—succulents require less than vegetable beds.
- The flow rate, typically between 0.5 to 2 gallons per hour (GPH).
- The spacing of your plants—closer spacing may need lower flow emitters.
- The pressure in your system, ideally 20-30 PSI, to ensure proper functioning.
Proper system design also plays a crucial role in achieving uniform watering across your garden. Additionally, understanding the pressure in your system helps prevent uneven watering and emitter clogging. Adjusting pressure regulation components can optimize emitter performance and longevity. Regularly testing your system’s water pressure ensures that emitters operate at their intended flow rates, which is essential for efficient water use and healthy plant growth.
Matching emitter flow rates with your garden’s layout prevents over- or under-watering. Proper installation guarantees each plant receives the precise amount of water it needs, promoting healthy growth and conserving resources.
Proper Placement Techniques
To guarantee your plants receive the right amount of water, proper placement and installation of emitters are essential. You should position emitters close to the root zone of each plant, ensuring even coverage. Insert emitters into pre-punched holes or manually punch holes in the tubing, then secure them tightly to prevent leaks. Adjust flow rates based on plant needs, spacing, and soil type. Use the following table to guide emitter placement:
| Plant Type | Emitter Spacing | Flow Rate |
|---|---|---|
| Vegetables | 12 inches | 1 GPH |
| Flower Beds | 9 inches | 0.5 GPH |
| Shrubs & Trees | 18 inches | 2 GPH |
Proper placement minimizes water waste and ensures healthy growth. Additionally, understanding watering efficiency can help optimize your system for conservation and plant health.
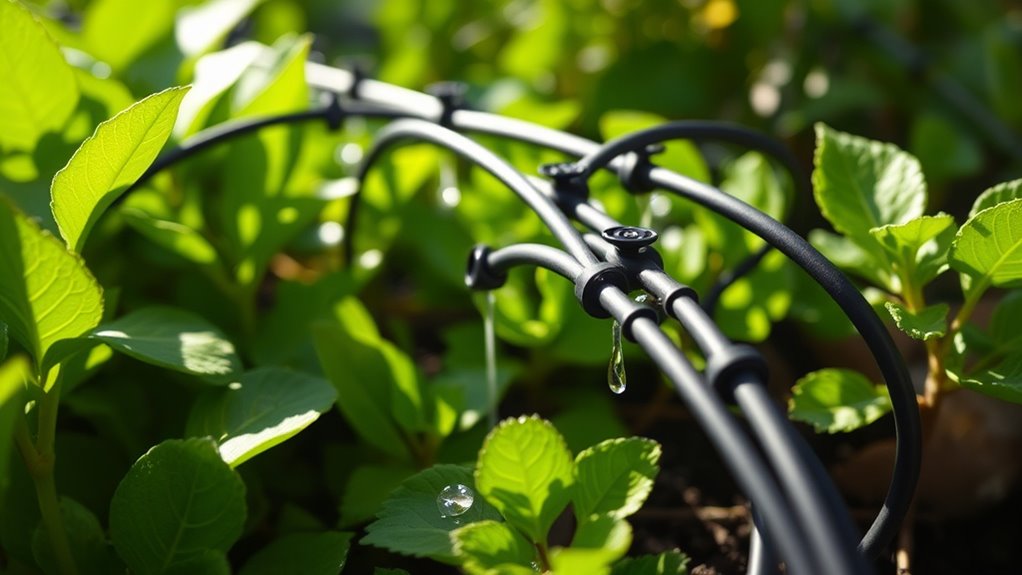
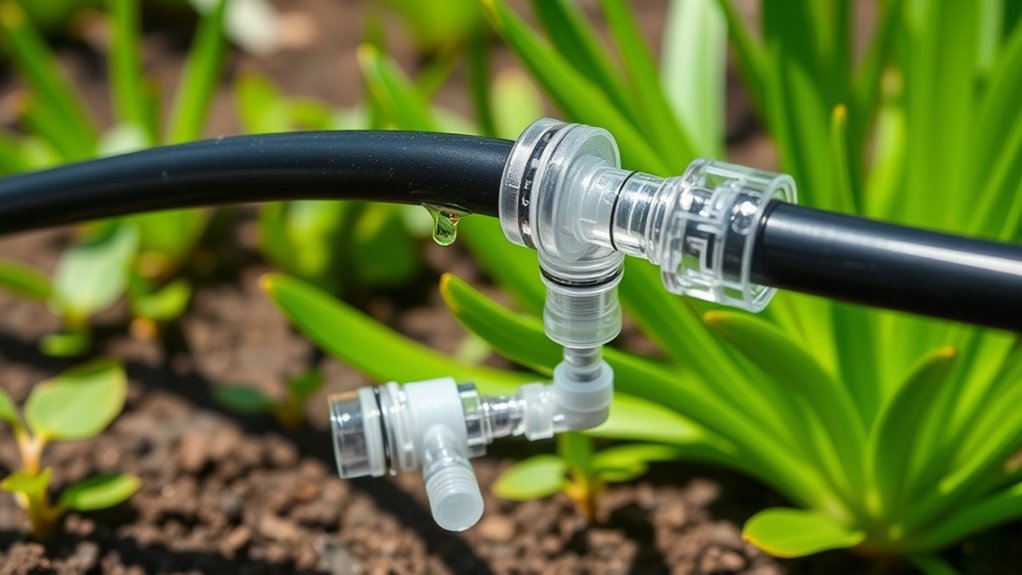
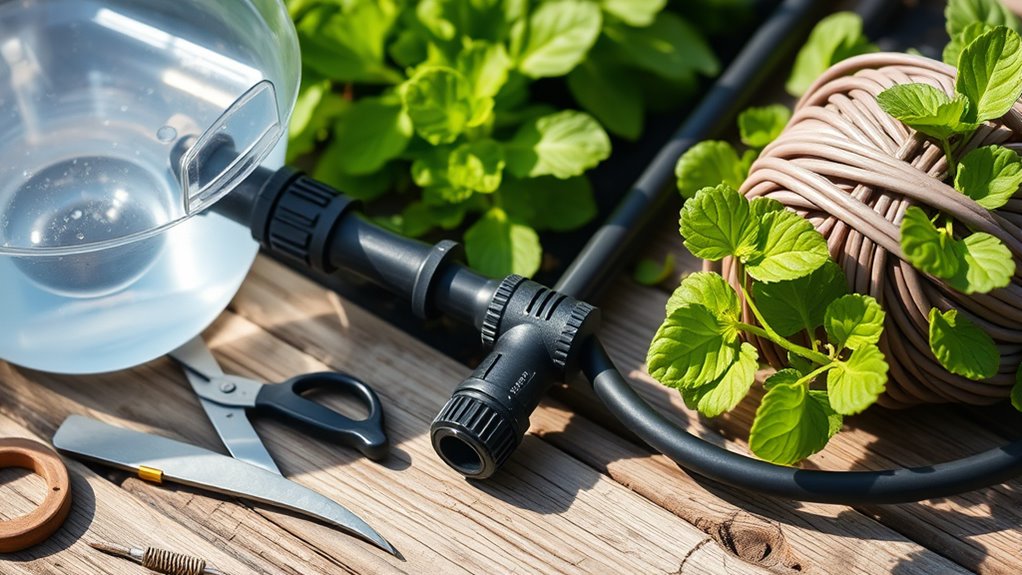
Connecting Components: Fittings, Connectors, and Securing Hardware
When connecting your drip system components, choosing the right fittings and connectors is essential for a leak-free setup. Make sure you secure the tubing properly with the correct fittings to prevent disconnections or leaks. Properly linking different parts guarantees your system operates smoothly and efficiently.
Choosing Proper Fittings
Choosing the right fittings is essential for guaranteeing your drip irrigation system works efficiently and reliably. Proper fittings prevent leaks, ensure secure connections, and maintain consistent water flow. To select the best fittings, consider these key points:
- Match fitting sizes to your tubing diameter—barbed connectors for 1/4-inch tubing, elbow connectors for corners.
- Use twist-lock fittings for easy, secure attachment and disconnection.
- Choose durable materials like UV-resistant plastic to withstand outdoor conditions.
- Ensure compatibility between connectors and your tubing types to prevent leaks or disconnections.
Securing Tubing Effectively
Securing your tubing properly is crucial for maintaining a reliable and efficient drip irrigation system. Use barbed connectors to attach tubing securely; ensure they fit snugly without forcing them, which could cause leaks or damage. Twist-lock fittings help keep connections tight and prevent disconnection under pressure. When branching lines, use T- and elbow connectors to direct water flow precisely, securing each joint firmly. Tubing stakes are indispensable for holding tubing in place, especially on uneven ground or slopes, preventing movement that can disrupt watering coverage. End caps or clamps seal the tubing ends tightly, maintaining system pressure and avoiding water wastage. Regularly check and tighten fittings and stakes during system operation to ensure continuous, leak-free watering, and extend the lifespan of your irrigation setup.
Connecting Different Components
Connecting different components in your drip irrigation system requires careful selection and proper installation of fittings and connectors. You need to verify all parts fit securely to prevent leaks and maintain consistent water flow. Here are four essential tips:
- Use barbed connectors for a tight fit, twisting them firmly into tubing to prevent disconnection.
- Choose the right T- or elbow connectors to navigate around obstacles or create branching paths.
- Secure tubing with stakes or clamps to keep everything in place and prevent movement.
- Seal ends with caps or clamps to maintain system pressure and avoid water loss.
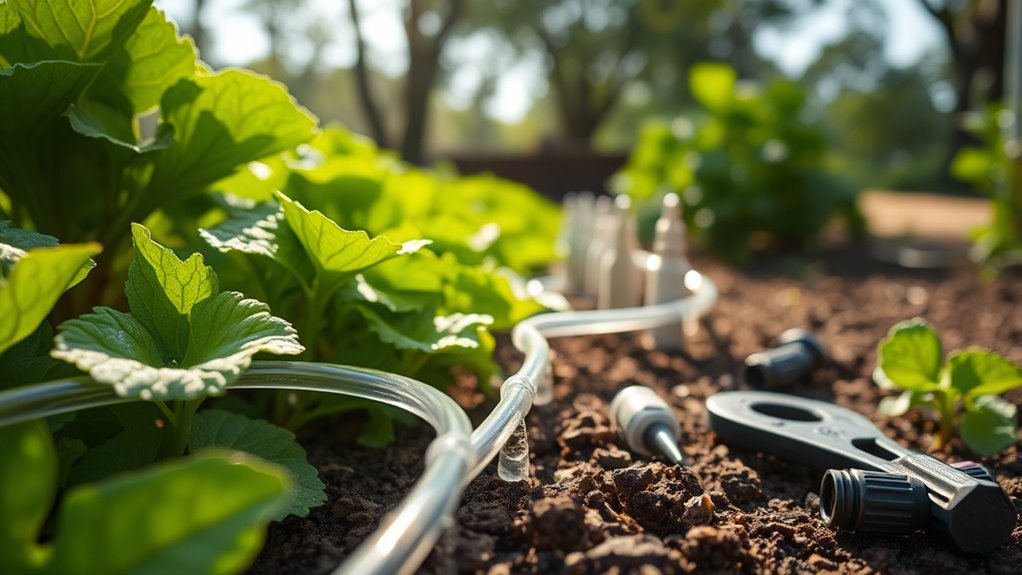
Tools and Materials Needed for a DIY Setup
To set up your DIY drip irrigation system effectively, you’ll need a few essential tools and materials. First, gather a tubing cutter or sharp scissors to cut mainline and distribution tubing precisely. A hole punch tool is necessary for creating clean holes in tubing for emitters and fittings. Use a tape measure to measure garden beds accurately, ensuring proper placement of components. Safety glasses and work gloves protect your eyes and hands during installation. You might also need a shovel or trowel if you plan to bury tubing under mulch or soil. For connecting components, you’ll require barbed connectors, T-connectors, and elbow fittings. Securing hardware like tubing stakes and end caps helps keep everything organized and prevents water loss. Having these tools and materials ready streamlines your setup process and guarantees a reliable irrigation system.
Step-by-Step Guide to Assembling Your Drip Irrigation System
Begin by planning your layout and measuring your garden to determine where each component will go. Once you have your design, follow these steps:
- Connect the mainline tubing to your water source using the appropriate fittings, ensuring a secure fit.
- Attach the backflow preventer, filter, and pressure regulator in sequence to protect your system and regulate pressure.
- Use a hole punch to create holes in the distribution tubing where your emitters or micro-sprayers will go, then insert these devices firmly.
- Secure all tubing and components with stakes and end caps to prevent movement and leaks. Test the system for proper water flow and adjust as needed for even coverage.
Tips for Maintaining and Troubleshooting Your System
Regularly inspecting your drip irrigation system helps catch issues early before they cause significant problems. Check for clogged emitters by inspecting water flow and cleaning them with a small pin or emitter cleaner. Look for leaks or broken tubing, especially at connectors and fittings, and repair or replace damaged sections promptly. Ensure tubing is securely connected and not kinked or crushed, which can restrict water flow. Clean or replace filters periodically to prevent clogging. Adjust pressure regulators if water delivery seems uneven or weak. Keep an eye on backflow preventers to make sure they’re functioning properly, preventing contamination. Finally, test timers regularly to confirm they’re watering as scheduled. Routine maintenance keeps your system efficient, extends its lifespan, and guarantees your garden stays evenly watered.
Cost Breakdown and Customization Options for Your Garden Needs
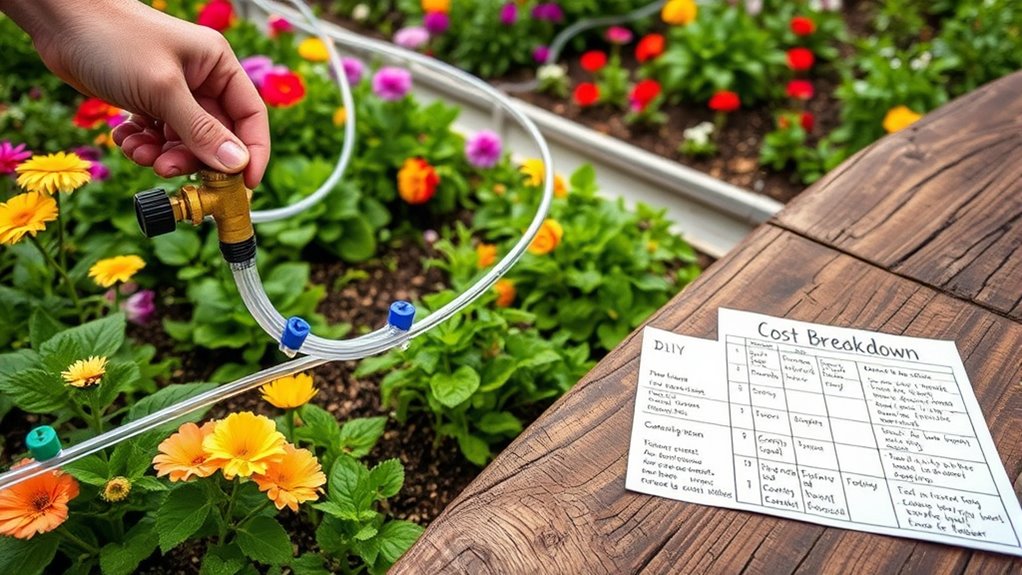
Understanding the costs involved in setting up a drip irrigation system helps you plan and customize it to fit your garden’s specific needs. By evaluating your options, you can balance budget and functionality.
- Pre-packaged kits typically cost between $50 and $100, offering a straightforward setup for beginners.
- Purchasing individual components allows tailored configurations, usually totaling $70 to $120 depending on garden size.
- Components like emitters, tubing, and fittings vary in price, with quality brands ensuring durability and compatibility.
- Optional add-ons, such as fertilizer injectors, can range from $20 to $50, expanding system versatility.
Customizing your system means selecting components that match your garden layout and watering requirements, optimizing both cost and efficiency.
Frequently Asked Questions
How Do I Determine the Correct Water Pressure for My System?
You should measure your water pressure using a pressure gauge attached to your hose or faucet. Aim for 20 to 30 PSI, which is suitable for drip systems. If your pressure is higher, install a pressure regulator to prevent damage and ensure even watering. Adjust the regulator until you reach the ideal pressure range, then check regularly to maintain consistent water flow and avoid over- or under-watering your garden.
Can I Expand My Drip System Later?
Did you know most drip systems operate between 2 and 30 PSI? Yes, you can expand your system later. Just make certain the new tubing and emitters match your existing pressure and flow. Measure carefully and add extra connectors, T-fittings, or additional tubing segments. Keep your pressure regulator in mind to maintain even watering. With proper planning, expanding is simple and keeps your garden thriving efficiently.
What Is the Best Way to Bury the Tubing?
You should bury the tubing about 2 to 4 inches underground to protect it from damage and keep your garden neat. Use a shovel or trowel to carefully dig a shallow trench along your plant beds or rows. Lay the tubing flat in the trench, making sure it’s straight and secure with stakes if needed. Cover it with soil, mulch, or both to prevent tripping hazards and maintain even watering.
How Often Should I Schedule Watering With the Timer?
You should schedule watering with your timer based on your plants’ needs and local climate. Generally, watering 2-3 times a week for 30 minutes to an hour is sufficient, but adjust for season, rainfall, and plant type. Check soil moisture regularly to avoid over- or under-watering. During hot, dry periods, increase frequency; in cooler months, reduce it. Consistent watering helps your garden thrive.
Are There Eco-Friendly Options for Drip Irrigation Components?
Imagine you’re planting a vegetable garden and want eco-friendly options. You can choose biodegradable drip tubing made from recycled plastics or natural materials that break down over time. These components reduce plastic waste and environmental impact. Additionally, opt for water-efficient emitters and timers powered by solar energy. By selecting sustainable materials, you minimize your garden’s ecological footprint while maintaining effective watering.
Conclusion
By building your own drip irrigation system, you’re not just saving money—you’re gaining control over your garden’s health and growth. With careful planning and attention to detail, you’ll create a reliable watering solution that nurtures your plants effortlessly. Remember, a well-designed system is the backbone of a thriving garden—think of it as the heartbeat that keeps your plants alive and flourishing. Invest in your garden’s future; your green thumb will thank you.