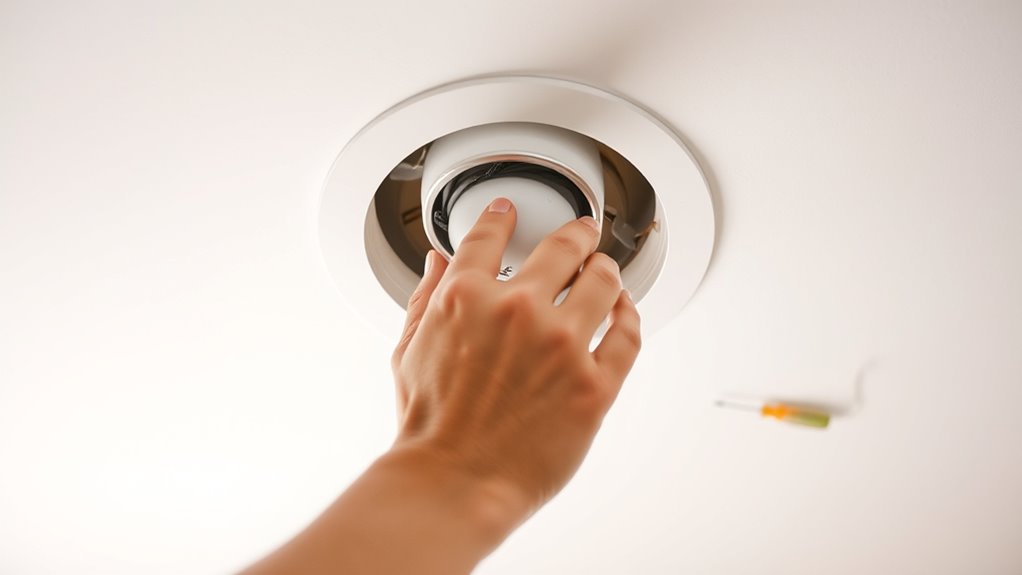

To install a ceiling light fixture, turn off the power at the breaker and confirm wires are de-energized with a voltage tester. Remove the old fixture, note how wires connect, and verify the new fixture is compatible with your ceiling and electrical system. Use the correct tools to connect the wires securely, attach the fixture firmly, and double-check everything for safety. Keep following these steps to complete a safe, proper installation and learn more about each stage.
Key Takeaways
- Turn off power at the circuit breaker and confirm wires are de-energized with a voltage tester.
- Remove the existing fixture, noting wire connections, and check new fixture compatibility with your ceiling.
- Connect the ceiling wires to the fixture wires securely using wire connectors, ensuring proper grounding.
- Mount the fixture firmly to the ceiling, supporting its weight and following manufacturer instructions.
- Double-check all wiring and mounting connections for safety and stability before restoring power.

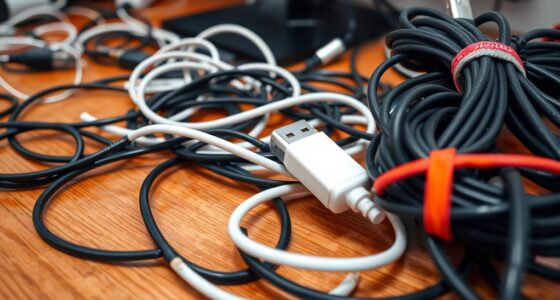
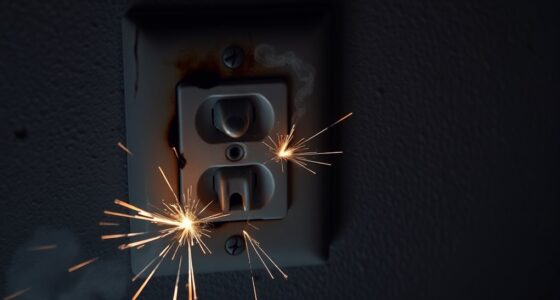
Are you ready to upgrade your space with a new ceiling light fixture? Before diving into the installation process, it’s essential to prioritize electrical safety and verify the fixture’s compatibility with your existing wiring. Taking these precautions protects you from potential hazards and guarantees that your new light functions properly. Start by turning off the power at the circuit breaker to eliminate any risk of electrical shock. Use a voltage tester to double-check that the wires are de-energized before handling them. This simple step is vital because working with live wires can be dangerous, even for experienced DIYers. Once you’re certain the power is off, remove the existing fixture carefully. Disconnect the wires connecting it to the ceiling, noting how they’re attached — taking a picture can help during reassembly. Confirm that the new fixture is compatible with your electrical system; check the wattage rating and the type of bulb it uses, making sure they match your needs and the fixture’s specifications. Also, verify fixture compatibility with your ceiling type—some fixtures require special mounting brackets or support for sloped ceilings. If your existing electrical box isn’t rated for the weight of the new fixture, you’ll need to upgrade it before proceeding. This step guarantees safety and prevents the fixture from becoming loose or falling, which could cause injury or damage. Additionally, understanding the electrical system in your home can help you identify potential issues before installation, ensuring a smoother upgrade process. Knowing the electrical code requirements can also help you avoid compliance issues and ensure your work meets safety standards. It’s also beneficial to familiarize yourself with the fixture weight limits to prevent overloading your electrical box. Next, gather all necessary tools and parts, including a ladder, wire strippers, a screwdriver, wire connectors, and possibly a mounting bracket. Carefully follow the manufacturer’s instructions, paying attention to wire color codes—typically, black or red wires are hot, white wires are neutral, and green or copper wires are ground. Connect the wires from the ceiling to the fixture’s wires, making sure to twist them securely and cap them with wire connectors. Properly grounding the fixture is essential for electrical safety, so ensure the ground wire is attached correctly. Once the wiring is complete, mount the fixture securely to the ceiling, using the appropriate hardware and supporting its weight as recommended. Double-check all connections and mounting points to make sure everything is tight and stable. Additionally, understanding the projector specifications can help you choose lighting fixtures that complement your home cinema setup.

Teemyaa 2 Pack Light Fixture Mounting Brackets, Ceiling Light Mounting Plate, Wall Lights Mount Blocks with Screw and Nuts, 4” Round Junction Box Adaptor for Wall Sconce, Chandelier, Pendant
UNIVERSAL BRACKT: Our flexible installation bracket with fastener and decorative nuts to mount light fixture on a canopy…
As an affiliate, we earn on qualifying purchases.
As an affiliate, we earn on qualifying purchases.
Frequently Asked Questions
Can I Install a Ceiling Light Fixture Without Turning off the Power?
You shouldn’t install a ceiling light fixture without turning off the power because it risks electrical safety. Working with live wires can cause shocks or short circuits, especially if you’re unsure about fixture compatibility. Always switch off the breaker first to protect yourself and ensure safe installation. Taking this precaution minimizes hazards and guarantees you handle the wiring properly, making the process safer and more successful.
What Tools Are Essential for Installing a Ceiling Light?
Think of your toolbox as your magic wand for installing a ceiling light. You’ll need essential tools like a screwdriver, pliers, wire strippers, a voltage tester, and possibly a drill. Wireless tools like a cordless screwdriver make the job smoother, while decorative accents add personality. Use the voltage tester to guarantee safety, then loosen or tighten screws confidently. These tools turn a formidable task into a smooth, stylish upgrade.
How Do I Choose the Right Wattage for My Fixture?
You should choose a wattage that fits the wattage guidelines provided by the fixture manufacturer to guarantee safety and ideal performance. Check the fixture’s maximum wattage rating to avoid overheating or damage. Make sure your bulb choice is compatible with the fixture, considering both wattage and socket type. By following these steps, you’ll guarantee your ceiling light is both bright and safe, matching your space perfectly.
Is It Necessary to Hire an Electrician for Installation?
You don’t always have to call in an electrician, but don’t bite off more than you can chew either. If you’re comfortable with DIY safety and understand electrical codes, you can handle simple ceiling light installations yourself. However, if wiring looks complicated or you’re unsure, it’s best to hire a pro. Doing so guarantees safety and code compliance, preventing issues down the line. Better safe than sorry, after all.
How Can I Troubleshoot if the Light Doesn’T Turn on After Installation?
If your ceiling light doesn’t turn on after installation, start by checking the fixture wiring connections to guarantee they’re secure. Next, turn off the power and use a voltage tester to verify if voltage is reaching the fixture. If there’s no power, recheck your wiring or circuit breaker. If voltage is present but the light still doesn’t work, replace the bulb or consider consulting an electrician to diagnose potential wiring issues.

haisstronica Wire Stripper and Crimping Tool,AWG 24-10 Automatic Stripper Tool with AWG 22-10 Ratchet Wire Crimper For Heat Shrink Connectors
Precise and Professional Connections: This crimping tool is meticulously engineered to deliver precise and secure wire connections. You'll…
As an affiliate, we earn on qualifying purchases.
As an affiliate, we earn on qualifying purchases.
Conclusion
Now that you’ve successfully installed your ceiling light fixture, you’ve gained a valuable DIY skill. Did you know that about 75% of homeowners feel more confident tackling home improvement projects after learning new skills? Remember to always turn off the power before working on electrical fixtures and double-check your connections. With a little practice, you’ll be able to brighten up any room safely and confidently, making your space more inviting and personalized.

Southwire Electrical Box for Ceiling Fan, Light Fixture, 50lb Ceiling Fan and 75lb Light Fixture Support, Depth Adjustable, Gray, MSBFAN
Adjustable & Secure Installation: The Southwire Electrical Box offers quick setup and strong support as a durable electrical…
As an affiliate, we earn on qualifying purchases.
As an affiliate, we earn on qualifying purchases.

13 inch Flush Mount LED Ceiling Light Fixture, 2700K/3000K/3500K/4000K/5000K Adjustable Ceiling Lights, Brushed Nickel Saturn Dimmable Lighting for Hallway Bathroom Kitchen or Stairwell, ETL Listed
Sleek Modern Design: This contemporary flush mount ceiling light features a low-profile housing that sits neatly against the…
As an affiliate, we earn on qualifying purchases.
As an affiliate, we earn on qualifying purchases.