
To install a smart thermostat, first turn off your HVAC system to guarantee safety. Remove your old thermostat and take a picture of the wiring for reference. Connect the wires to the new device’s terminals, ensuring compatibility, then mount it securely on the wall. Turn the power back on and follow the app prompts to connect your thermostat to Wi-Fi. Once set up, explore all its features to optimize your home comfort and energy savings. Keep going to discover all the details.
Key Takeaways
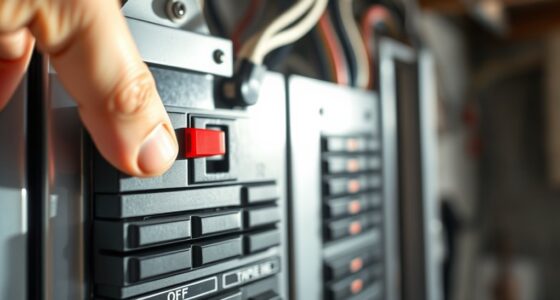
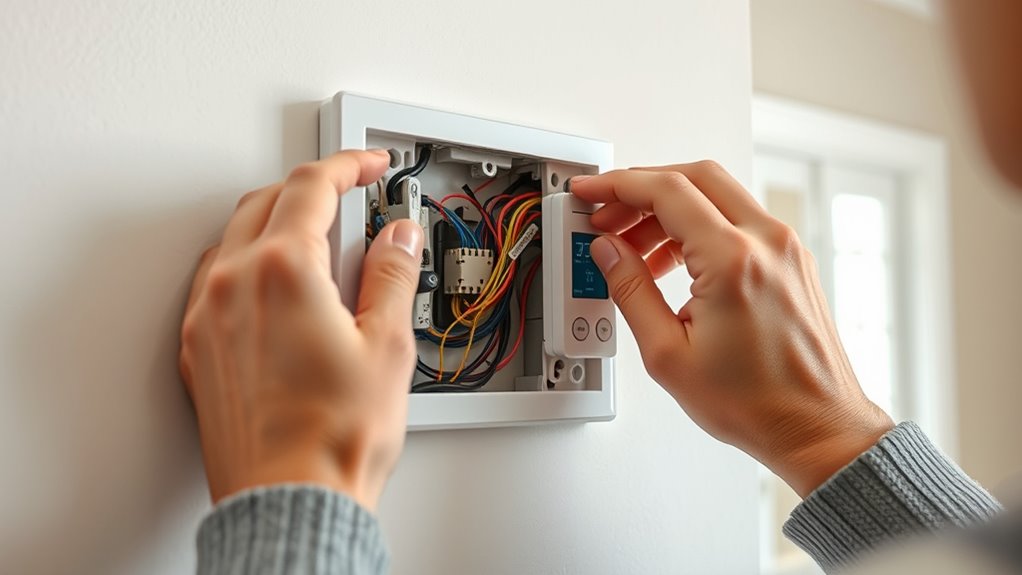
- Turn off your HVAC system and remove the old thermostat, noting wire connections or taking a photo for reference.
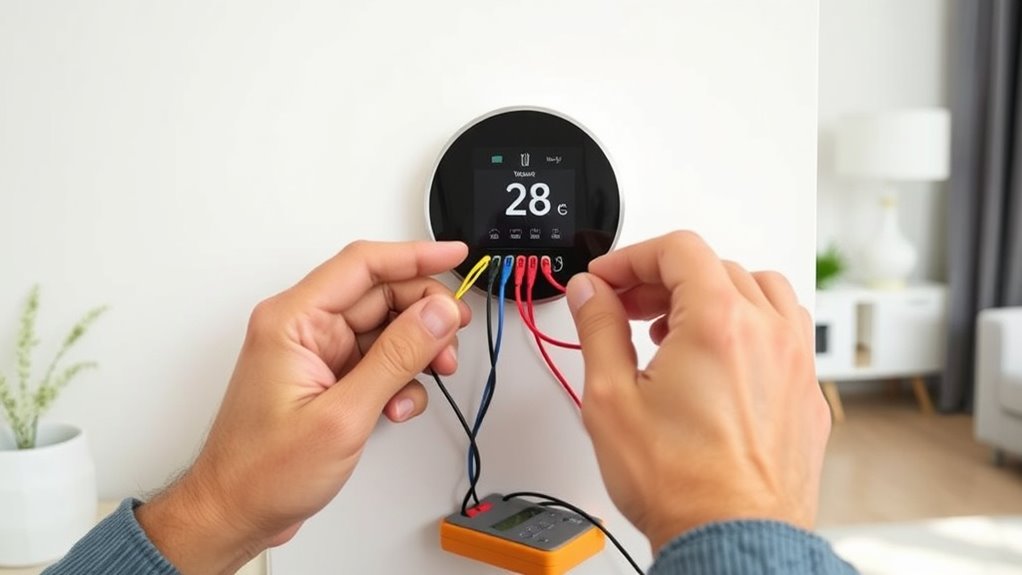
- Connect the new thermostat’s wires to matching terminals, ensuring compatibility with your wiring system.
- Mount the thermostat securely on the wall, making sure it is level and properly attached.
- Power on the system and follow on-screen prompts to connect the device to your Wi-Fi network via the app.
- Complete setup by creating an account, setting preferences, and scheduling to enable remote control and energy savings.
Installing a smart thermostat can substantially improve your home’s energy efficiency and comfort. With its advanced features, you can easily control your heating and cooling remotely, making it simple to adjust settings when you’re away or just relaxing at home. One of the key benefits is its wireless connectivity, which allows you to connect your thermostat to your Wi-Fi network effortlessly. This wireless connection enables you to manage your climate system through a smartphone app, giving you real-time control and insights into your energy consumption. As a result, you’ll notice energy savings, especially if you optimize your settings based on your schedule and preferences. Additionally, understanding the importance of contrast ratio can help you choose a compatible display or screen for your home setup. Before starting the installation, turn off your HVAC system to prevent any electrical accidents. Remove the old thermostat by carefully disconnecting its wires. Take a picture of the wiring or note down the connections to guarantee proper reinstallation of the new device. Most smart thermostats come with a step-by-step guide, but generally, you’ll connect the same wires to corresponding terminals on the new unit—often labeled R, W, Y, G, and C. Many models are compatible with common wire configurations, but if you have a more complex wiring system or use multiple stages of heating or cooling, consult the manufacturer’s instructions or consider professional help.
Enhance comfort and save energy with a smart thermostat’s remote control and Wi-Fi connectivity.
Once you’ve wired the thermostat, mount the device onto the wall, ensuring it’s level and secure. Turn the power back on to your HVAC system. Your smart thermostat should power up, and you’ll likely see a prompt to connect it to your Wi-Fi network. Use your smartphone or tablet to access the thermostat’s app, follow the prompts to connect the device to your wireless network, and complete the setup process. During setup, you’ll typically be asked to create an account, set your preferences, and input your schedule so the thermostat can optimize energy use.
After installation, take some time to explore the app’s features. Set your desired temperature schedules, enable geofencing if available, and activate any energy-saving modes. With wireless connectivity, you can monitor your system’s performance and make adjustments from anywhere, ensuring your home remains comfortable while minimizing energy waste. Over time, you’ll notice the benefits of this smart system, including reduced utility bills and a more environmentally friendly home. Regular updates and firmware upgrades will keep your thermostat functioning efficiently, further enhancing your energy savings and comfort.

Loniko Smart Toilet with Bidet Built In, Heated Seat & Dual Auto Flush, Foot Sensor, Tankless Modern Elongated Electric Toilet with Warm Water Wash, Air Dryer, LED Display & 1000g MaP Flush, 1.28 GPF
🧻 [Powerful & Water-Saving Dual Flush System] This one piece smart toilet with bidet built in uses an...
As an affiliate, we earn on qualifying purchases.
Frequently Asked Questions
Will a Smart Thermostat Work With My Existing HVAC System?
Yes, a smart thermostat can work with your existing HVAC system, but you should check compatibility questions first. Make sure to review your system’s wiring considerations to verify it’s compatible; some older systems might require additional components or adapters. If you’re unsure, consult your thermostat’s compatibility list or a professional. Proper wiring and compatibility are key to seamless operation and energy savings.
Can I Install a Smart Thermostat Myself Without Professional Help?
You can definitely do a DIY installation of a smart thermostat, but it’s important to evaluate your comfort with electrical work first. If you have some experience, you might handle it yourself, but don’t hesitate to seek professional assistance if you’re unsure or run into complications. Remember, professional help ensures safety and proper setup, especially if your wiring or HVAC system is complex. Always prioritize safety and accuracy.
How Do I Connect My Smart Thermostat to Wi-Fi?
You connect your smart thermostat to Wi-Fi by first ensuring wireless connectivity is active on your device. Then, open the thermostat’s app and follow the app setup instructions, which typically involve selecting your Wi-Fi network and entering your password. Once connected, the app will confirm the connection, allowing you to control your thermostat remotely. Make sure your phone stays close to the thermostat during this process for a smoother setup.
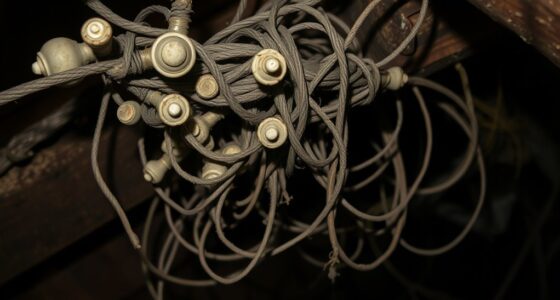
Is a New Wiring System Required for Installation?
You usually don’t need a new wiring system for your smart thermostat. Just check wire compatibility with your current setup, as most smart thermostats work with standard wiring. If your wiring is complex or outdated, you might need an adapter or professional help. In many cases, simple wiring adjustments are enough, so don’t worry—upgrading your wiring system isn’t always necessary for installation.
What Features Should I Consider When Choosing a Smart Thermostat?
An ounce of prevention is worth a pound of cure, so choose a smart thermostat with energy efficiency in mind to save money. Look for a user interface that’s intuitive and easy to navigate, making daily adjustments simple. Consider features like Wi-Fi connectivity, compatibility with your HVAC system, scheduling options, and smart home integration. These features help you optimize comfort and reduce energy use, ensuring your smart thermostat truly adapts to your lifestyle.

WOODBRIDGE Smart Toilet with 1000g MaP Flush Score, Foam Shield, Moving Dryer, Blackout Flush, ADA Comfort Height, Auto Open & Close, Heated Seat, B0930S
✅ 1000g MaP Flush Performance: With a powerful 1000g MaP score and a built-in tank, it ensures strong,...
As an affiliate, we earn on qualifying purchases.
Conclusion
Now that you’ve installed your smart thermostat, think of it as planting a tiny, vigilant gardener in your home’s garden. It quietly tends to your comfort, adjusting the temperature like a skilled gardener nurturing each plant. With each setting you tweak, you’re guiding this gardener to create the perfect climate. Over time, it’ll flourish, saving energy and keeping your home cozy. Welcome to your new, intelligent home—where comfort grows effortlessly under your watchful care.

HOROW T38 Artistic Smart Toilet, Bidet Toilet with Powerful Flush, Auto Open/Close Lid, Instant Warm Water, Elongated Heated Seat, Dryer, Night Light, Deodorization
For Low Water Pressure: Smart toilet built-in water tank and pump bring efficient and powerful flushing performance. The...
As an affiliate, we earn on qualifying purchases.

Smart Toilet with Warm Water Sprayer and Dryer, One Piece Bidet Toilet with Auto Dual Flush Foot Sensor Operation,Heated Seat Smart with Built In Fahrenheit LED Display
Powerful Flushing System: Designed with low water consumption (1.26 gallons per flush), this system ensures efficient and thorough...
As an affiliate, we earn on qualifying purchases.