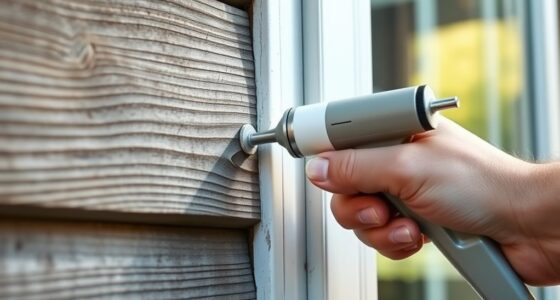
Before installing new flooring, you’ll want to inspect your existing subfloor for damage, loose boards, or rot, and repair any issues. Use a level to identify uneven spots, then level those areas with patching or self-leveling compounds. Guarantee moisture levels are within recommended ranges and add vapor barriers if needed. Properly securing or replacing soft spots will create a stable, flat surface that improves flooring longevity. For detailed steps, keep exploring how to achieve the best results.
Key Takeaways
- Inspect and repair the existing subfloor by removing damaged sections and tightening loose boards for stability.
- Test moisture levels with a moisture meter and address any high moisture issues before proceeding.
- Ensure the subfloor is level using patching, sanding, or self-leveling compounds for a flat surface.
- Install moisture barriers if necessary to prevent future moisture problems that can affect flooring.
- Confirm the subfloor’s soundness and stability by checking for vibrations and ensuring proper fixings to enhance durability.
Have you ever noticed how an uneven floor can cause furniture to wobble or make walking feel unsteady? Before you lay new flooring, it’s essential to address the underlying issues causing those dips and rises. The first step is to focus on thorough subfloor preparation. This process involves inspecting the existing subfloor to identify any damage, rot, or loose boards. If you find soft or rotten wood, you’ll need to remove and replace those sections to guarantee a solid foundation. Tightening or re-nailing loose boards is also vital to prevent future shifting. Proper subfloor preparation creates a level, stable surface, which is indispensable for the longevity and appearance of your new flooring. Additionally, understanding sound vibrations and their influence on building materials can help in assessing and enhancing the stability of your subfloor.
Next, you should perform moisture testing before proceeding further. Moisture issues are often hidden but can profoundly impact your project. Excess moisture in the subfloor can lead to warping, mold growth, or adhesive failure, compromising the entire installation. Use a moisture meter to check the moisture levels of your subfloor and the underlying concrete if applicable. Ideally, moisture levels should be within the manufacturer’s recommended range for your specific flooring type. If testing reveals high moisture content, you’ll need to dry out the area or install a moisture barrier before moving forward. Addressing moisture problems early prevents costly repairs and guarantees your new flooring stays secure and in good condition for years to come.
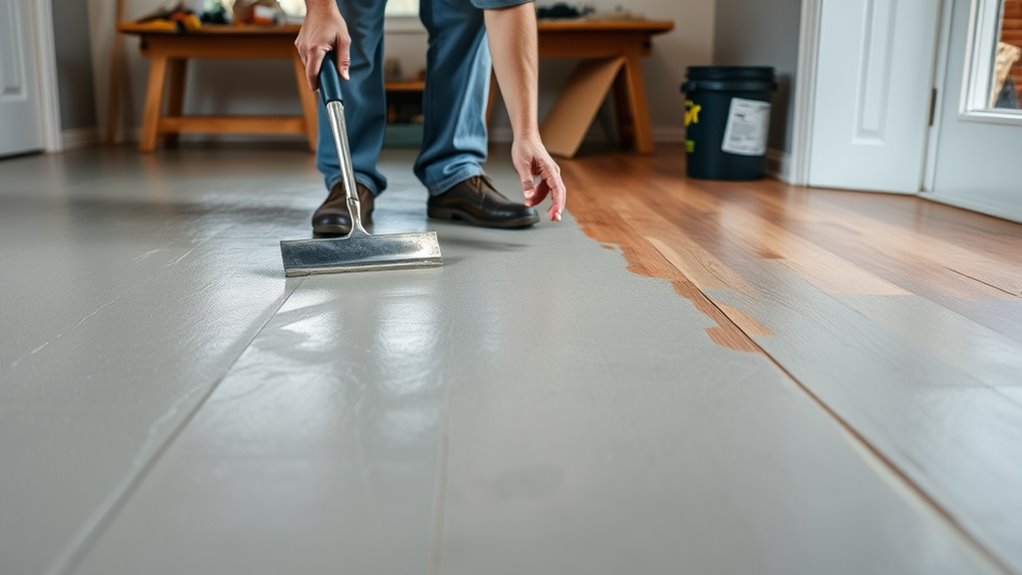
After completing subfloor preparation and moisture testing, you’ll be better equipped to level the floor itself. This might involve applying self-leveling underlayment, sanding down high spots, or filling low areas with patches. These steps are vital because they help create a flat, even surface that supports your flooring material properly. Skipping these preparations can lead to premature wear, uneven appearance, or even structural damage over time. It’s worth taking the time to get the subfloor as smooth and dry as possible before proceeding with installation.

General Tools MMD4E Digital Moisture Meter, Water Leak Detector, Moisture Tester, Pin Type, Backlit LCD Display With Audible and Visual High-Medium-Low Moisture Content Alerts, Grays
HUMIDITY SENSOR: Our handy meter tool can quickly determine what level of remediation is needed to keep your…
As an affiliate, we earn on qualifying purchases.
As an affiliate, we earn on qualifying purchases.
Frequently Asked Questions
How Long Does Floor Leveling Typically Take?
Floor leveling usually takes one to three days, depending on the extent of the unevenness and your project’s complexity. You might face DIY challenges if you’re inexperienced, so a professional assessment can save time and guarantee proper results. Preparing the space, applying leveling compounds, and letting everything cure properly are essential steps. Rushing the process can cause issues later, so plan accordingly for a smooth, long-lasting finish.
Can I Level a Floor Myself or Hire a Professional?
You can try a DIY repair if you’re comfortable with tools and have some experience, but for a perfect, long-lasting result, hiring a professional is your best bet. They provide a thorough assessment, handle complex issues, and guarantee proper leveling. While DIY can save money, it risks unevenness or future problems. Ultimately, consider your skill level and the floor’s condition before deciding whether to level it yourself or call in a pro.
What Tools Are Necessary for Floor Leveling?
You’ll need essential tools like leveling tools—such as a straightedge or laser level—to identify uneven spots precisely. For applying the self-leveling compounds, you’ll also need a trowel, a mixing bucket, and a drill with a paddle attachment. Make sure to wear safety gear and work in a well-ventilated area. These tools help guarantee a smooth, even surface before installing your new flooring.
Is Floor Leveling Safe for Existing Structures?
Think of your floor as a delicate soufflé—poking it might cause it to collapse. Yes, floor leveling is safe for existing structures if you consider safety. It minimizes structural impact when done correctly, ensuring your home remains sturdy. Safety considerations include checking for hidden damage and using proper materials. When approached carefully, floor leveling preserves your home’s integrity, preventing any unexpected “cracks” in your living space’s foundation.
How Much Does Floor Leveling Cost?
Floor leveling typically costs between $500 and $2,500, depending on the size of the area and the complexity of the job. You should do a cost estimation early to help with budget planning, considering factors like material type and labor. Keep in mind that more extensive repairs or high-end materials can raise the price. Getting multiple quotes guarantees you find the best value for your project.

ARDEX TL 2000 Fiber Reinforced Self-Leveling Floor Underlayment, Cement-Based Polymer-Modified Compound for Interior Concrete, Wood, Tile, 50 Lbs Bag, 38119
Fiber-reinforced self-leveling floor underlayment for increased durability, tensile strength, and flexural performance
As an affiliate, we earn on qualifying purchases.
As an affiliate, we earn on qualifying purchases.
Conclusion
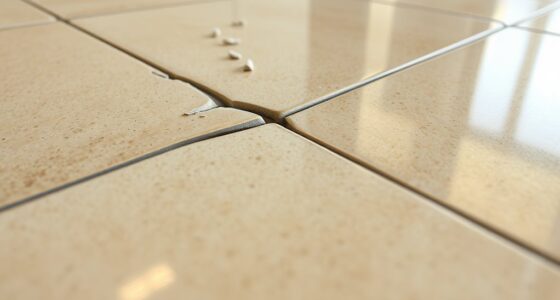
Before installing new flooring, leveling an uneven floor is essential for a smooth, long-lasting finish. Skipping this step can lead to cracks, squeaks, and premature damage—costing you time and money in the long run. Did you know that improperly leveled floors are responsible for up to 30% of flooring failures? Taking the time to properly prepare your subfloor guarantees your new flooring looks great and stands the test of time. Don’t rush—your perfect floor starts with a solid foundation.

Complete Self Leveling Cement Tool Kit, Professional Epoxy Floor Kit Tools with Spiked Roller, Spike Shoes, Scraper & Extension Pole (Basic Set)
【Complete Self-Leveling Tool Kit】A one-stop self-leveling tool set includes spiked rollers, spike shoes, stainless steel scraper, extension pole…
As an affiliate, we earn on qualifying purchases.
As an affiliate, we earn on qualifying purchases.

ROBERTS 70-115 Moisture Barricade Underlayment Film, for Vinyl, Laminate SPC, Engineered Wood Floors, 6 mil. Thick, Polyethylene, 120 Sq. Foot Roll, Black
For use as a vapor barrier when installing Vinyl, laminate, SPC and engineered wood flooring
As an affiliate, we earn on qualifying purchases.
As an affiliate, we earn on qualifying purchases.