
To replace a cracked floor tile, carefully remove the surrounding grout with a grout saw or small chisel, then pry out the broken tile without damaging neighboring tiles. Clean out old adhesive, select a matching tile, and apply high-quality thin-set mortar evenly with a notched trowel. Press the new tile into place, wait about 24 hours for it to set, then fill the gaps with grout and wipe away excess. If you’re enthusiastic to learn more about perfecting this process, keep going.
Key Takeaways
- Carefully remove grout around the cracked tile with a grout saw or small chisel to prevent damage to surrounding tiles.
- Pry out the broken tile and clean the area beneath by removing old adhesive or mortar thoroughly.
- Select a replacement tile that matches the existing floor in color, size, and texture for a seamless look.
- Apply high-quality thin-set mortar evenly and press the new tile into place, allowing it to cure for 24 hours.
- Grout around the new tile, wipe away excess, and let it cure fully before walking on the repaired area.

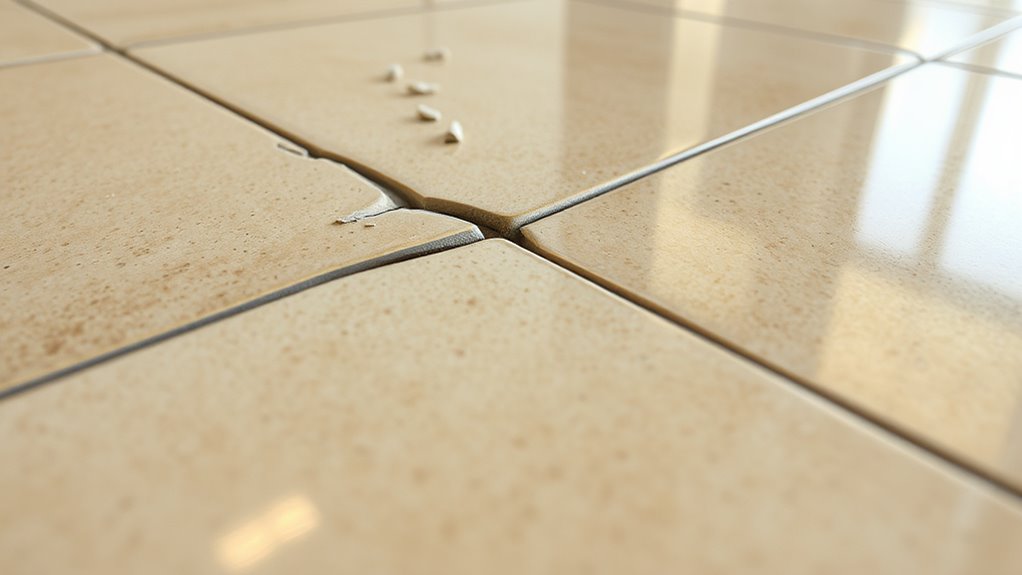
Have you ever noticed a cracked or chipped floor tile disrupting the look of your space? It’s frustrating to see damage that stands out and diminishes your room’s overall appearance. Fortunately, replacing a broken tile isn’t as complicated as it might seem. The key is to approach the task with a clear plan, especially when it comes to grout removal and choosing the right adhesive for the new tile.
First, you’ll need to carefully remove the grout surrounding the damaged tile. Use a grout saw or a small chisel to gently carve out the grout lines. Take your time to avoid damaging neighboring tiles. Once the grout is loosened, you can pry out the broken tile. Underneath, you might see old adhesive or mortar that’s holding the tile in place. It’s important to clean out this old adhesive thoroughly before installing the new tile.
Carefully remove grout and old adhesive before installing a new tile for a seamless repair.
When selecting a replacement tile, consider matching it closely to the existing tiles in color, size, and texture. This ensures a seamless look once the repair is complete. Before placing the new tile, you must decide on the right adhesive. Your choice of adhesive depends on the type of subfloor and the tile material. For most floor tiles, a high-quality thin-set mortar works well because it provides good adhesion and durability. Some adhesives are designed specifically for porcelain or ceramic tiles, so read the labels carefully.
Applying the adhesive correctly is vital. Spread it evenly using a notched trowel, creating ridges that help the tile settle firmly. Press the new tile into place, making sure it sits flush with the surrounding tiles. Give it a slight twist to ensure a good bond. Once in position, you need to let the adhesive cure for the recommended time—usually 24 hours—before walking on it or applying grout.
After the adhesive has set, it’s time for grout. Mix your grout according to the manufacturer’s instructions and carefully fill the gaps around the new tile. Use a rubber float to spread the grout and press it into the joints. Wipe away excess grout with a damp sponge before it dries, and then let everything cure fully. Once dry, you can polish the tile surface to restore its original shine. With patience and precision, you’ll have your floor looking as good as new in no time.
Additionally, understanding how to master deep-sky imaging can be a rewarding skill for amateur astronomers interested in capturing stunning celestial images, much like the detailed work involved in precise tile replacement.
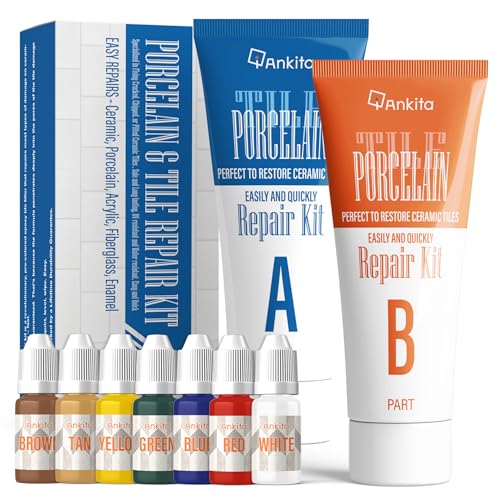
Tile Repair Kit, Ceramic Tile Repair Kit for Chips & Crack (Color Match), Porcelain Tile Chip Repair Kit with Super Strong Adhesion, Floor Tile Crack Repair Filler for Chips, Holes on Ceramic
Matches Any Color Tiles: Reduce painful color annoyances; our accompanying manual will walk you through every step of…
As an affiliate, we earn on qualifying purchases.
As an affiliate, we earn on qualifying purchases.
Frequently Asked Questions
Can I Replace a Tile Without Removing the Surrounding Grout?
Yes, you can replace a tile without removing the surrounding grout, but it’s tricky. First, carefully score the grout lines around the damaged tile with a grout removal tool to loosen the grout without disturbing the neighboring tiles. Then, gently lift the broken tile, ensuring you don’t damage the existing grout or compromise tile adhesion. This method keeps the grout intact, saving you time and effort.
What Tools Are Essential for Replacing a Broken Floor Tile?
You’ll need a few essential tools for replacing a broken floor tile. Grab a chisel and hammer for tile removal, a grout removal tool to clear around the damaged tile, and a notched trowel for applying adhesive. Choose the right adhesive based on your tile type and verify you have a level to set the new tile evenly. These tools make the process smooth and ensure your repair lasts.
How Long Does It Take for Adhesive to Cure Before Walking on the New Tile?
A stitch in time saves nine, they say, and patience is key here. You should wait at least 24 hours for the adhesive to cure before walking on your new tile. During this curing time, avoid any pressure or moisture, as it affects the adhesive drying process. Rushing can compromise the bond, so give it enough time to fully cure for a durable, long-lasting repair.
Is It Possible to Match the Color and Pattern of Existing Tiles Exactly?
Yes, you can match the color and pattern of existing tiles, but it requires careful color matching and pattern coordination. Visit the tile store with a small sample of your current tiles or photos to find the closest match. Keep in mind that exact matches can be challenging, especially if your tiles are discontinued or custom. Consider consulting a professional for the best results in achieving seamless color matching and pattern coordination.
What Are Common Mistakes to Avoid When Replacing a Broken Tile?
When replacing a broken tile, avoid common mistakes like rushing grout removal, which can damage surrounding tiles. Take your time to carefully remove old grout without chipping adjacent tiles. Also, make certain proper adhesive application; don’t skimp on it, as uneven coverage can cause the new tile to crack or shift. Double-check the alignment before the adhesive sets, and clean excess grout immediately to achieve a seamless finish.

Grout Removal Tool Set, Heavy Duty Grout Saw with Replaceable Blades, Tile Grout Remover for Bathroom Kitchen Floor Joints and Corners
Efficient Grout Removal Performance: Equipped with a sharp, diamond-textured blade, this grout saw removal tool makes grout removal…
As an affiliate, we earn on qualifying purchases.
As an affiliate, we earn on qualifying purchases.
Conclusion
Now that you know how to replace a broken floor tile, you’ll save time and money by doing it yourself. Did you know that DIY repairs like this can save homeowners up to 60% compared to hiring a professional? Plus, fixing small issues promptly prevents them from turning into bigger, more costly problems. So go ahead—grab your tools, follow the steps, and enjoy the satisfaction of restoring your floor’s beauty and durability with confidence.
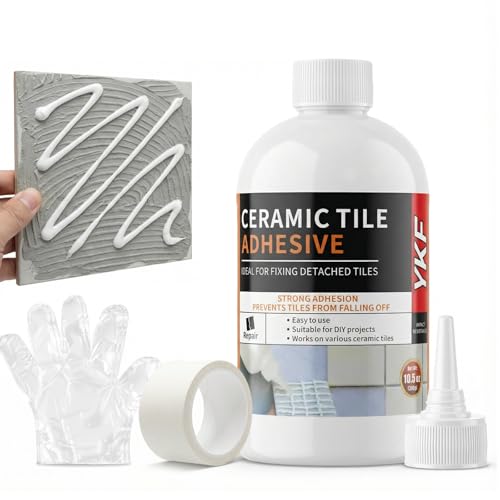
Heavy Duty Tile Adhesive & Repair Glue (10.5oz) – Strong Bonding Kit for Loose Ceramic, Porcelain & Stone – Instant Fix for Hollow Floors & Walls – Easy Squeeze, No-Mess Application
INSTANT LOOSE TILE RESCUE – Expertly engineered to repair loose, hollow, or peeling tiles on both floors and…
As an affiliate, we earn on qualifying purchases.
As an affiliate, we earn on qualifying purchases.

QEP Comfort Grip Stainless Steel Trowel Square Notch 1/4" x 1/4" x 1/4"
High quality 11" x 4-1/2" trowel designed for the professional
As an affiliate, we earn on qualifying purchases.
As an affiliate, we earn on qualifying purchases.