
After renovation, you should start by wearing protective gear and ventilating your space to minimize dust spreading. Use HEPA vacuums to thoroughly clean surfaces, focusing on corners and hard-to-reach spots, and damp wipe all surfaces to lock in dust particles. Enhance airflow with fans and air purifiers, and regularly clean high areas with extension tools. For long-term results, establish a routine of ongoing vacuuming, damp cleaning, and proper ventilation. If you keep going, you’ll discover even more effective dust-removal strategies.
Key Takeaways
- Use HEPA-filtered vacuums and vacuum each area multiple times, focusing on corners and crevices.
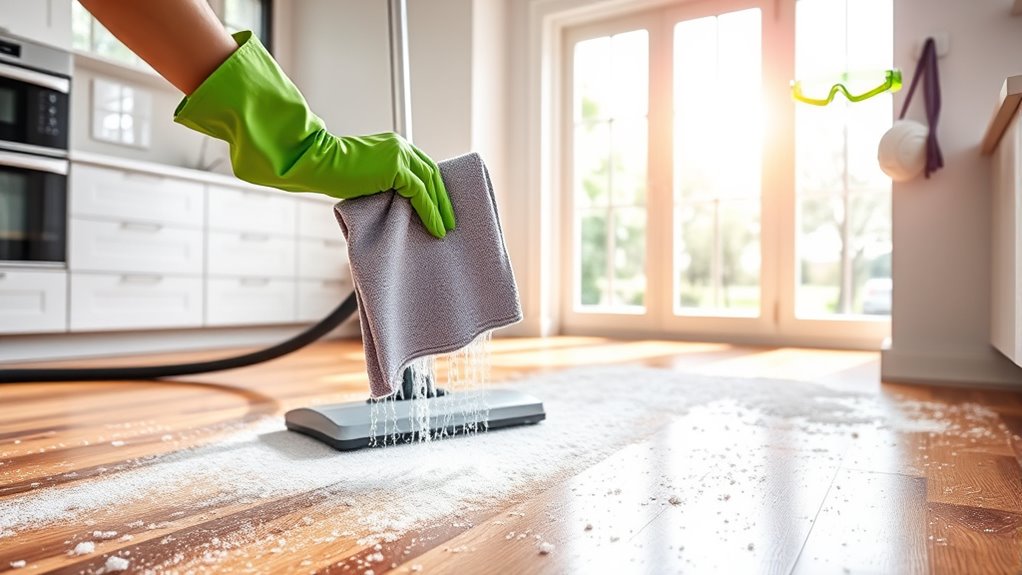
- Wipe surfaces with damp microfiber cloths to lift and lock in fine dust particles.
- Clean high and hard-to-reach areas first with extendable dusters or vacuum wands to prevent dust from falling.
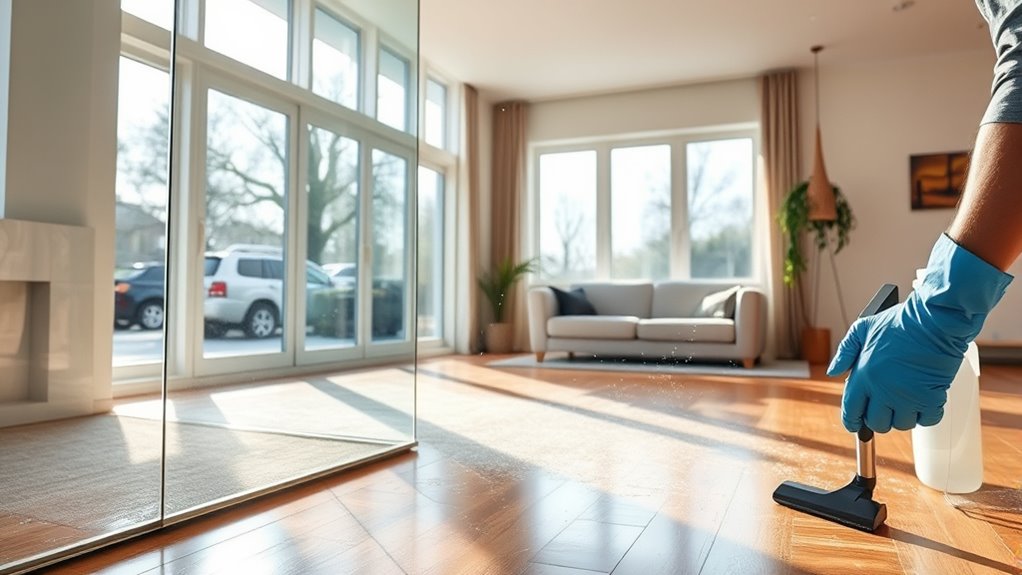
- Increase airflow with open windows, fans, and HEPA air purifiers to help remove airborne dust particles.
- Regularly maintain filters, damp wipe surfaces, and continue ventilation to prevent dust resettling over time.
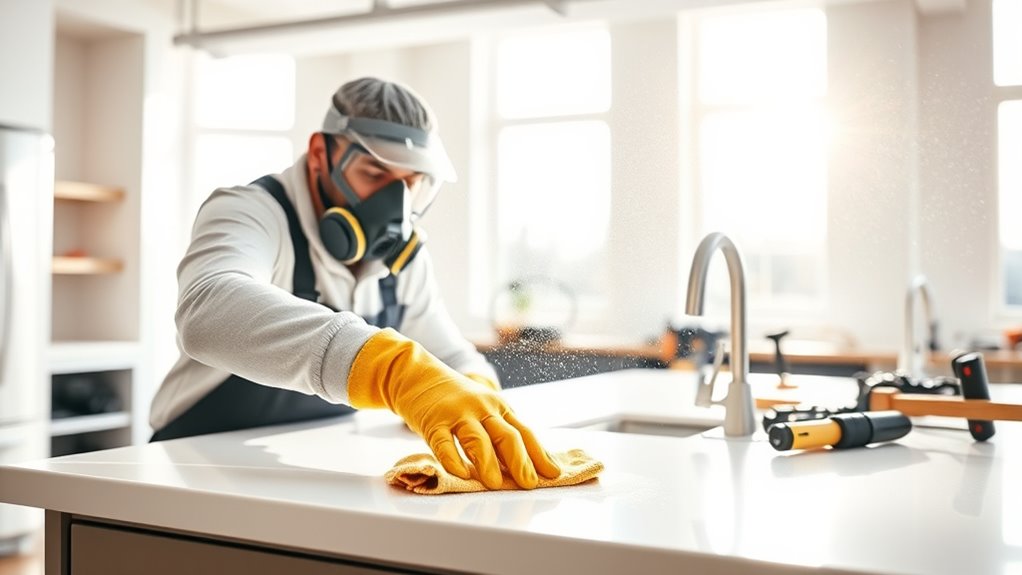
Prioritizing Safety and Preparation
Before diving into post-renovation cleanup, you need to prioritize safety and preparation to safeguard yourself and ensure an effective process. Start by wearing protective gear like gloves, masks, and safety glasses to shield against dust and debris. Clear the area of personal belongings and move furniture to create open space for cleaning. Ventilate the space by opening windows and doors to reduce airborne dust and improve airflow. Gather all necessary tools upfront—HEPA vacuums, microfiber cloths, extendable dusters, and air purifiers—so you’re not scrambling mid-clean. Check equipment for proper functioning and replace filters if needed. Establish a plan, starting from ceilings down to floors, to maximize efficiency and prevent dust from settling back onto cleaned surfaces. Proper safety and preparation set the foundation for a thorough cleanup. Dust control is essential during this process to minimize the spread of fine particles and protect your indoor air quality. Additionally, understanding the importance of air filtration can significantly improve the effectiveness of your cleanup efforts. Incorporating containment strategies can further prevent dust from migrating to other areas of your home, making the cleanup more manageable. Implementing robotic cleaning solutions can also streamline the process, especially for large or hard-to-reach areas. Using proper ventilation techniques can help expel residual dust and improve indoor air quality during and after cleanup.
Removing Dust From High and Hard-To-Reach Areas

Start by using extendable dusting tools to reach ceiling fans, light fixtures, and cabinet tops without a ladder. Prioritize cleaning these high areas first to prevent dust from falling onto lower surfaces. Then, open windows and turn on fans to improve airflow and help clear airborne dust lingering in the space. Incorporate air purification methods to further enhance indoor air quality during cleanup. Utilizing ventilation techniques can significantly accelerate dust removal and improve overall air cleanliness. Additionally, regularly replacing or upgrading your air filters can help maintain a cleaner environment over time. Implementing dust containment strategies can also reduce the spread of fine dust during cleaning. Employing proper cleaning tools designed for dust removal can make the process more efficient and effective.
Use Extendable Dusting Tools
Using extendable dusting tools is essential for safely and effectively removing dust from high and hard-to-reach areas. These tools allow you to reach ceiling corners, light fixtures, ceiling fans, and cabinet tops without climbing ladders or risking falls. With telescoping handles, you can adjust the length to suit different heights, making cleaning more efficient. Microfiber dusters attached to extendable poles trap fine dust particles without scattering them into the air. Some models feature swivel heads for better maneuverability around fixtures. Using these tools reduces the risk of injury and guarantees thorough dust removal from tricky spots. Additionally, choosing appropriate dusting materials can enhance the effectiveness of your cleaning routine. Keep your extendable dusting tools clean and store them properly to maintain their effectiveness for future cleaning sessions. Proper tool maintenance ensures longevity and optimal performance. They’re a practical solution for exhaustive post-renovation dust cleanup. Regularly inspecting and replacing worn-out dusting components helps sustain their quality over time. Incorporating proper ventilation during and after cleaning can further reduce airborne dust particles, improving overall air quality in your space. Moreover, selecting tools with ergonomic handles can make extended cleaning sessions more comfortable and less tiring.
Prioritize Ceiling and Fixtures
To effectively remove dust from high and hard-to-reach areas, prioritize cleaning ceilings, light fixtures, ceiling fans, and cabinet tops early in your post-renovation cleanup. Use extendable dusters or HEPA vacuum extension wands to reach these spots without ladders, ensuring you trap dust rather than dispersing it. Begin with ceilings, gently wiping or vacuuming to remove surface debris. Focus on fixtures and fans, cleaning blades and bulbs thoroughly. Don’t forget cabinet tops—dust often settles there unnoticed. Use microfiber cloths dampened lightly with water or a gentle cleaner to trap dust effectively. Tackling these areas first prevents falling debris from contaminating lower surfaces later. This approach saves time and creates a cleaner, healthier space, setting a solid foundation for the rest of your cleanup. Incorporating high-quality cleaning tools can make this process more efficient and effective.
Employ Air Circulation
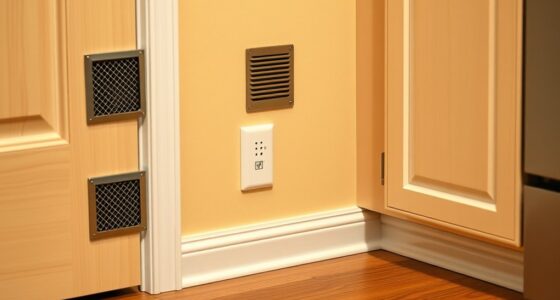
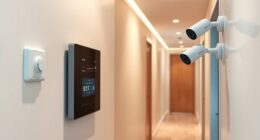
Employing effective air circulation is essential for removing dust from high and hard-to-reach areas after renovation. Open windows to let fresh air flow through, diluting airborne particles. Use fans strategically to direct dust-laden air out of the space, especially near ceilings and corners. Air purifiers equipped with HEPA filters and activated carbon work alongside ventilation to capture fine dust and improve air quality. Turn on exhaust fans in kitchens and bathrooms to help vent dust outside. Running these devices during and after cleanup prevents dust from settling back onto surfaces. Regularly establishing this airflow ensures dust doesn’t linger in the air, making subsequent cleaning easier and more effective. Proper ventilation also promotes healthier indoor air, reducing respiratory irritation. Incorporating smart home technology, such as automated fans and air purifiers, can optimize ventilation and ensure consistent air quality during cleanup. Additionally, maintaining adequate air exchange helps prevent the buildup of dust and other airborne contaminants, contributing to a cleaner environment. Ensuring consistent airflow patterns throughout the space maximizes dust removal efficiency and keeps indoor air cleaner. To further enhance dust removal, consider using airflow management techniques that direct dust away from living areas and towards exhaust points. Utilizing ventilation system controls can further improve the effectiveness of dust removal efforts.
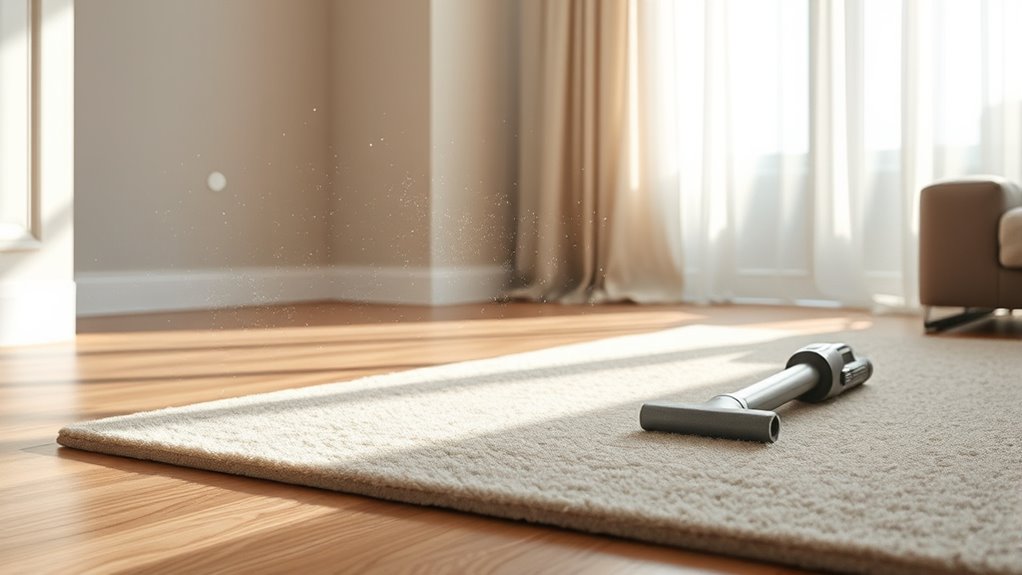
Effective Vacuuming Techniques for Fine Dust
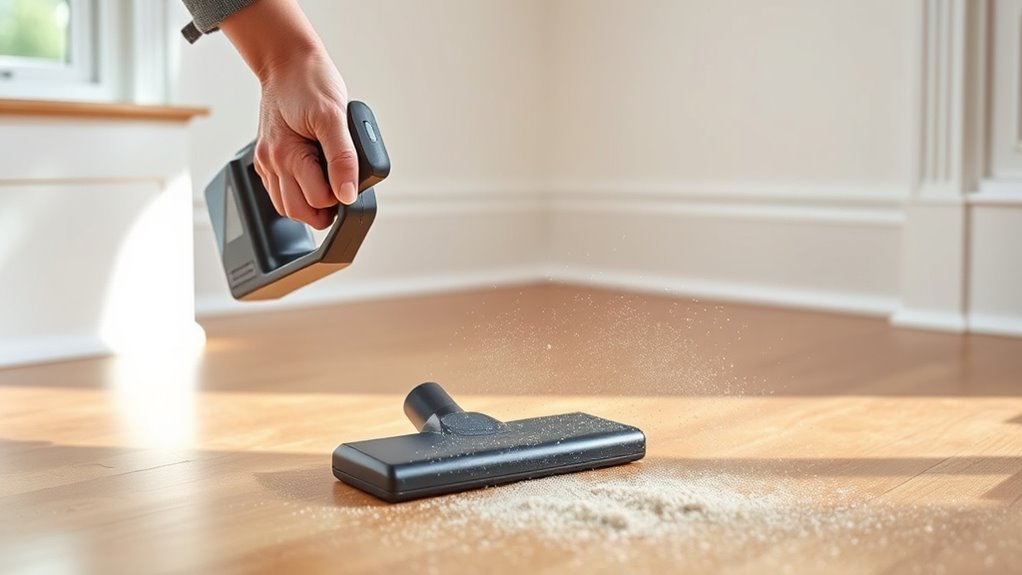
Using a HEPA filter vacuum is essential to capture tiny dust particles that regular vacuums miss. To guarantee thorough removal, you should make multiple passes over each surface, especially in high-traffic areas. This approach guarantees you pick up the maximum fine dust and prevent it from recirculating into the air.
HEPA Filter Utilization
Have you ever wondered why traditional vacuums often leave fine dust behind? The answer is their filters aren’t designed to trap tiny particles. HEPA filters, however, are specially engineered to capture 99.97% of airborne particles as small as 0.3 microns, including fine dust from renovation debris. When you use a vacuum equipped with a HEPA filter, you greatly reduce the risk of dust recirculating into the air. Make sure your HEPA vacuum is well-maintained—regularly replace or clean the filter to keep suction strong. Use it on carpets, upholstery, and hard surfaces to thoroughly pick up microscopic dust. This approach ensures you’re not just moving dust around but truly removing it, creating a cleaner, healthier environment after renovation.
Multi-Pass Vacuuming Approach
To effectively remove fine dust after renovation, multiple vacuuming passes are essential, especially in high-traffic areas and spots prone to accumulating debris. You should vacuum each area at least twice, allowing the vacuum’s HEPA filter to trap tiny particles thoroughly. First, use a powerful HEPA vacuum to pick up surface dust and larger debris. Then, go over the same area again, focusing on corners, baseboards, and crevices where dust hides. Pay special attention to carpets, rugs, and soft furnishings, ensuring you reach deep into fibers and folds. Make sure your vacuum’s filter is clean and functioning correctly, as clogged filters reduce suction. Repeating this process guarantees you capture the maximum amount of fine dust, preventing it from recirculating into the air.
Damp Wiping and Moist Cleaning Strategies
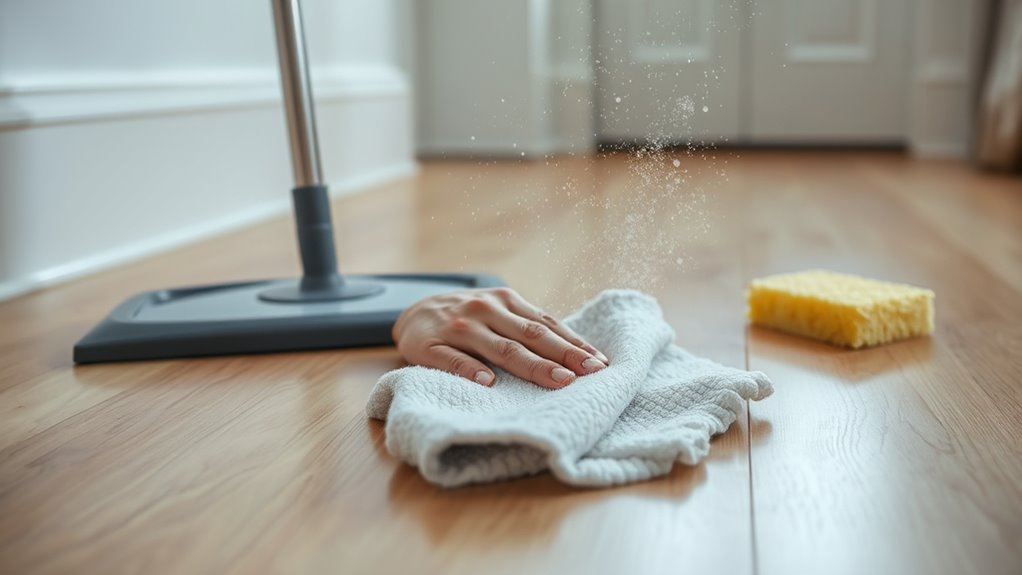
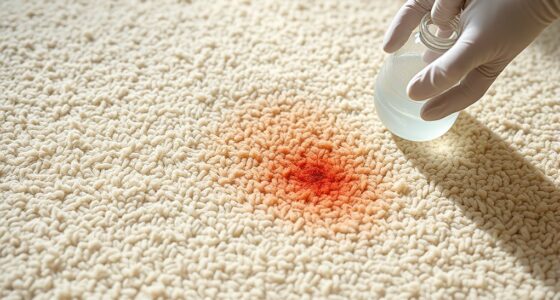
Damp wiping is a crucial step in post-renovation cleaning because it effectively traps dust particles that dry cloths often push around. Using microfiber cloths slightly dampened with water or a gentle cleaner helps lift and lock in fine dust, preventing re-contamination. Proper technique involves rinsing the cloth frequently to avoid spreading dirt. Here are four key steps:
- Rinse microfiber cloths thoroughly to keep dust from redepositing.
- Wipe surfaces gently to avoid damage, especially on delicate finishes.
- Target high-touch areas like switches, door handles, and electronics for thorough cleaning.
- Use a mixture of water and a mild cleaner for stubborn grime, testing on inconspicuous spots first.
This method ensures surfaces stay cleaner longer and minimizes airborne dust lingering after cleaning.
Managing Air Quality and Circulation

Effective air circulation is essential for reducing airborne dust after renovation, as it helps disperse particles and bring in fresh air. You should open windows and doors to create cross-ventilation, allowing dust to escape and fresh air to flow in. Using fans strategically accelerates this process, especially in enclosed spaces. Air purifiers equipped with HEPA13 filters and activated carbon help trap fine dust and remove odors, improving overall air quality. Keep ventilation ongoing during and after cleaning to prevent dust from settling or recirculating. Regularly changing filters on your air purifiers guarantees optimal performance. Combining good airflow with targeted dusting in corners and electronics minimizes lingering particles. Proper management of air circulation not only enhances cleanliness but also promotes healthier indoor environments.
Surface Treatment and Maintenance for Long-Term Cleanliness
Maintaining a clean and dust-free environment after renovation requires ongoing surface treatment and regular upkeep. To keep surfaces pristine, focus on simple, effective techniques.
- Use slightly damp microfiber cloths or dusters to wipe ledges, baseboards, and furniture, trapping dust without spreading it.
- Regularly damp mop hard floors with pH-neutral cleaners to prevent dust buildup between deep cleanings.
- Vacuum soft furnishings and mattresses thoroughly with special attachments, and consider airing or outside cleaning to remove embedded dust.
- Protect high-touch surfaces with covers or protective coatings, reducing dust settling and making future cleaning easier.
Consistent maintenance minimizes dust resettling and preserves the cleanliness achieved after your renovation. Regular upkeep is key to long-term freshness.
Special Considerations for Textured and Delicate Surfaces
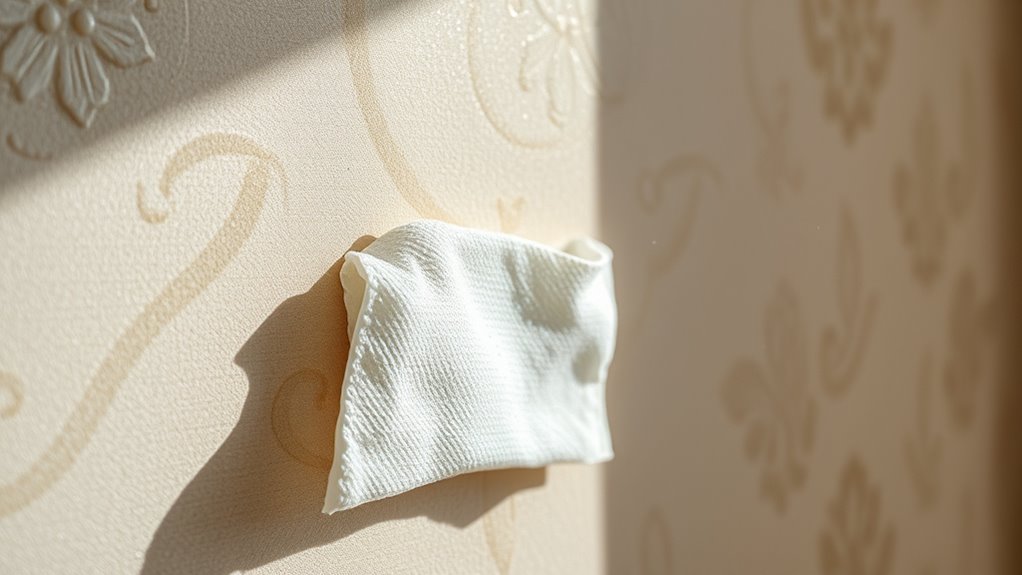
Textured and delicate surfaces require gentle cleaning techniques to prevent damage while still removing dust effectively. Use soft tools like microfiber cloths, feather dusters, or gentle brushes. Avoid abrasive scrubbers or harsh chemicals that could harm the surface. When cleaning textured areas, work slowly and use light pressure to lift dust without disrupting the surface pattern. For fragile surfaces, dampen your cloth slightly and test in a small, inconspicuous spot first. Below is a visual guide:
| Surface Type | Cleaning Method | Tools Needed |
|---|---|---|
| Textured ceilings | Light dusting with microfiber or brush | Microfiber cloth, soft brush |
| Painted walls | Gentle wiping with damp microfiber | Microfiber cloth |
| Wallpaper | Spot cleaning with damp cloth | Soft cloth |
| Delicate surfaces | Use minimal moisture and gentle brush | Soft brush, damp cloth |
Establishing a Post-Cleaning Routine
Once you’ve completed the initial cleaning of surfaces and cleared the air of residual dust, establishing a consistent post-renovation routine helps prevent dust buildup from creeping back in. You need a systematic approach to maintain a dust-free environment:
Maintaining a dust-free home requires regular cleaning, air purification, and proper ventilation.
- Regular vacuuming with a HEPA filter vacuum, especially in high-traffic areas and soft furnishings
- Damp wiping of surfaces like baseboards, window sills, and electronics to trap lingering dust
- Running an air purifier daily to capture airborne particles and improve air quality
- Opening windows and using fans to promote airflow and reduce dust recirculation
Frequently Asked Questions
What Safety Gear Is Essential During Fine Dust Cleanup?
You should wear safety gear like gloves, masks, and safety glasses during fine dust cleanup. A respirator with a HEPA filter is especially important to prevent inhaling tiny particles that can harm your lungs. Gloves protect your skin from dust and debris, while safety glasses shield your eyes from airborne particles. Always make certain your gear fits well and is in good condition to keep you safe throughout the cleaning process.
How Often Should Filters Be Replaced During Post-Renovation Cleaning?
You should replace filters at least every 2 to 4 weeks during post-renovation cleaning to maintain peak suction and dust removal. Don’t wait until filters are visibly dirty, as clogged filters reduce efficiency and can re-circulate dust. Regular replacement ensures your HEPA vacuums and air purifiers work effectively, preventing fine dust from lingering. Consistent filter changes keep your space safer and cleaner throughout the entire cleanup process.
Can Natural Cleaning Solutions Effectively Remove Construction Dust?
Yes, natural cleaning solutions can effectively remove construction dust. You should mix warm water with a few drops of dish soap or a gentle all-purpose cleaner, then dampen microfiber cloths or mops. Use these to wipe surfaces gently, trapping dust without scratching. For stubborn spots, test small areas first. Regularly rinse and wring out your cloths to prevent spreading dust, and always dry surfaces afterward to avoid water damage.
How Long Should Air Purifiers Run After Cleaning?
You should run your air purifier for at least 24 to 48 hours after cleaning to effectively clear out residual dust particles. Keep it on continuously during this period, especially in the rooms you’ve cleaned thoroughly. If possible, leave windows open and use fans to enhance airflow. This helps reduce airborne dust, improves air quality, and guarantees your space stays clean and safe after renovation.
What Are the Best Ways to Prevent Dust Resettling After Cleaning?
To prevent dust resettling after cleaning, you should keep windows open and use fans or air purifiers to promote airflow. Regularly dust surfaces with damp microfiber cloths, especially in hard-to-reach spots like baseboards and ledges. Vacuum carpets and soft furnishings thoroughly with HEPA filters. Also, avoid dry sweeping or dusting, which can stir up particles. Maintaining a consistent cleaning schedule helps keep dust from accumulating again.
Conclusion
After a renovation, thorough cleanup is essential to guarantee safety and maintain your space. Did you know that improper dust removal can cause respiratory issues in up to 30% of households? By following these steps—prioritizing safety, using effective vacuuming, and managing air quality—you can reduce health risks and keep your home spotless. Staying consistent with your cleaning routine will make future cleanup easier and protect your long-term health.